
If you’re a lover of orchids, you know they are delicate yet stunning plants that can transform any space with their exotic beauty. However, caring for them can be challenging, especially when it comes to encouraging new roots and leaves to grow. One lesser-known but highly effective technique involves placing orchid leaves in a glass of water. Have you ever tried that? If not, keep reading to understand how this method works and how it can help your plants thrive.
Why Does Putting Orchid Leaves in Water Work?
Many people are curious when they see this technique and wonder: “Why does submerging orchid leaves in water help with root development?” The answer lies in stimulating healthy growth and preventing disease. When the leaves are exposed to water, they encourage the production of stronger roots and promote the development of new, healthy leaves.
Another crucial point is the use of garlic in preparing the water. Garlic has natural antimicrobial properties that help prevent fungal or bacterial infections during the rooting process. This combination makes the method a natural and safer alternative compared to commercial chemicals.
How to Prepare Orchid Leaves for this Process
Before you start, it’s important to handle your plants with care. Here’s a detailed step-by-step guide to give your orchids the best chance of success.
1. Clean and Trim Roots
Begin by gently cleaning off any dirt or residue from the previous pot. Then, carefully remove any damaged or dry roots. This prevents the plant from wasting energy trying to recover dead parts and encourages healthy new growth.
2. Disinfection with Garlic Water
To protect your plant from infections, prepare a garlic water solution. Crush a small garlic clove and let it sit in half a liter of water for a few minutes. Afterward, strain the mixture to remove garlic pieces, leaving only the antimicrobial-rich water.
Use this garlic water to gently wipe over the leaves — a cotton ball or clean cloth can help in this step. This helps to prevent contamination that could hinder growth.
3. Root Immersion
Submerge the cleaned roots in the garlic water for about 30 minutes. Doing so helps strengthen promising roots and prevents pathogenic bacteria from infecting the plant.
4. Preparing for Rooting
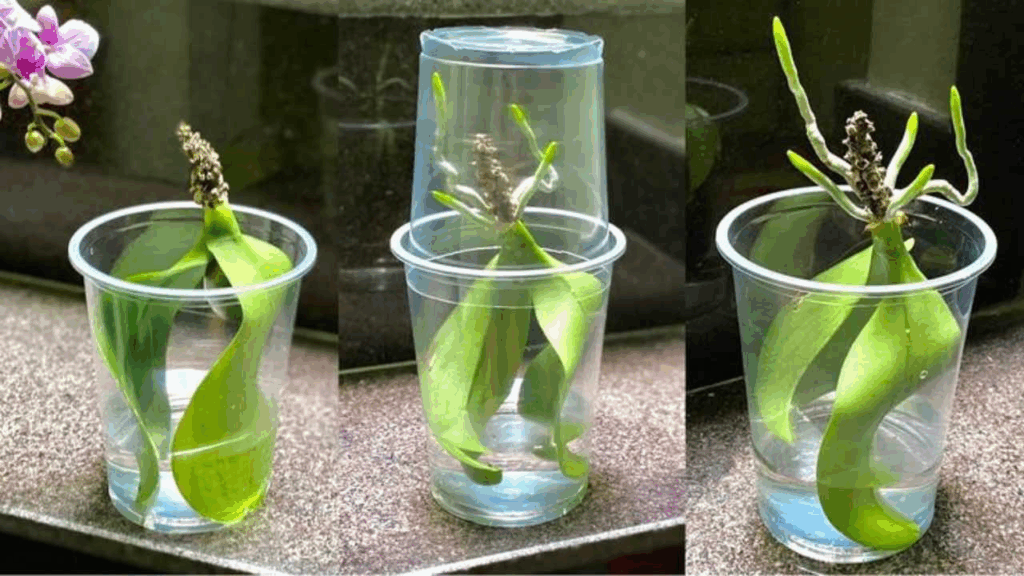
Gently dry the plant and position the roots downward in a clear plastic cup. Punch small holes at the top of the cup — this allows air circulation, which is vital for healthy root growth, and helps retain moisture closer to the roots.
Add tap water to the cup until it just covers the base of the leaves—be careful not to overfill. The goal is to create a humid environment that promotes rooting without waterlogging the plant.
5. Rooting Period
Cover the cup with another container or a plastic bag to create a mini greenhouse, and place the setup in indirect light. It’s important to leave the plant like this for approximately 45 days, during which you should spray water onto the roots every three days to maintain high humidity.
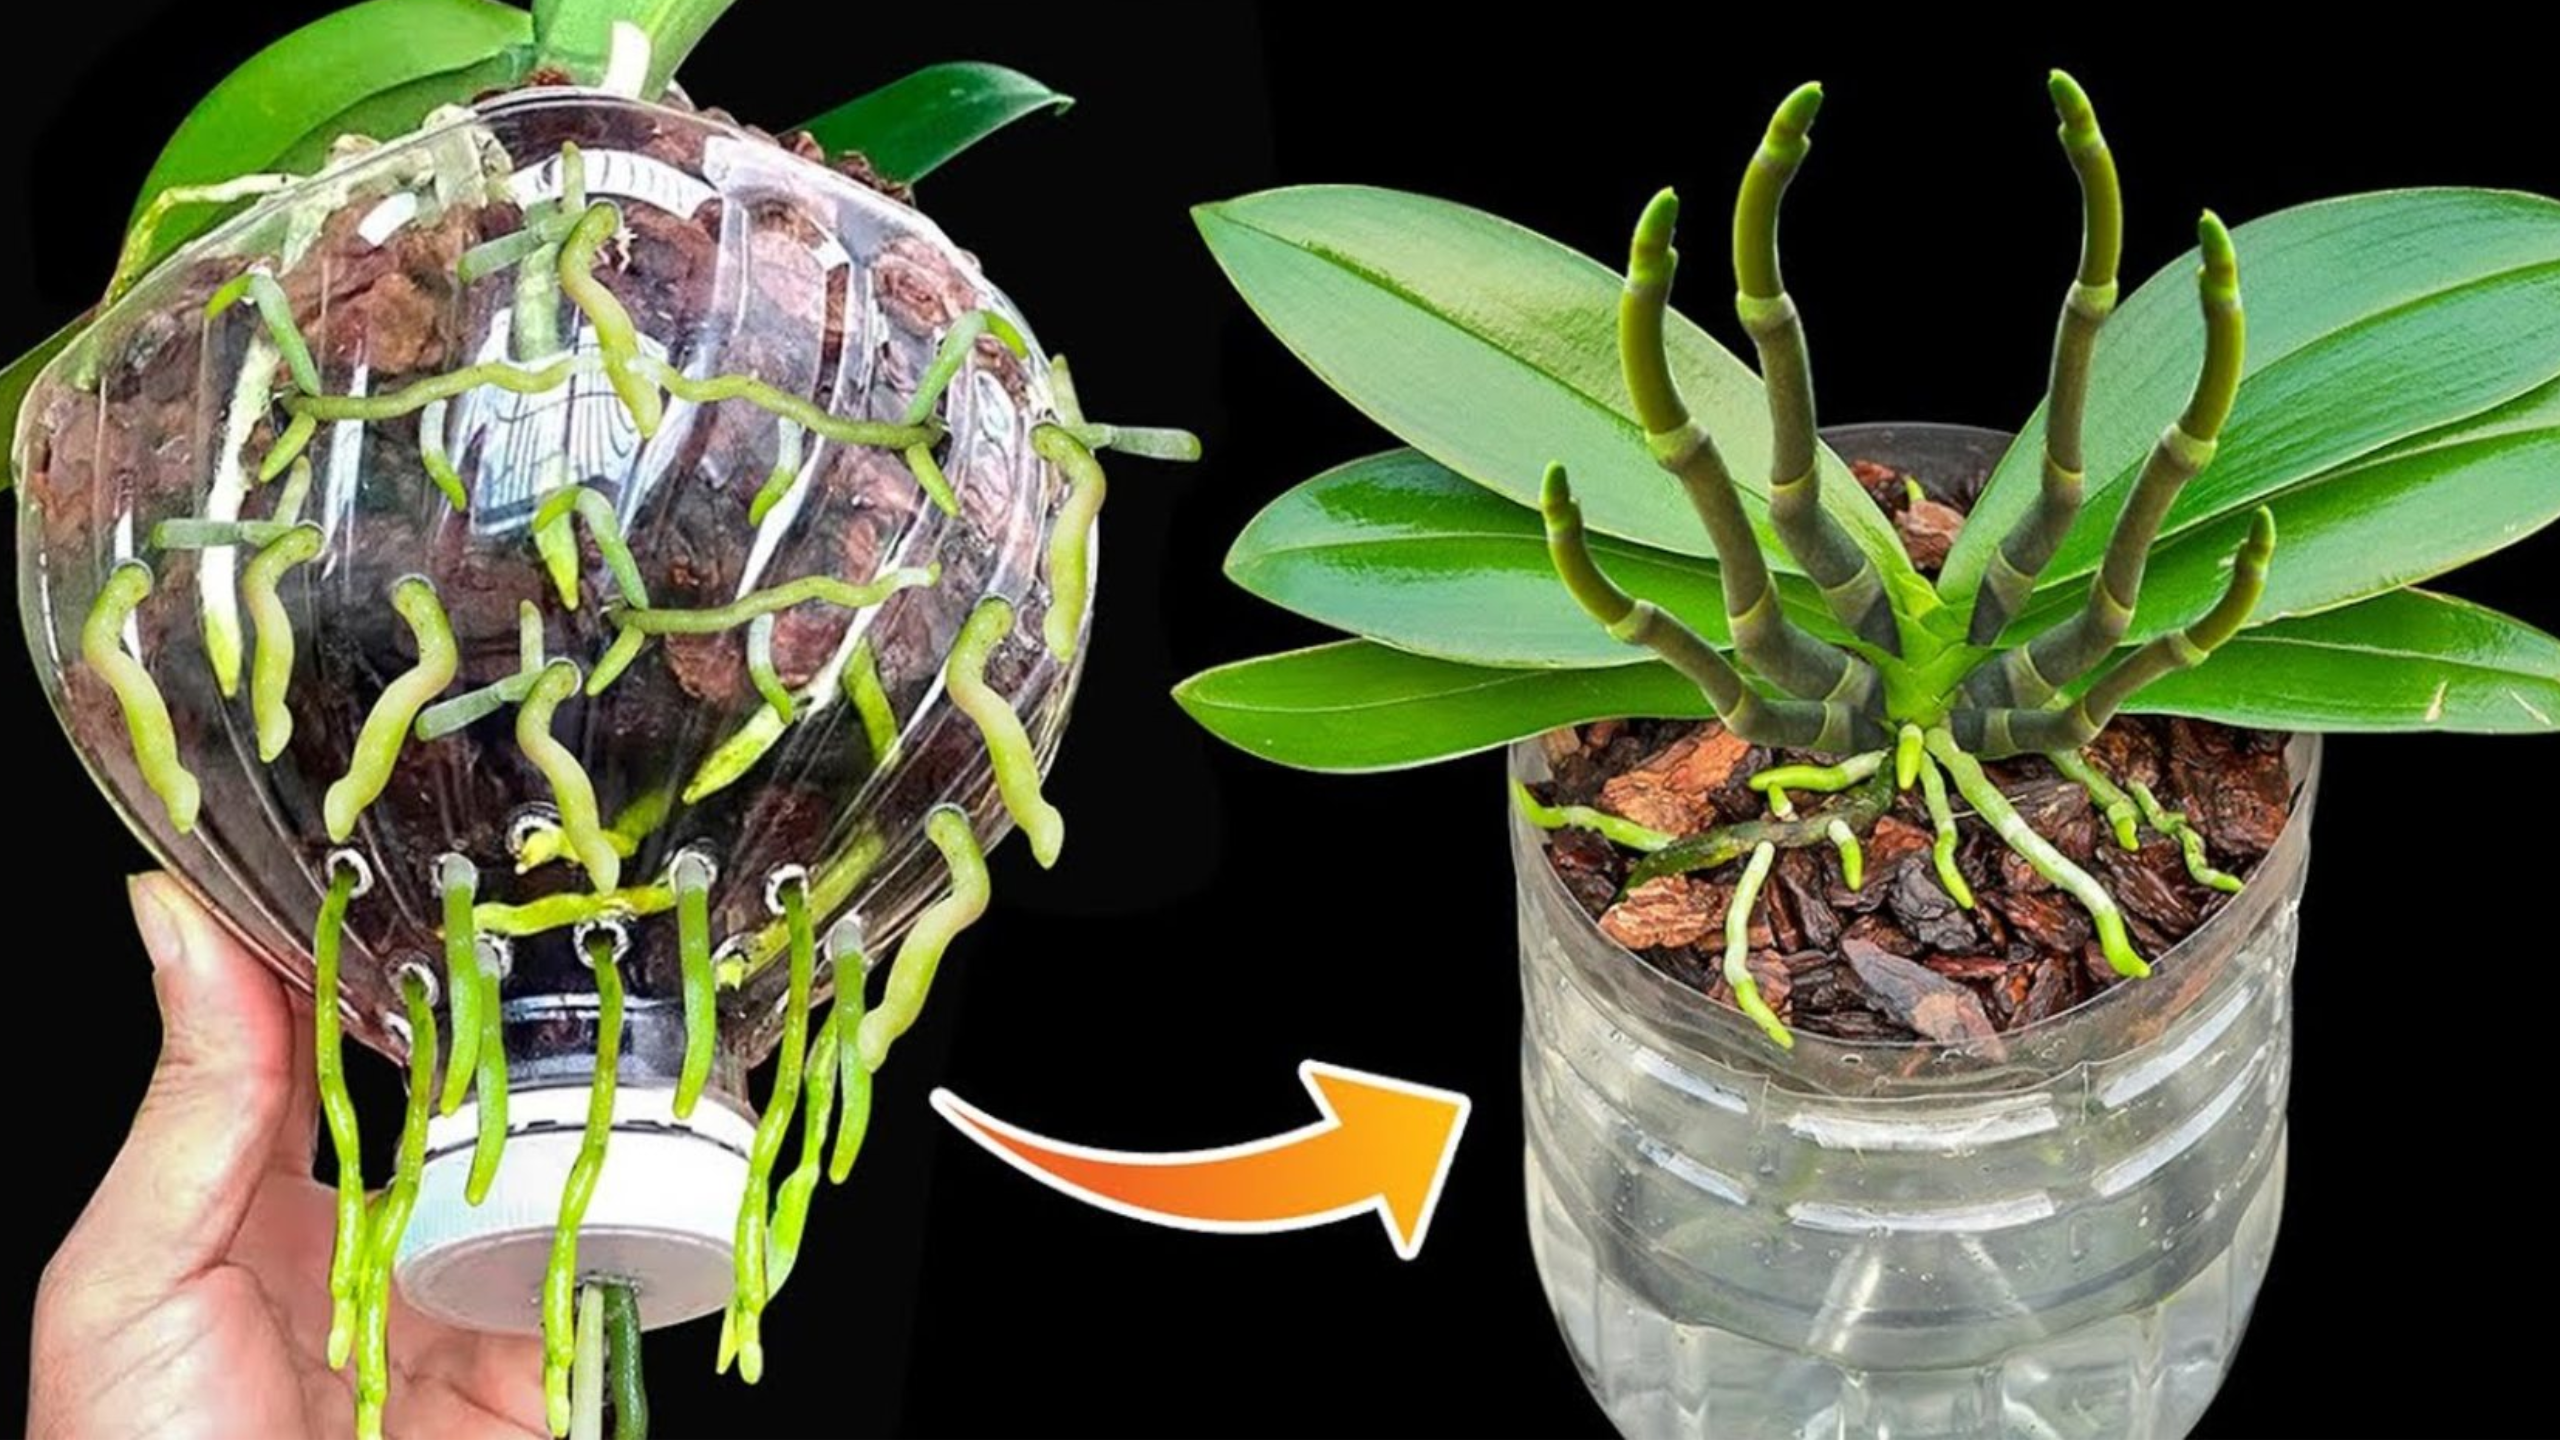
What Happens After 45 Days?
At that point, the roots should be much stronger and more developed. You can check their progress by looking for new roots and leaves emerging. When you see substantial, healthy root growth—around 75 days in—you can transplant your orchid into a larger pot.
Prepare for this transition by watering the plant lightly and soaking it in a garlic water solution for another 30 minutes—this gives added protection and strength during repotting.
Why Is This Method Effective?
The main advantage of rooting orchids with water-filled cups is that it naturally stimulates root growth, a key component of overall plant health. The garlic acts as a natural antimicrobial agent, reducing the risk of infections that could threaten weakened roots or leaves.
Additionally, keeping the plant in a semi-humid environment with small holes in the cup mimics the tropical humidity where orchids originate, fostering healthy root development and recovery for plants with damaged roots or poor soil conditions.
Transplanting Your Orchid into a New Pot
Once the roots are vigorous and well-established, it’s time to transfer your orchid into a pot with pine bark — an ideal medium for drainage and air circulation around the roots. Before doing so, water the plant well and soak it in garlic water for half an hour. This final step helps prevent fungal infections and ensures your plant enters its new environment in the best condition.
In Summary: Why Should You Try This Technique?
If you’re seeking a natural, economical, and effective way to care for your orchids, placing the leaves in water can be a game-changer. It boosts healthy root and leaf growth, accelerates recovery of damaged plants, and provides a safe environment because of the antimicrobial properties of garlic.
This method also allows you to observe your plant’s growth process firsthand, turning your gardening routine into an engaging and rewarding experience. Plus, it’s a cost-effective way to give your orchids the attention they need to flourish.
**mitolyn reviews**
Mitolyn is a carefully developed, plant-based formula created to help support metabolic efficiency and encourage healthy, lasting weight management.
Backbiome is an advanced daily wellness supplement formulated to help support spinal comfort, reduce feelings of built-up tension, and promote freer, smoother movement throughout backbiome everyday life.