
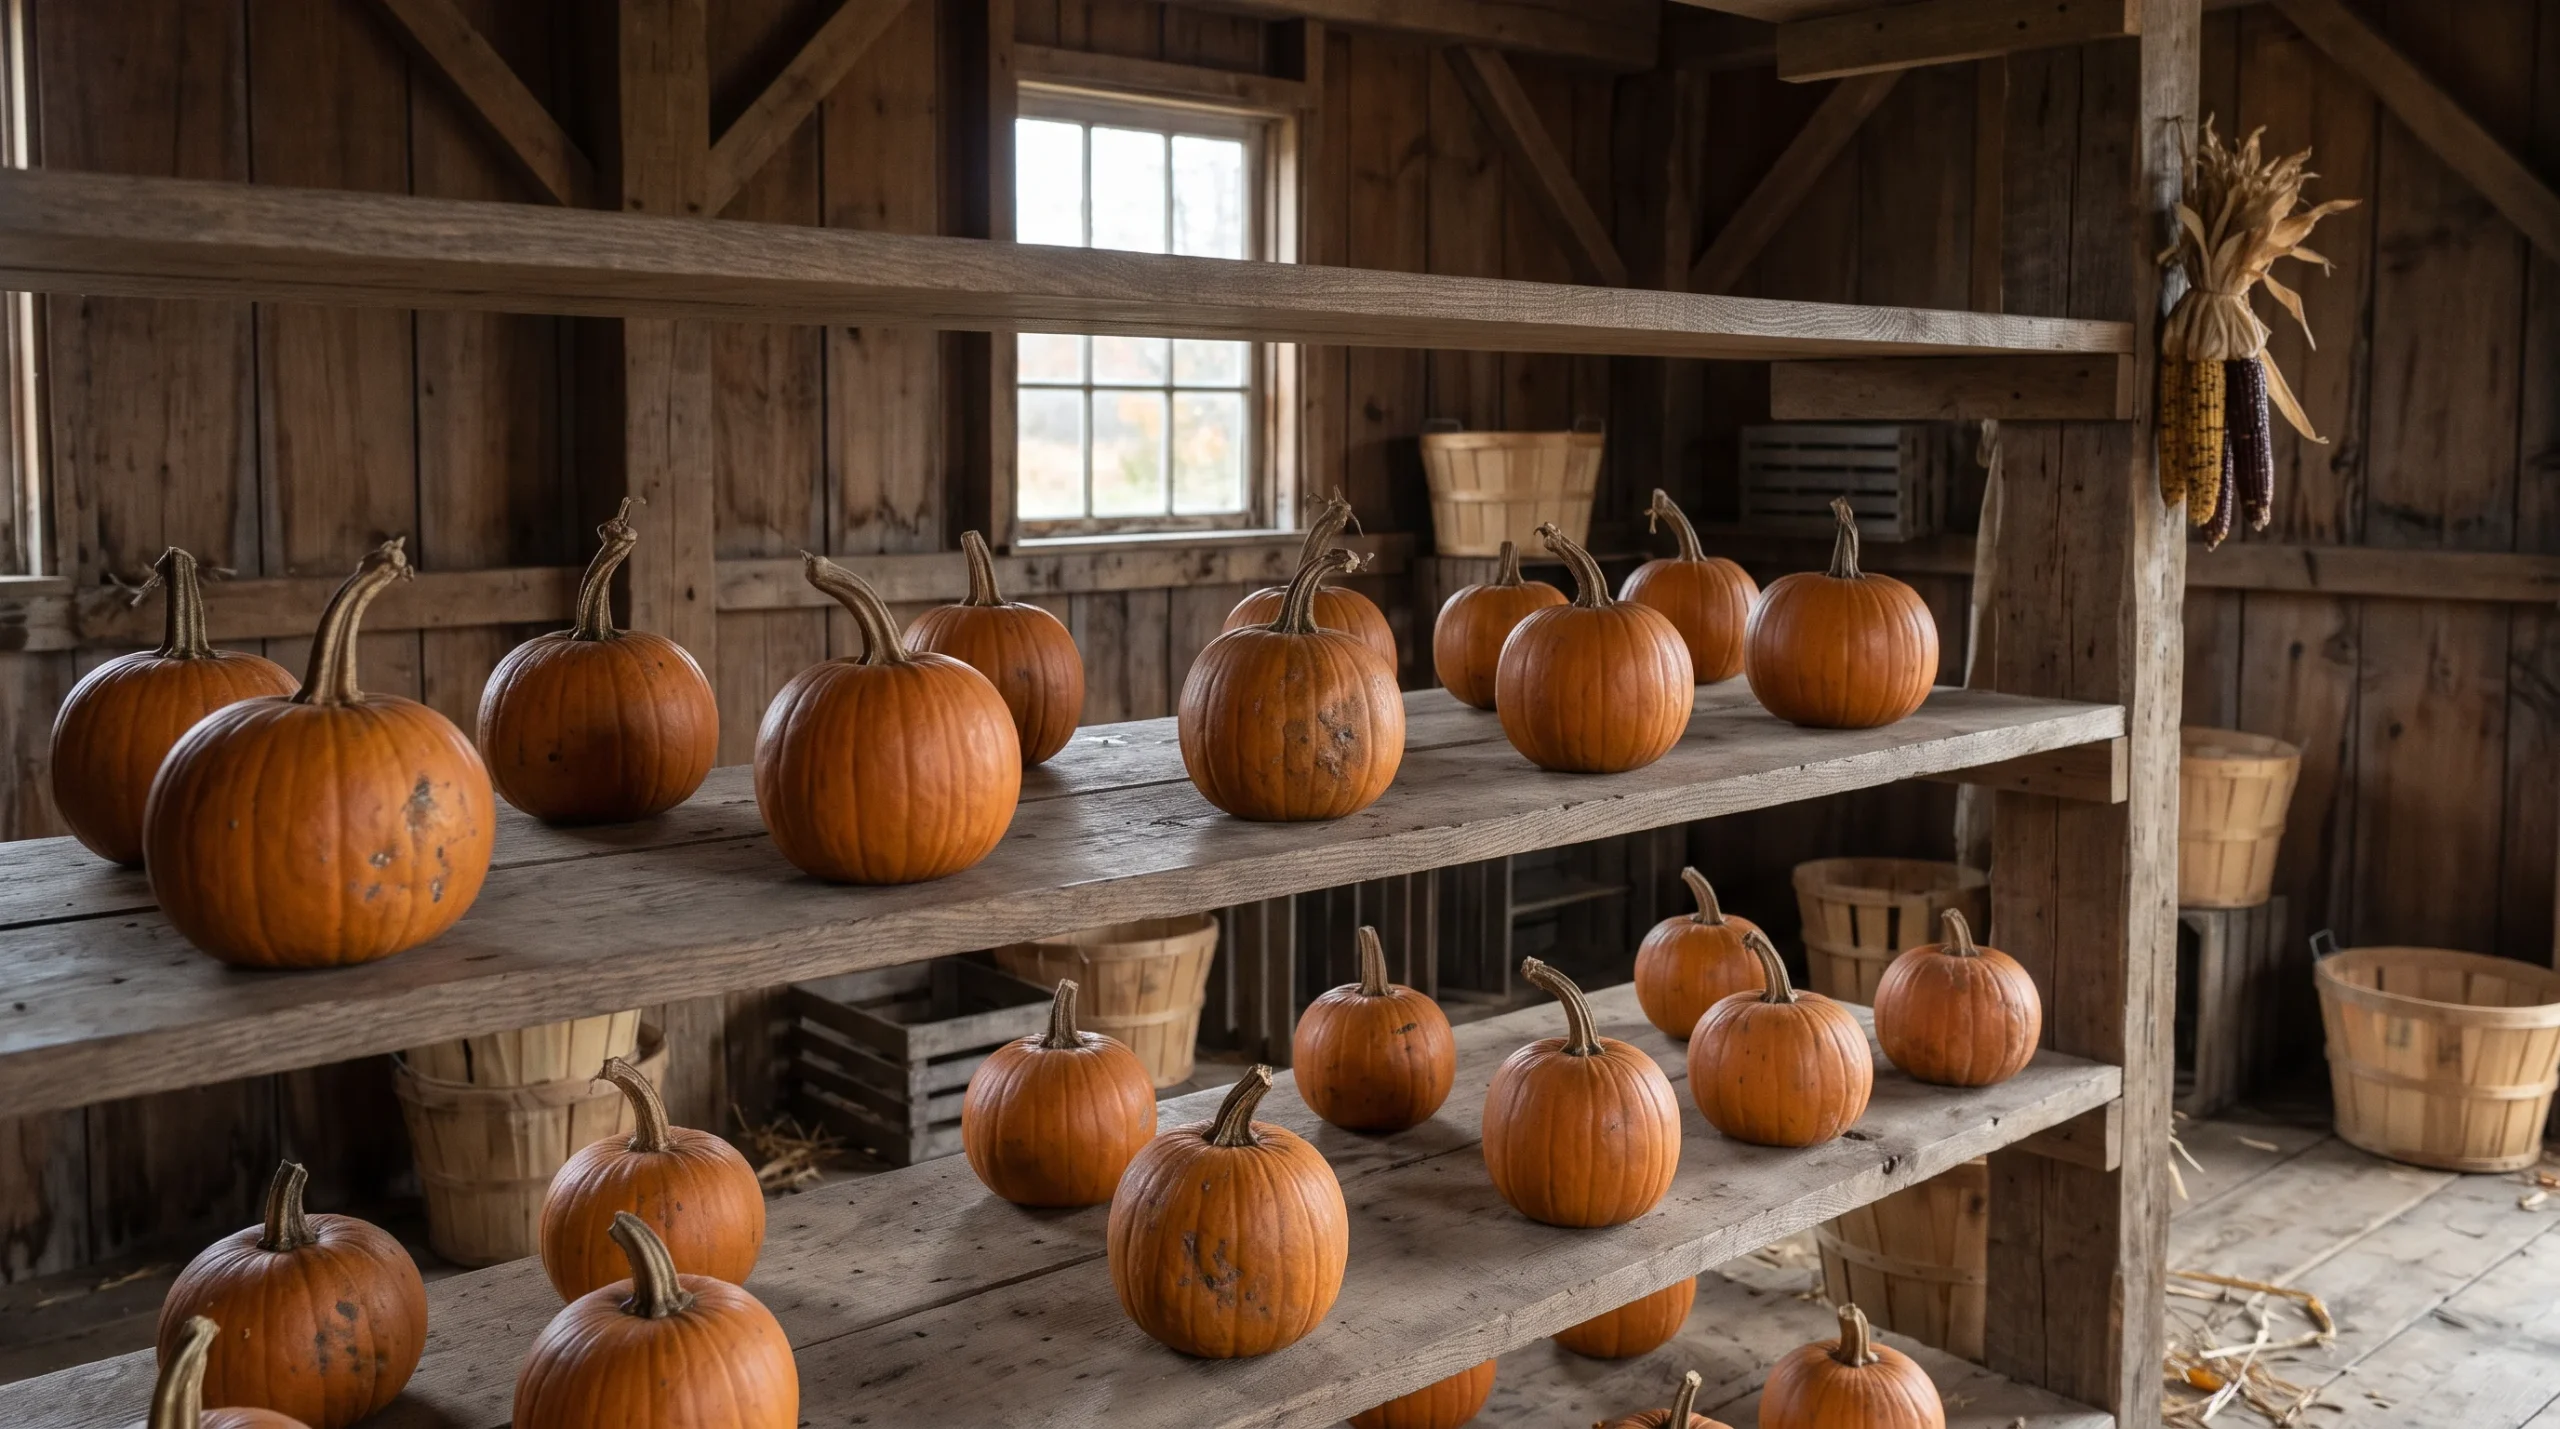
A basket of freshly harvested pie pumpkins is one of fall’s most satisfying rewards. Their bright orange skins promise homemade pies, warming soups, and comforting meals long after the garden has finished producing.
But there’s a catch. A beautiful pumpkin can develop a soft spot, begin leaking, or collapse surprisingly quickly when stored under the wrong conditions.
Learning how to store pie pumpkins properly can make a significant difference. These small, flavorful winter squash have naturally protective rinds, but their storage life depends on careful harvesting, suitable curing, and the right environment.
The good news is that you don’t need a commercial storage facility. A cool basement, properly insulated storage room, or another suitable space may be enough.
With six practical steps, you can protect your harvest, reduce waste, and enjoy homegrown pumpkin throughout much of the colder season.
Table of Contents
- How to Store Pie Pumpkins: 6 Essential Steps
- Step 1: Harvest Pumpkins at the Right Time
- Step 2: Select Healthy Pumpkins for Storage
- Step 3: Cure Pumpkins Before Storage
- Step 4: Choose the Right Storage Location
- Step 5: Arrange Pumpkins for Proper Airflow
- Step 6: Inspect Your Pumpkins Regularly
- Pumpkin Storage Conditions at a Glance
- Common Pumpkin Storage Mistakes
- Signs Your Stored Pumpkin Has Spoiled
- Freezing and Preserving Your Pumpkin Harvest
- In Your Own Garden
- Frequently Asked Questions
How to Store Pie Pumpkins: 6 Essential Steps
The secret to successful pumpkin storage is surprisingly simple: start with mature, undamaged fruit and maintain a cool, stable environment.
Most pie pumpkins store best at approximately 50–55°F (10–13°C), with moderate relative humidity of around 50–70% and good air circulation.
Under suitable conditions, many pie pumpkins remain usable for approximately two to three months. Some varieties last longer, while others deteriorate sooner.
Pumpkins also need protection from freezing temperatures, excessive moisture, and physical damage.
Unlike potatoes or carrots, pumpkins are not suited to extremely cold, damp storage environments.
Their thick rinds help retain moisture, but these protective surfaces work best when the fruit remains intact and dry.
The following six steps explain the complete process, beginning in the garden.
Step 1: Harvest Pumpkins at the Right Time
Recognize a Fully Mature Pumpkin
Storage success begins before a pumpkin leaves the vine.
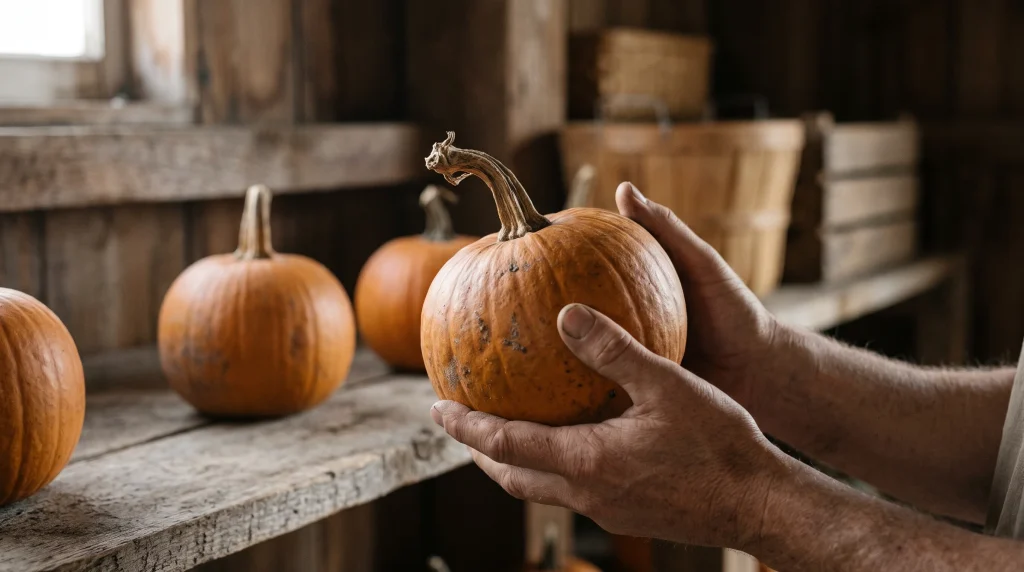
A mature pie pumpkin typically has a firm rind, developed coloration, and a hardened stem.
Traditional sugar pumpkins usually become deep orange when mature, although other varieties may have different natural colors.
Try pressing a fingernail gently against the rind. A mature pumpkin should resist light pressure rather than developing an obvious indentation.
The stem may also become dry and corky as the fruit reaches maturity.
Immature pumpkins tend to have softer skins and generally store less reliably.
Harvest Before a Hard Freeze
Autumn temperatures can change quickly, particularly in northern growing regions.
Harvest mature pumpkins before damaging freezing weather arrives.
Although some pumpkins may survive a light frost without obvious injury, freezing temperatures can damage their tissues and shorten storage life.
A pumpkin that looks healthy immediately after cold exposure may develop soft areas later.
Leave the Stem Attached
Use clean pruning shears or a sharp garden knife to cut the pumpkin from the vine.
Leave approximately two to four inches of stem attached when practical.
An intact stem helps protect the area where the pumpkin was connected to the plant.
Always carry pumpkins by supporting their undersides. The stem may look sturdy, but using it as a handle can cause it to break away.
Handle each pumpkin carefully. Even small bruises can become problem areas during storage.
Step 2: Select Healthy Pumpkins for Storage
Choose the Best Candidates
Not every pumpkin belongs on a long-term storage shelf.
Start by examining each fruit closely.
Good storage candidates generally have firm rinds, intact stems, mature coloration, and no visible signs of decay.
Check the underside, where moisture or soil contact may have caused hidden damage.
Look carefully around the stem and blossom end as well.
A small bruise might seem insignificant at harvest, but damaged tissue can deteriorate during storage.
Separate Pumpkins That Need Early Use
Pumpkins with broken stems, surface wounds, bruises, or questionable maturity should be used sooner.
This doesn’t automatically mean every imperfect pumpkin must be discarded. A minor superficial mark is different from active decay.
However, damaged fruit should not be relied upon for extended storage.
Any pumpkin showing mold, leakage, extensive softening, or obvious rot should be discarded.
Separating healthy pumpkins from questionable ones gives the best fruit a better chance of lasting through the season.
Step 3: Cure Pumpkins Before Storage
What Curing Actually Does
Curing is a short conditioning period after harvest.
For suitable pumpkins, warm conditions can encourage rind hardening and help minor superficial injuries heal.
This process may improve storage potential, particularly when fruit has been harvested under less-than-ideal conditions.
However, curing cannot repair serious damage or make rotten pumpkins safe.
Some pumpkin varieties need less additional curing than others, so recommendations should be adapted to the crop.
Recommended Curing Conditions
Common university extension guidance for pumpkins and certain winter squash recommends:
- Temperature: Approximately 80–85°F (27–29°C).
- Duration: Approximately 7–10 days.
- Environment: Warm, protected, and well ventilated.
These are general guidelines rather than universal requirements for every cultivar.
A sheltered porch, warm outbuilding, or suitable indoor area may provide an appropriate curing environment.
Keep the pumpkins dry and protected from rain.
A Simple Curing Routine
Arrange mature pumpkins in a single layer, leaving space between them.
Allow air to circulate freely around each fruit.
Monitor the temperature, particularly when using an outdoor or partially enclosed location.
After the curing period, transfer the pumpkins to their cooler storage area.
Avoid leaving them in a warm environment indefinitely. Curing and long-term storage require different conditions.
Step 4: Choose the Right Storage Location
Temperature Matters More Than You Might Expect
A pumpkin stored in a warm kitchen may deteriorate much sooner than one kept in a suitable cool room.
For most mature pie pumpkins, aim for approximately 50–55°F (10–13°C).
Temperatures substantially above this range can accelerate deterioration.
Prolonged exposure to temperatures below approximately 50°F may cause chilling injury, while freezing can seriously damage the flesh.
A small thermometer makes monitoring much easier.
Maintain Moderate Humidity
Pumpkins generally store well at approximately 50–70% relative humidity.
Excessive humidity can encourage condensation and fungal growth.
Very dry conditions may gradually cause shriveling and moisture loss.
Good ventilation helps maintain a more stable environment around the fruit.
Practical Storage Spaces
Suitable locations may include a cool basement, temperature-controlled pantry, insulated storage room, or protected cellar.
An insulated garage can also work if temperatures remain within the recommended range.
However, garages that regularly freeze during winter are unsuitable.
A traditional root cellar designed for potatoes or carrots may be too cold and humid for pumpkins.
Remember that different vegetables have different storage requirements. A space that works beautifully for root crops may need adjustments before it can safely hold pumpkins.
Step 5: Arrange Pumpkins for Proper Airflow
Keep Pumpkins Off Damp Floors
Place your pumpkins on clean wooden shelves, dry racks, or other sturdy raised surfaces.
Avoid direct contact with damp concrete or areas where water collects.
A clean, dry surface reduces prolonged moisture exposure.
Give Every Pumpkin Some Space
Arrange pumpkins in a single layer whenever possible.
Leave small gaps between them so air can circulate.
Avoid piling heavy pumpkins together, since pressure can cause bruising and make inspection difficult.
You should be able to examine each pumpkin without moving an entire stack.
Separate Them From Ripening Fruit
Apples, pears, and certain other fruits release ethylene gas as they ripen.
Ethylene exposure can accelerate aging processes and may shorten pumpkin storage life.
When possible, store pumpkins separately from large quantities of ripening fruit.
A simple shelf with spaced pumpkins in a stable, cool room is often more effective than an elaborate storage setup with poor ventilation.
Step 6: Inspect Your Pumpkins Regularly
Make Weekly Checks a Habit
Even carefully stored pumpkins can deteriorate unexpectedly.
Inspect your harvest approximately once a week.
Check for soft spots, mold, unusual discoloration, damaged stems, moisture accumulation, and leakage.
Examine the underside of each pumpkin because deterioration may begin where it rests against a shelf.
Monitor the room temperature as outdoor weather changes.
Remove Spoiled Pumpkins Promptly
If a pumpkin develops clear signs of rot, remove it from storage immediately.
A leaking, moldy, or collapsing pumpkin should be discarded rather than prepared for food.
Healthy pumpkins with minor superficial damage may be prioritized for earlier use, provided they show no signs of spoilage.
Regular inspections help prevent one deteriorating fruit from creating unnecessary problems for the rest of the harvest.
Pumpkin Storage Conditions at a Glance
The following table summarizes practical storage recommendations commonly provided by university extension programs.
| Storage Factor | Recommended Condition | Why It Matters |
|---|---|---|
| Maturity | Fully mature pumpkins | Supports longer storage |
| Rind | Firm and undamaged | Protects the flesh |
| Stem | Intact, about 2–4 inches | Reduces exposed damage |
| Curing temperature | 80–85°F | Helps condition suitable fruit |
| Curing duration | 7–10 days | Supports rind hardening |
| Storage temperature | 50–55°F | Slows deterioration |
| Relative humidity | 50–70% | Balances moisture retention |
| Ventilation | Consistent airflow | Reduces trapped moisture |
| Arrangement | Single layer with gaps | Prevents pressure damage |
| Inspection | Approximately weekly | Identifies early spoilage |
| Typical storage life | Often 2–3 months | Varies by variety and conditions |
These figures are general recommendations. Actual storage performance varies among cultivars, growing conditions, and handling practices.
Common Pumpkin Storage Mistakes
Harvesting Too Early
Immature pumpkins often have less-developed protective rinds.
Allow the fruit to reach full maturity whenever growing conditions permit.
Carrying Pumpkins by Their Stems
Broken stems create vulnerable areas.
Support pumpkins from underneath during harvesting and transport.
Skipping Proper Storage Conditions
A warm kitchen or freezing garage can shorten storage life.
Choose a location with stable temperatures and moderate humidity.
Storing Pumpkins While Wet
Moisture trapped against the rind can encourage decay.
Allow surfaces to dry and maintain adequate airflow.
Stacking Pumpkins Together
Heavy stacks can cause bruising and make spoilage harder to detect.
Store pumpkins individually whenever possible.
Forgetting Weekly Inspections
A pumpkin can begin deteriorating before the damage becomes obvious from a distance.
Routine checks help identify problems early.
Signs Your Stored Pumpkin Has Spoiled
A healthy stored pumpkin should remain reasonably firm, with an intact rind and no signs of active decay.
Some gradual moisture loss can occur during storage.
However, certain changes indicate spoilage.
Watch for soft or collapsing sections, visible mold, wet patches, leaking liquid, extensive discoloration, or unpleasant odors.
A pumpkin with severe tissue breakdown is unsuitable for cooking.
Do not attempt to rescue a visibly rotten pumpkin by cutting away moldy sections.
When spoilage is evident, discard the fruit and inspect nearby pumpkins for developing problems.
Freezing and Preserving Your Pumpkin Harvest
Turn Healthy Pumpkins Into Puree
When stored pumpkins approach the end of their useful storage period, freezing provides a practical alternative.
Wash the pumpkin before cutting it.
Remove the seeds and stringy interior, then roast or steam the flesh until tender.
Separate the cooked flesh from the rind and mash or puree it.
Cool the puree promptly, transfer it into suitable freezer-safe containers, and label each container with the preparation date.
Frozen pumpkin puree can later be used in pies, muffins, soups, and other recipes.
Follow Tested Home-Preservation Methods
Pumpkin puree should not be home-canned, even in a pressure canner.
Its density makes reliable heat penetration difficult, and an approved home-canning process for pumpkin puree has not been established.
Cubed pumpkin is different.
The National Center for Home Food Preservation provides tested pressure-canning procedures for properly prepared pumpkin cubes.
Use the specified preparation method, jar size, processing time, pressure, and altitude adjustment.
Freezing is generally the simpler choice for homemade puree.
Save Seeds for Future Planting
Healthy, mature pumpkins can also provide seeds for future growing seasons.
Choose seeds from sound fruit and dry them appropriately before storage.
Seed saving is separate from preserving pumpkin flesh for food.
For additional gardening guidance, see Seed Saving for Beginners.
Keep in mind that seeds from hybrid pumpkins may produce plants with different characteristics from the parent variety.
In Your Own Garden
A practical pumpkin storage routine can begin with just a few healthy fruits and one suitable shelf.
At harvest time, select your firmest, most mature pie pumpkins. Keep their stems intact and handle them gently.
Cure suitable fruit according to the variety and available conditions.
Next, identify the coolest appropriate location in your home. Check its temperature with a thermometer before moving the pumpkins inside.
Arrange the fruit in a single layer, leaving enough space for air circulation.
Write the harvest date on a nearby storage label rather than directly on the pumpkin.
Inspect the fruit weekly and use any pumpkins with reduced storage potential first.
This simple routine makes it easier to enjoy homegrown produce over time while reducing the likelihood of losing an entire harvest to unnoticed spoilage.
Frequently Asked Questions
How long can pie pumpkins last after harvest?
Under suitable conditions, many mature pie pumpkins remain usable for approximately two to three months. Actual storage life depends on the variety, maturity at harvest, rind condition, curing, and storage environment. Some pumpkins may last longer, while damaged fruit can deteriorate much sooner.
Can pie pumpkins be stored in an unheated garage?
An unheated garage may work during mild weather if temperatures remain near 50–55°F and the space stays dry and ventilated. However, garages that experience freezing temperatures are unsuitable. A thermometer helps determine whether the location provides safe, stable conditions.
Is it better to freeze pumpkin puree or can it?
Freezing is the recommended home-preservation method for pumpkin puree. There is no approved home-canning procedure for mashed or pureed pumpkin. Properly prepared pumpkin cubes can be pressure-canned using tested instructions from the National Center for Home Food Preservation.
Conclusion
That beautiful autumn harvest can provide more than a few weeks of seasonal meals.
Understanding how to store pie pumpkins helps you protect the effort invested in growing them.
Harvest mature fruit, handle it carefully, cure suitable pumpkins, and maintain a cool, well-ventilated storage environment. Give each pumpkin space and inspect your harvest regularly.
With these simple habits, many pie pumpkins can remain usable for months, depending on the variety and conditions.
The reward is straightforward: less wasted produce, more homegrown ingredients, and the satisfaction of enjoying your garden’s autumn harvest well into the colder season.
External Sources
1. Oregon State University Extension — Pumpkin Harvest and Storage
Explains proper harvesting, curing, and storage methods to extend pumpkin shelf life.
2. University of Minnesota Extension — Harvesting and Storing Pumpkins
Provides recommendations for curing temperatures, humidity, and storage conditions.