
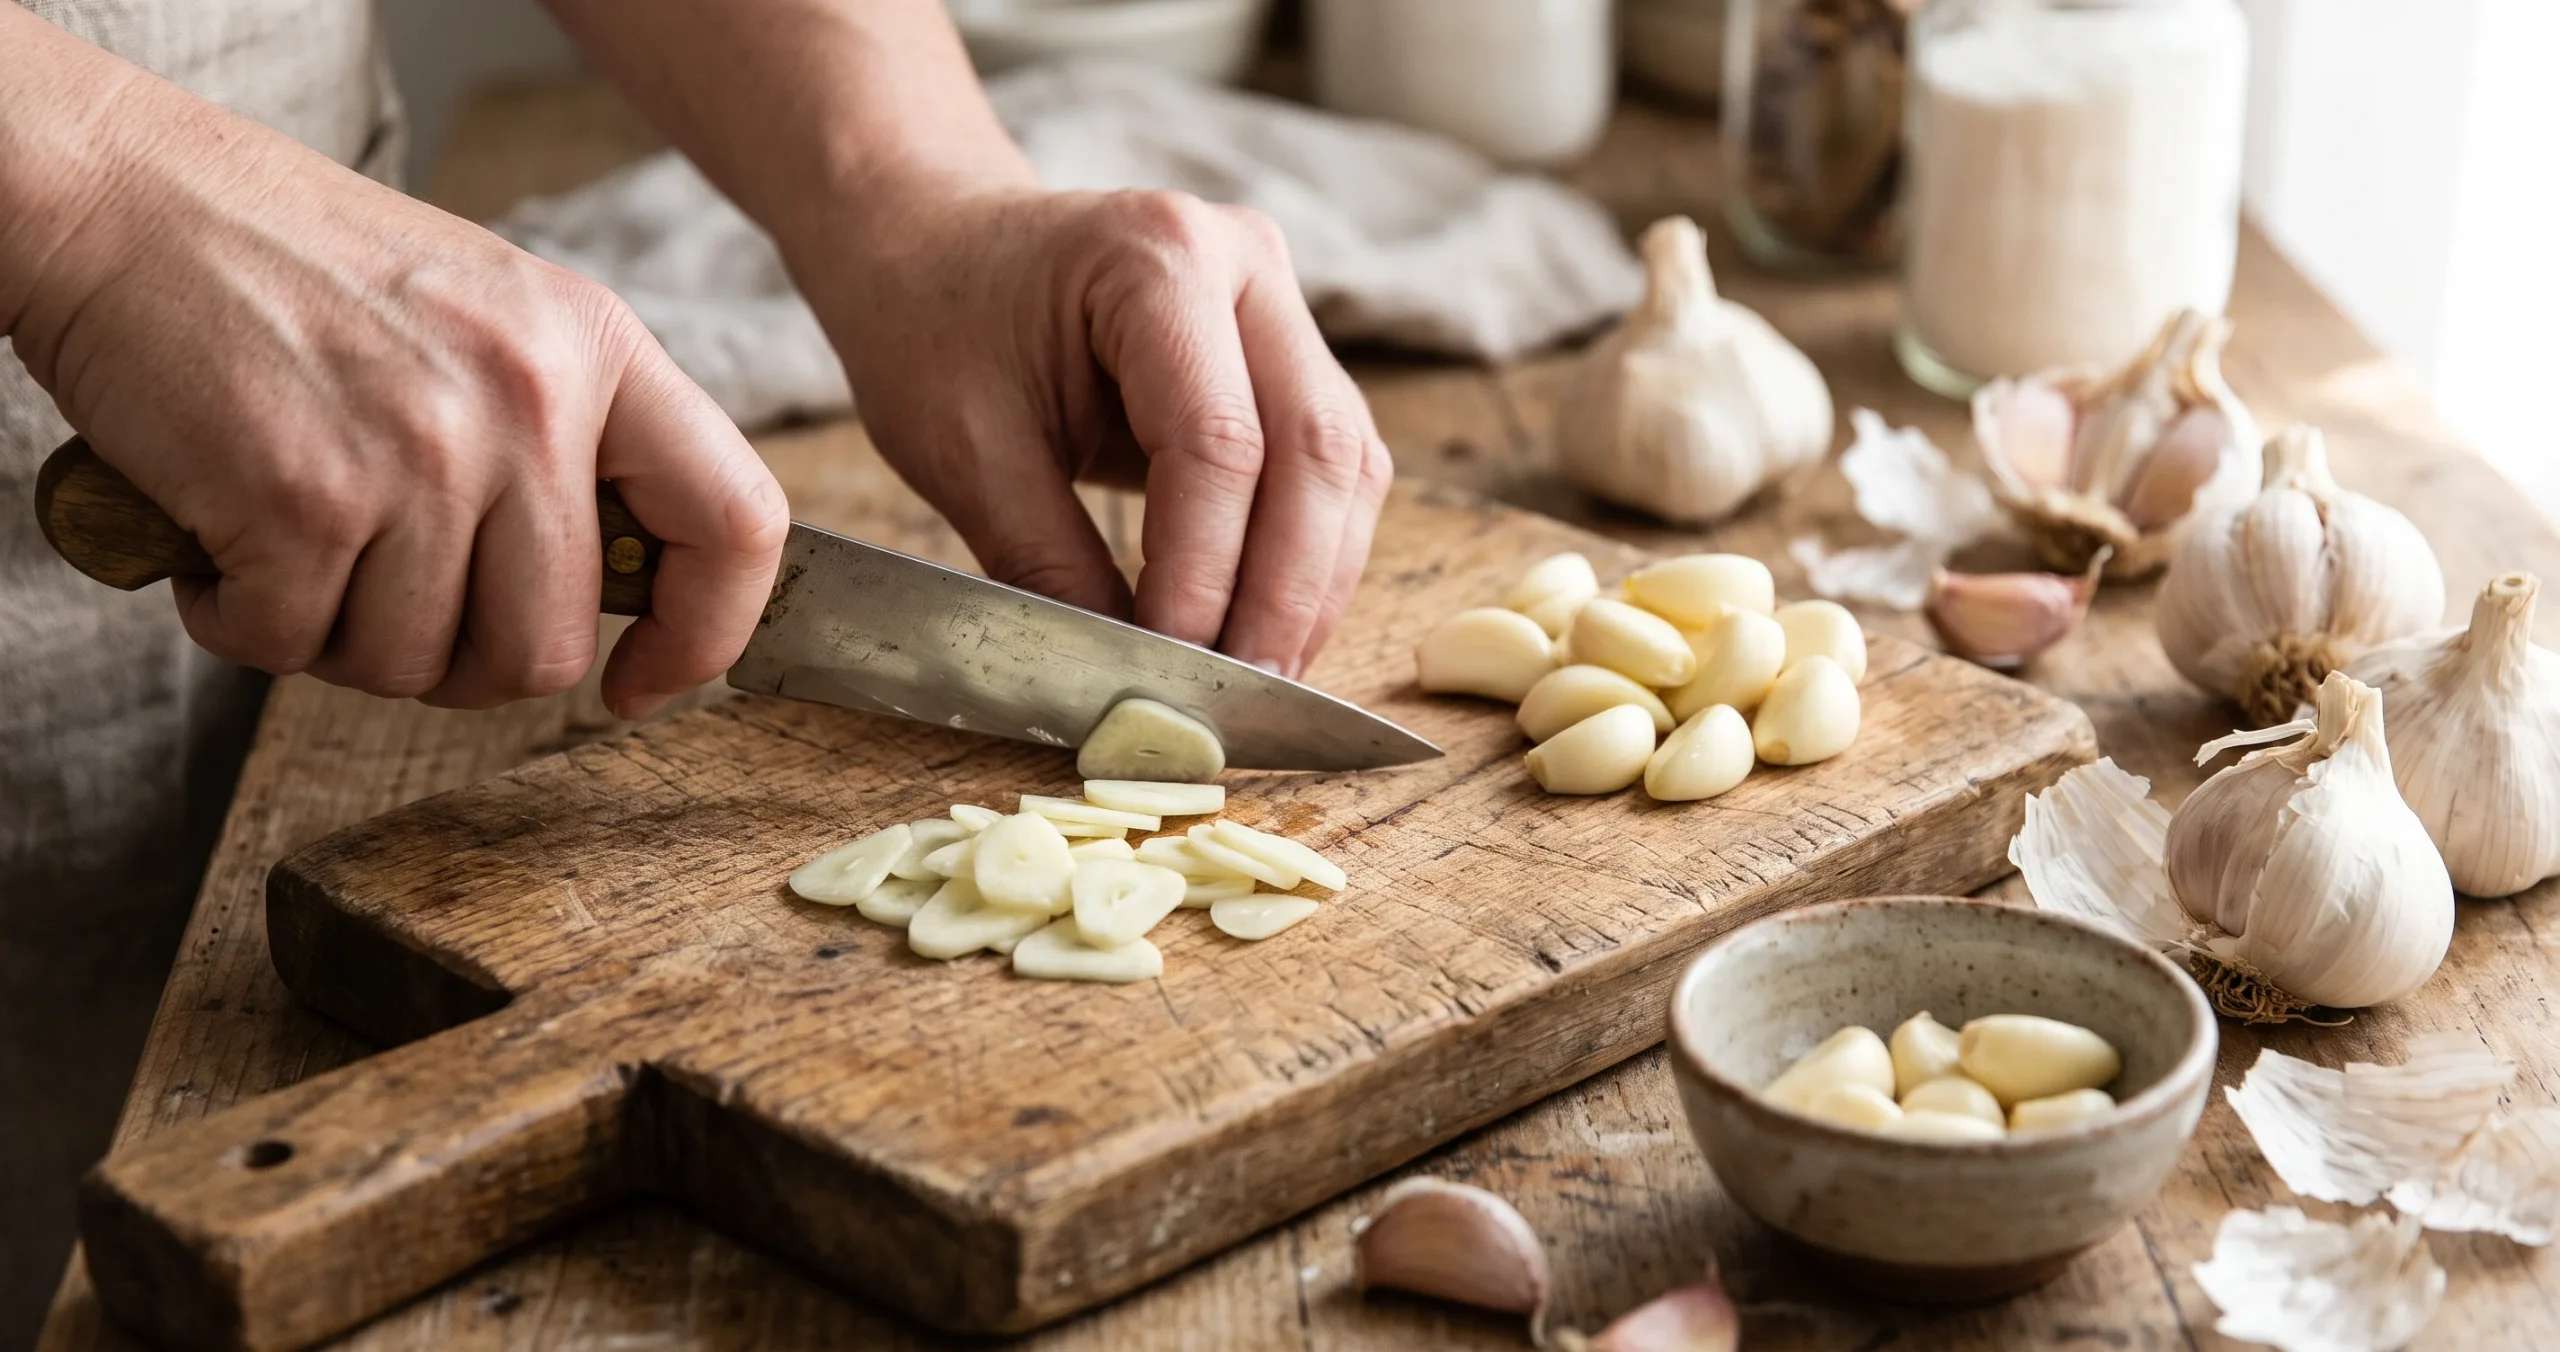
Learning how to dry garlic at home is a practical way to preserve fresh garlic and create flavorful ingredients for everyday cooking. Whether you grow garlic in your backyard garden or purchase fresh bulbs from a farmers market, dehydration allows you to turn individual cloves into convenient dried garlic flakes or homemade garlic powder.
Drying removes much of the moisture from garlic, making it less suitable for microbial growth when the finished product is properly dehydrated and protected from moisture during storage.
Unlike fresh garlic, which requires suitable storage conditions to maintain its quality, dehydrated garlic can be kept in sealed containers and used in small amounts whenever needed.
There are several ways to dry garlic at home. A food dehydrator provides controlled temperatures and consistent airflow, while an oven can work when it maintains a sufficiently low temperature.
The key to successful dehydration is preparing evenly sized slices, drying them thoroughly, and storing the finished garlic correctly.
This guide explains the entire process, including recommended drying temperatures, practical techniques, common mistakes, and essential food safety considerations.
Table of Contents
- Why Dry Garlic at Home?
- Choosing Fresh Garlic for Dehydration
- How to Prepare Garlic for Drying
- How to Dry Garlic in a Food Dehydrator
- How to Dry Garlic in an Oven
- How to Tell When Garlic Is Completely Dry
- How to Make Homemade Garlic Powder
- How to Store Dried Garlic Safely
- Common Garlic Drying Mistakes
- Frequently Asked Questions
- Conclusion
Why Dry Garlic at Home?
Garlic is an essential ingredient in many American kitchens, adding flavor to soups, roasted vegetables, sauces, marinades, and countless other dishes.
Drying garlic offers several practical advantages.
Reduces Food Waste
Fresh garlic bulbs can eventually sprout, soften, or deteriorate during storage. Dehydrating sound cloves provides another way to preserve garlic before its quality declines.
Creates Convenient Cooking Ingredients
Dried garlic flakes can be added directly to soups, stews, and sauces.
Homemade garlic powder is useful for seasoning blends, roasted potatoes, vegetables, and dry rubs.
Saves Storage Space
Dehydrated garlic occupies less space than fresh bulbs because much of its water has been removed.
Makes Use of Garden Harvests
Gardeners who harvest more garlic than they can use fresh may choose to dry a portion of their crop.
For additional guidance on collecting mature bulbs, see How to Harvest Garlic from Your Garden.
Drying complements traditional bulb curing, but the two processes serve different purposes.
Curing prepares whole garlic bulbs for storage, while dehydration removes substantially more moisture from peeled and sliced cloves.
Choosing Fresh Garlic for Dehydration
The quality of dried garlic begins with the condition of the fresh cloves.
Choose firm, healthy garlic bulbs with intact cloves and a characteristic fresh garlic aroma.
Suitable garlic should be free from visible mold, unusual discoloration, extensive bruising, or soft, deteriorating areas.
Both hardneck and softneck garlic varieties can be dehydrated.
Hardneck varieties often have larger cloves that are relatively easy to peel, while softneck varieties commonly contain more cloves per bulb.
Flavor intensity varies by variety, growing conditions, and storage history.
Freshly harvested garlic should be handled carefully and cleaned before preparation.
If you are preserving garlic from your own garden, proper postharvest handling helps maintain bulb quality.
See How to Cure Garlic Bulbs After Harvest for additional information.
Avoid using moldy or rotten garlic for dehydration. Removing visible spoilage does not reliably make deteriorated produce suitable for preservation.
How to Prepare Garlic for Drying
Proper preparation helps garlic dry evenly and reduces the chance of retaining moisture inside thicker pieces.
Selecting Healthy Cloves
Separate the garlic bulb into individual cloves.
Inspect each clove and discard any that show mold, decay, or significant deterioration.
Remove loose outer skins and any visible dirt.
Use clean hands, utensils, and preparation surfaces to minimize contamination.
Peeling Garlic
Remove the papery skin surrounding each clove.
A small paring knife can help loosen stubborn skins.
Alternatively, gently press a clove with the flat side of a knife to loosen its covering.
Avoid crushing the garlic excessively if you intend to produce uniform slices.
Slicing Garlic Evenly
Cut peeled cloves into thin, consistent slices.
Approximately 1/8 inch, or about 3 millimeters, is a practical starting thickness for home dehydration.
Thinner slices generally dry faster than thicker pieces.
Use a sharp knife or an appropriate slicing tool to produce uniform pieces.
Spread the slices in a single layer on clean dehydrator trays or oven-safe drying racks.
Leave enough space for air to circulate.
Overlapping pieces can trap moisture and produce uneven drying.
How to Dry Garlic in a Food Dehydrator
A food dehydrator is one of the most convenient tools for dehydrating garlic because it provides controlled heat and continuous airflow.
University food preservation guidance commonly recommends drying vegetables at approximately 125–135°F (52–57°C), with garlic-specific recommendations depending on the extension publication and equipment.
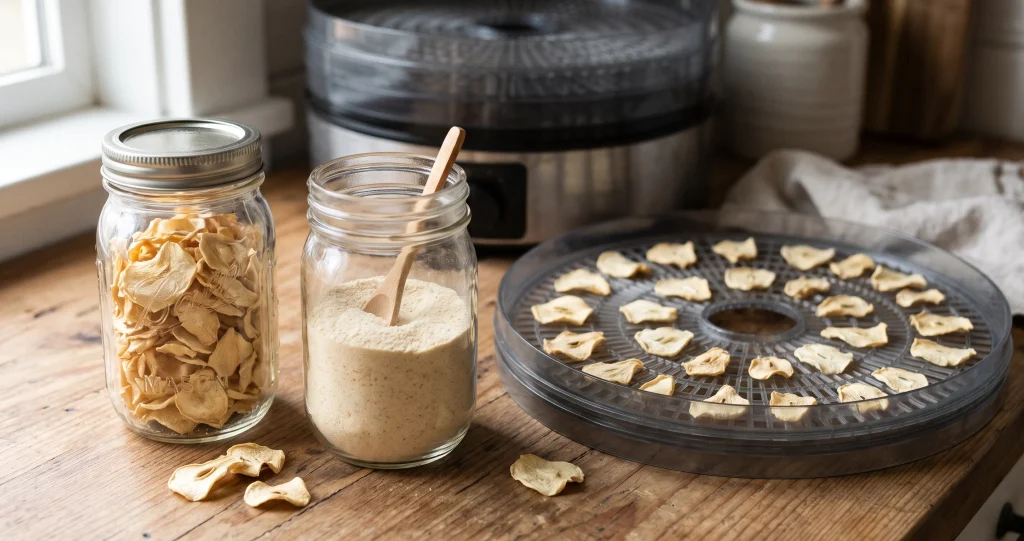
Step-by-Step Dehydrator Method
Step 1: Prepare the garlic.
Peel healthy cloves and cut them into thin, evenly sized slices.
Step 2: Arrange the slices.
Place garlic pieces in a single layer on dehydrator trays.
Allow air to circulate between pieces.
Step 3: Set the temperature.
Use approximately 125°F (52°C) as a practical garlic-drying setting, following the temperature recommended by your dehydrator manufacturer and a tested preservation guide.
Step 4: Begin drying.
Garlic slices may require several hours to dry completely.
A working estimate is approximately 6–12 hours for thin slices, but this is a planning range rather than a guaranteed completion time.
Actual drying time depends on slice thickness, dehydrator design, humidity, tray loading, and airflow.
Step 5: Check for dryness.
Begin checking the garlic as the pieces become visibly dry.
Properly dried slices should be hard and brittle rather than flexible or leathery.
Step 6: Cool before storing.
Allow the dried garlic to cool completely before placing it in containers.
Warm garlic can create condensation inside sealed jars.
Practical Tip
Garlic has a strong aroma that may transfer to other foods during dehydration.
Drying garlic separately from delicate fruits or herbs can help prevent unwanted flavor transfer.
How to Dry Garlic in an Oven
An oven can also be used to dry garlic, although temperature control and airflow may be less consistent than in a dedicated dehydrator.
Step-by-Step Oven Method
Step 1: Prepare thin garlic slices.
Peel and slice the cloves evenly, aiming for approximately 1/8-inch thickness.
Step 2: Arrange the garlic.
Spread slices in a single layer on clean, oven-safe racks or suitable trays.
Avoid overcrowding.
Step 3: Use a low temperature.
Food preservation guidance generally recommends low drying temperatures around 140°F (60°C) for oven dehydration.
Many conventional ovens cannot maintain temperatures this low.
If your oven operates only at substantially higher temperatures, a food dehydrator is the more reliable option.
Step 4: Maintain airflow.
Use the oven’s convection setting when appropriate.
Some extension publications describe leaving an oven door slightly open to release moisture. However, this method is unsuitable for certain appliances, particularly gas ovens, and should only be considered when the manufacturer’s instructions permit it.
Step 5: Monitor the garlic.
Check the slices periodically and rotate trays if necessary.
Drying may take several hours, depending on the oven and garlic thickness.
Step 6: Test the finished pieces.
Remove the garlic when it is completely dry and brittle.
Avoid excessive browning, which can produce bitter flavors.
Dehydrator vs. Oven
| Feature | Food Dehydrator | Conventional Oven |
|---|---|---|
| Temperature control | Designed for low-temperature drying | Depends on oven model |
| Air circulation | Usually continuous | Often less consistent |
| Energy use | Generally efficient for small drying batches | Varies by appliance |
| Monitoring | Periodic checks | Often requires closer attention |
| Best application | Regular garlic dehydration | Occasional drying when suitable |
The most important factor is achieving thorough dehydration without overheating the garlic.
How to Tell When Garlic Is Completely Dry
Determining dryness is one of the most important steps in preserving garlic safely.
Garlic that retains excessive moisture can deteriorate during storage.
Properly dried garlic slices should have several recognizable characteristics.
Brittle texture: The pieces should snap or break rather than bend.
Dry surfaces: There should be no visible moisture or sticky areas.
Consistent appearance: Thick pieces should be checked separately because they may retain moisture after thinner slices have dried.
Characteristic aroma: The garlic should retain a recognizable garlic smell without sour, musty, or otherwise unusual odors.
To test the batch, remove several of the thickest pieces and allow them to cool.
Break the pieces and inspect their interiors.
If they remain soft, flexible, or damp, continue drying.
A garlic slice that feels dry while warm may reveal remaining flexibility after cooling.
For this reason, cooling before the final dryness assessment is helpful.
Never rely exclusively on the number of hours listed in a recipe.
Equipment differences and environmental conditions can significantly affect drying time.
How to Make Homemade Garlic Powder
Once garlic slices are completely dry, they can be converted into homemade garlic powder.
The process requires only a grinder and a suitable storage container.
Step 1: Cool the Dried Garlic
Allow the slices to reach room temperature.
This helps prevent condensation and reduces the possibility of moisture accumulating during grinding.
Step 2: Grind the Garlic
Place a small quantity of dried slices into a clean, completely dry spice grinder.
Pulse until the garlic reaches the desired texture.
For coarse garlic granules, stop grinding while small particles remain visible.
For fine powder, continue grinding until the particles become smaller and more uniform.
Step 3: Allow the Powder to Settle
Wait briefly before opening the grinder.
Fine garlic particles can become airborne during grinding.
Step 4: Check the Texture
Inspect the powder for larger pieces.
If necessary, grind the remaining coarse particles again.
Step 5: Store Immediately
Transfer the powder into a clean, dry, airtight container.
Keep it protected from moisture, heat, and direct sunlight.
Garlic Flakes vs. Garlic Powder
Dried garlic flakes consist of dehydrated slices or coarsely broken pieces.
Garlic powder consists of finely ground dehydrated garlic.
Both products begin with the same basic drying process.
The main difference is particle size and how quickly the garlic disperses into food.
Flakes work well in soups and slow-cooked dishes, while powder distributes more evenly through seasoning blends.
How to Store Dried Garlic Safely
Proper storing of dried garlic helps preserve flavor and prevents moisture-related spoilage.
Use clean, completely dry containers with tight-fitting lids.
Glass jars and food-grade airtight containers are practical options.
Store the containers in a cool, dry, dark location away from direct sunlight and cooking steam.
Avoid keeping garlic powder directly above a stove, where heat and humidity fluctuate.
Preventing Moisture Accumulation
Allow dried garlic to cool completely before packaging.
Check containers periodically for signs of moisture.
Clumping in garlic powder may indicate moisture absorption, although some clumping can also occur without spoilage.
If dried garlic becomes damp, develops visible mold, or produces an unusual odor, discard it.
Never taste suspicious garlic to determine whether it is safe.
How Long Does Dried Garlic Last?
Storage quality depends on the initial dryness, packaging, humidity, temperature, and handling.
Rather than relying on a fixed shelf-life guarantee, inspect stored garlic regularly and use it while its flavor and aroma remain satisfactory.
Small batches are often practical for home cooks because they can be used before substantial flavor loss occurs.
For additional preservation methods, explore How to Preserve Garden Vegetables at Home.
Important Food Safety Note: Dried Garlic vs. Garlic in Oil
Dehydrated garlic and garlic stored in oil require different safety precautions.
Garlic is a low-acid food, and oil creates an oxygen-limited environment.
Improperly prepared garlic-in-oil mixtures can support the growth of Clostridium botulinum, the bacterium responsible for botulism.
Home-prepared garlic-in-oil mixtures should not be stored at room temperature unless they have been processed using a scientifically validated preservation method.
Refrigeration and limited storage periods are necessary for ordinary homemade garlic-in-oil preparations, according to established food safety guidance.
Adding dried garlic to oil does not automatically make the mixture shelf-stable.
Follow tested recipes from university extension programs or recognized food preservation authorities.
Common Garlic Drying Mistakes
Even a simple preservation method can produce disappointing results when preparation or storage is inconsistent.
Cutting Garlic Too Thickly
Thick slices take longer to dry and may retain moisture internally.
Use thin, uniform pieces whenever possible.
Overcrowding the Trays
Overlapping garlic reduces airflow and can create uneven drying.
Arrange slices in a single layer.
Using Excessive Heat
High temperatures may cause browning, scorching, or flavor deterioration before the garlic dries uniformly.
Use a suitable low-temperature drying method.
Storing Garlic While Warm
Warm dried garlic can produce condensation when sealed inside a cool container.
Always allow it to cool before packaging.
Grinding Partially Dried Garlic
Residual moisture can cause garlic powder to clump and deteriorate.
Only grind pieces that are fully brittle.
Using Damaged or Moldy Cloves
Dehydration is not a reliable way to make spoiled garlic safe.
Begin with sound, fresh cloves.
Ignoring Storage Conditions
Humidity, direct sunlight, and repeated exposure to cooking steam can reduce the quality of dried garlic.
Store containers in a consistently dry location.
Frequently Asked Questions
1. What is the best temperature for dehydrating garlic?
A food dehydrator setting around 125°F (52°C) is a practical option for thin garlic slices. Some vegetable-drying guidance uses temperatures up to approximately 135–140°F (57–60°C). Follow a tested preservation guide and the equipment manufacturer’s instructions.
2. How long does it take to dry garlic at home?
Thin garlic slices may take approximately 6–12 hours in a dehydrator, but actual drying time varies with equipment, thickness, humidity, and airflow. Complete dryness is more important than a fixed drying time.
3. Can I make garlic powder without a dehydrator?
Yes. A conventional oven capable of maintaining a suitable low drying temperature can be used. Once the garlic is completely dry and brittle, grind it into powder using a clean, dry spice grinder.
4. Should garlic be blanched before dehydrating?
Garlic is commonly dehydrated after peeling and slicing, without blanching. Follow the preparation steps in a reliable garlic-specific drying guide rather than applying blanching instructions intended for other vegetables.
5. How can I prevent homemade garlic powder from clumping?
Dry the garlic completely, allow it to cool before grinding, and store the finished powder in a tightly sealed container away from humidity and steam. Prepare manageable batches and use dry utensils.
Conclusion
Learning how to dry garlic at home provides a convenient way to preserve fresh cloves and prepare flavorful ingredients for everyday cooking.
Whether you choose a food dehydrator or a suitable low-temperature oven, successful results depend on uniform slicing, controlled heat, adequate airflow, and thorough drying.
Properly dehydrated garlic can be stored as flakes, granules, or finely ground powder.
The finished product should remain dry, brittle before grinding, and protected from moisture during storage.
By following reliable food preservation guidance and using healthy garlic cloves, home cooks and gardeners can create practical homemade seasonings while reducing waste from fresh harvests.
External Sources
1. Oregon State University Extension — Preserving Garlic: drying prepared garlic at 140°F (60°C) for approximately 2–3 hours, or until crisp, using its specified preparation method, Read the garlic preservation guide.