
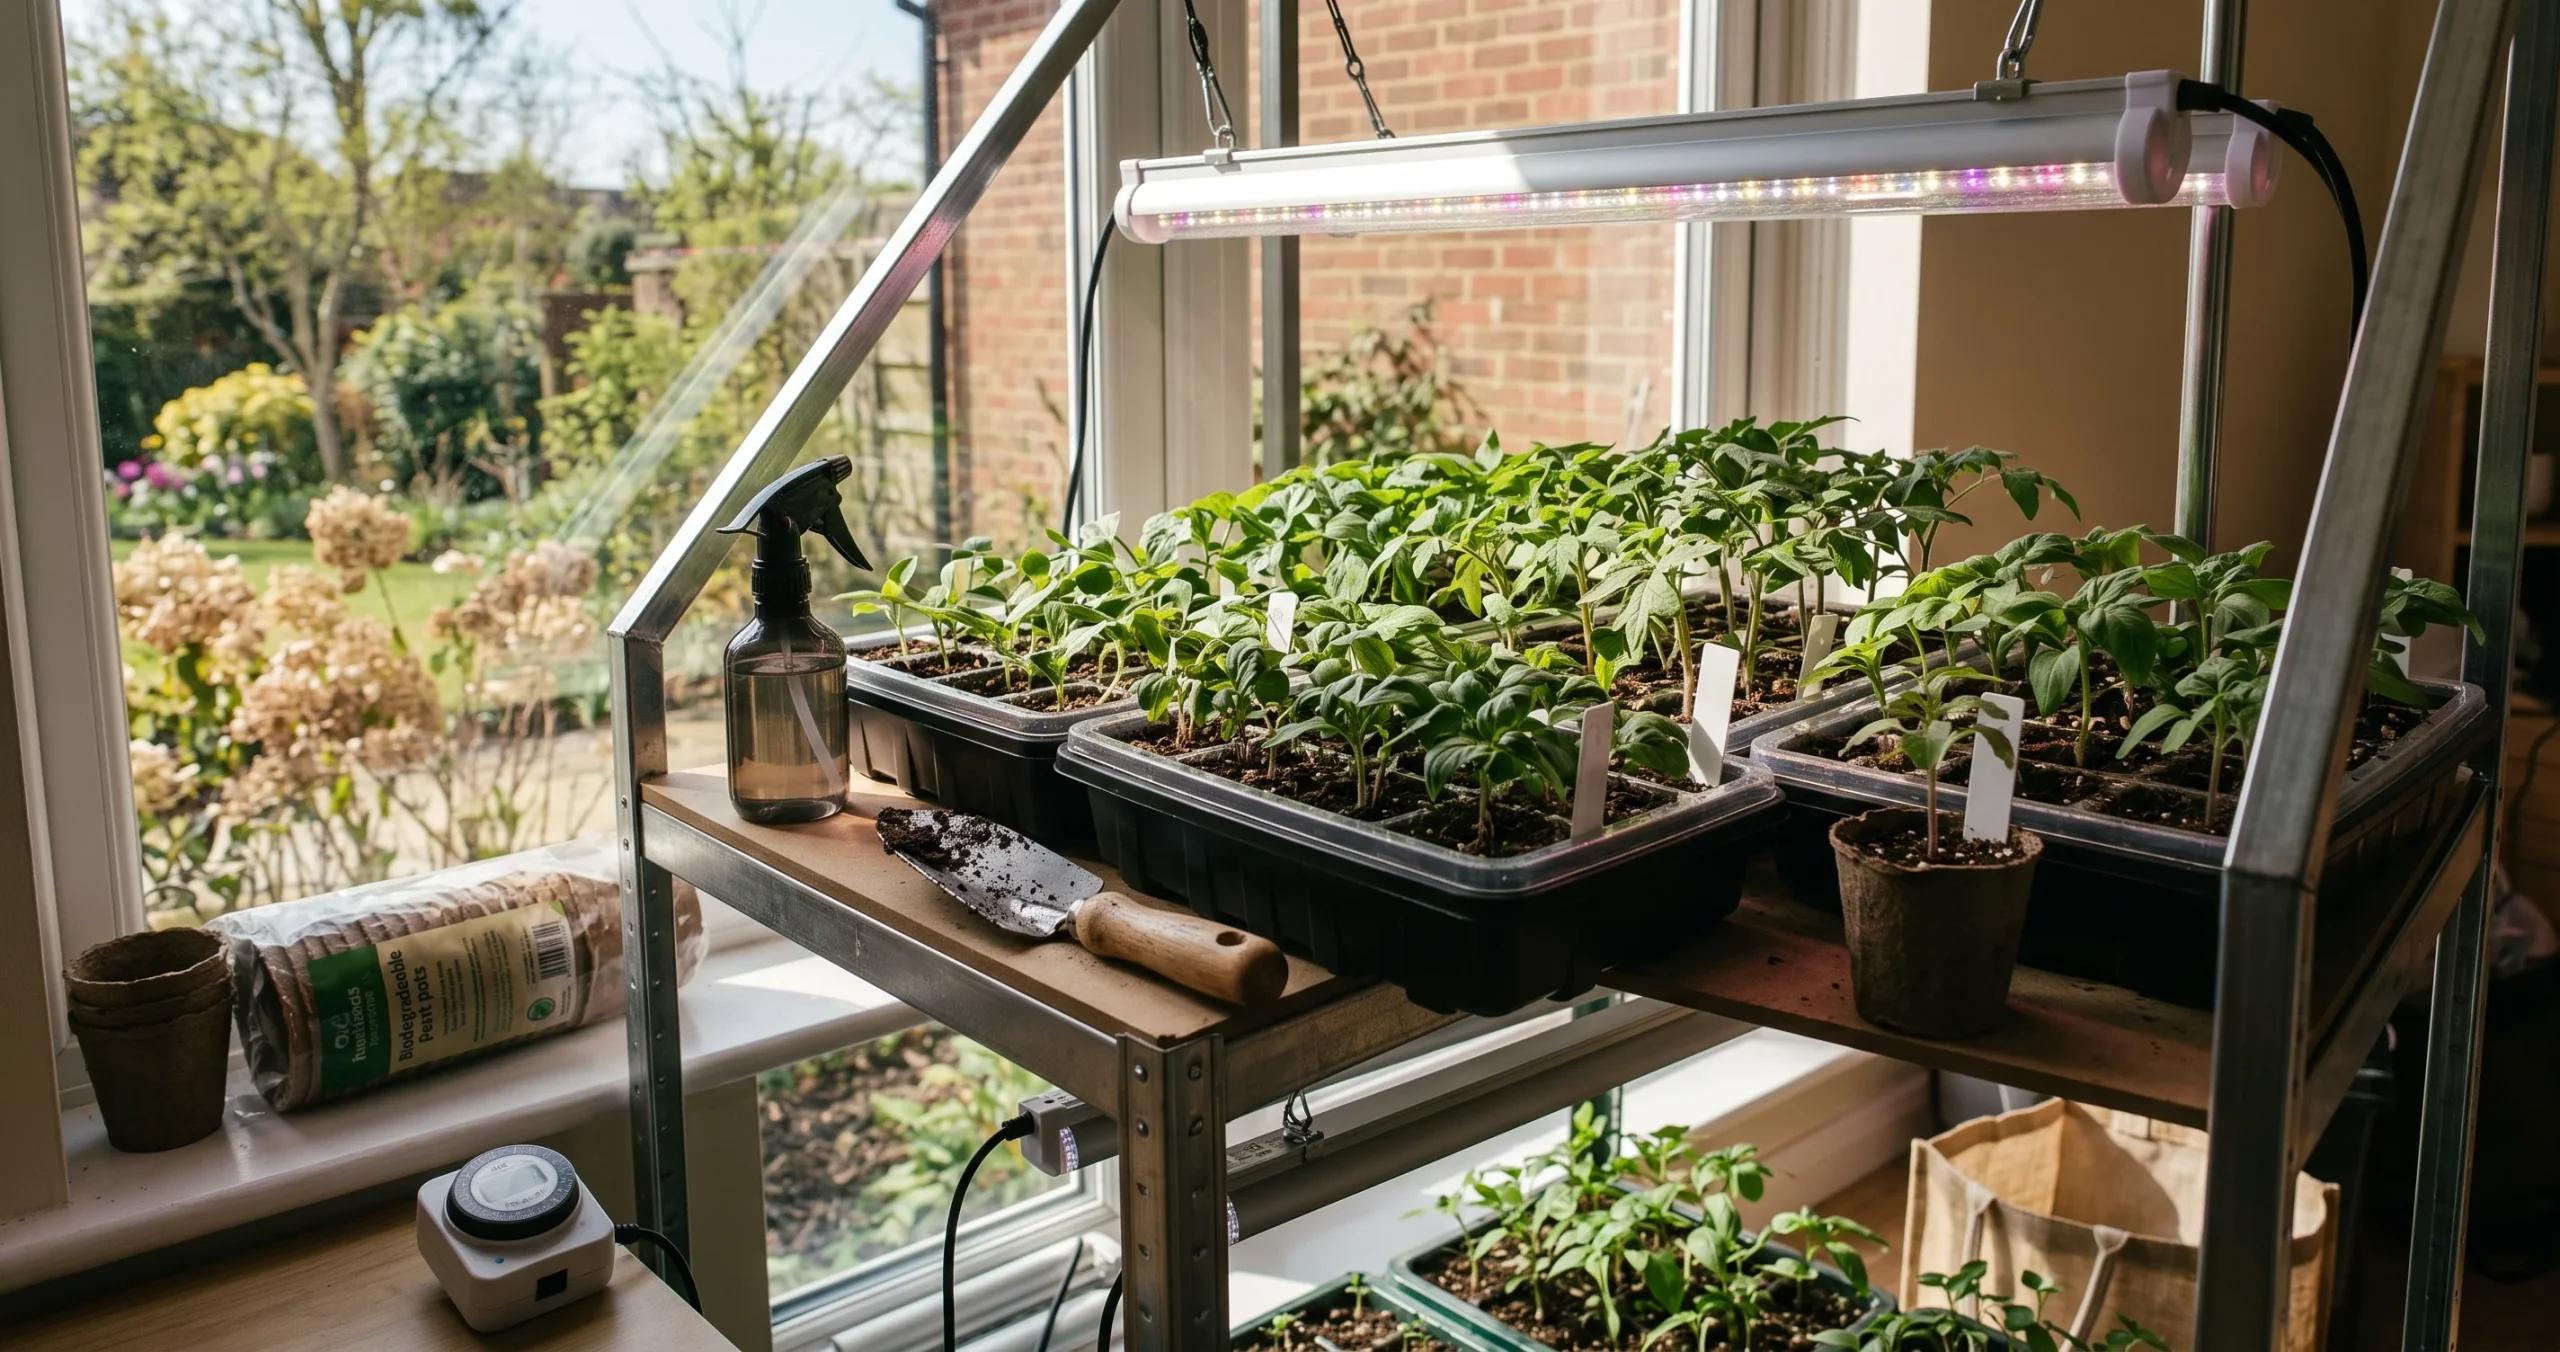
Starting your garden weeks before outdoor conditions cooperate is one of the biggest advantages of growing from seed. With the right setup, starting seeds indoors grow lights can produce compact, vigorous seedlings that are ready to take off when spring finally arrives.
You do not need a greenhouse or an elaborate growing room. A shelf, seed-starting trays, a reliable light, and careful timing can turn a small indoor space into a productive nursery for tomatoes, peppers, broccoli, flowers, herbs, and many other plants.
Table of Contents
- Why Start Seeds Indoors?
- Which Seeds Benefit Most From an Indoor Start?
- Starting Seeds Indoors Grow Lights: The Basic Setup
- Choosing the Right Grow Light
- How Close Should Grow Lights Be?
- How Many Hours of Light Do Seedlings Need?
- Timing Seeds Backward From the Last Frost
- Preventing Leggy Seedlings
- Preventing Damping Off
- Watering and Feeding Young Seedlings
- Hardening Off Before Transplanting
- Common Seed-Starting Myths
- Frequently Asked Questions
- Conclusion
Why Start Seeds Indoors?
Direct sowing is wonderfully simple: put a seed in the garden and allow nature to do the rest. The problem is that spring weather rarely follows a gardener’s ideal schedule.
Soil may remain cold long after the days begin feeling pleasant. Heavy rain can rot seeds, late frosts can damage tender seedlings, and some warm-season crops simply need more growing time than a local outdoor season provides.
Starting indoors gives you greater control over temperature, moisture, and light during the plant’s most vulnerable stage.
It is particularly valuable for crops such as tomatoes, peppers, and eggplants. Instead of waiting for outdoor soil to warm enough for germination, you can transplant established young plants once conditions become suitable.
Indoor seed starting also opens the door to varieties that local garden centers may not sell. Seed catalogs often offer dozens or hundreds of cultivars compared with the relatively small selection of transplants available locally.
Which Seeds Benefit Most From an Indoor Start?
Not every vegetable needs to begin life under a grow light.
Tomatoes, peppers, eggplants, broccoli, cabbage, cauliflower, onions, and many annual flowers are good candidates. Slow-growing plants and crops requiring a long warm season benefit particularly from the extra weeks indoors.
Other plants are usually easier to direct sow. Beans, peas, carrots, radishes, and similar fast-growing crops often perform perfectly well when planted directly in suitable garden soil.
Cucumbers, melons, and squash can be started indoors, but they grow rapidly and generally should not remain in small containers for long. Starting these crops only a few weeks before transplanting helps prevent oversized, root-bound seedlings.
Starting Seeds Indoors Grow Lights: The Basic Setup
A practical indoor seed-starting station can be surprisingly simple.
You need clean containers with drainage holes, fresh seed-starting mix, seeds, labels, a waterproof tray, and an adjustable grow light. A timer is inexpensive but extremely useful because it keeps the daily lighting schedule consistent.
Use a lightweight, sterile or pathogen-free seed-starting medium rather than ordinary garden soil. Garden soil can compact badly in containers and may introduce organisms associated with seedling diseases.
Moisten the mix before filling your containers. It should feel damp but not waterlogged.
Plant seeds according to the depth recommended on the packet. Once seedlings emerge, strong light becomes critical.
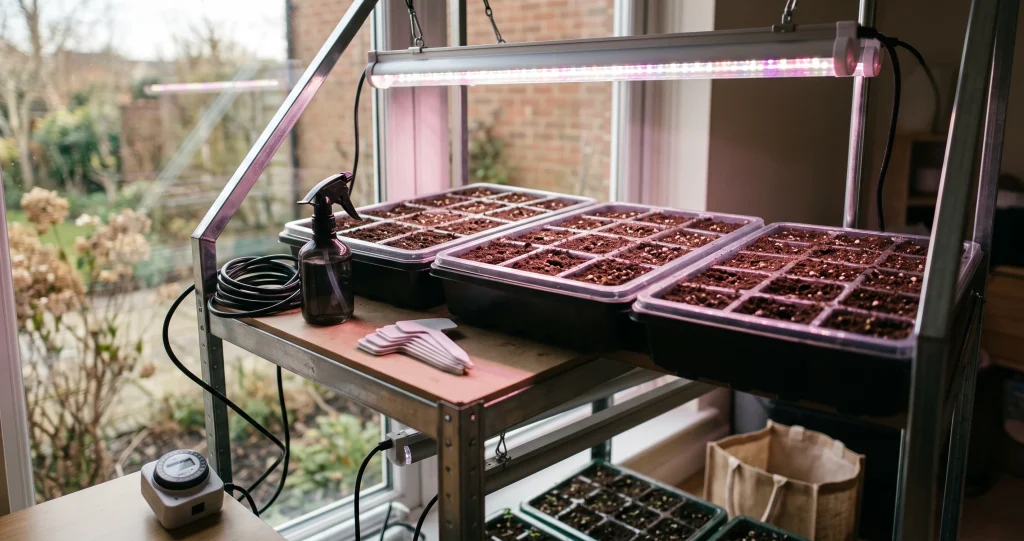
Choosing the Right Grow Light
You do not necessarily need an expensive specialty fixture.
Modern LED grow lights are convenient because they can provide substantial light while using relatively little electricity and producing less heat than older technologies. Fluorescent fixtures can also successfully raise seedlings.
University of Maryland Extension recommends broad-spectrum LED grow lights that resemble daylight or fluorescent fixtures with cool-white tubes as practical choices for growing transplants indoors.
University of Maryland Extension guide to starting vegetable seeds indoors
For ordinary vegetable seedlings, the goal is not to reproduce an expensive commercial greenhouse. You need enough usable light to keep stems short, leaves developing normally, and seedlings growing steadily.
An adjustable fixture is particularly useful. As plants grow taller, you can raise the lamp while maintaining an appropriate distance from their leaves.
How Close Should Grow Lights Be?
Light intensity decreases as the distance between the lamp and seedlings increases. This is why a bright-looking lamp positioned far above a tray can still produce stretched seedlings.
For typical home LED and fluorescent seed-starting fixtures, University of Maryland Extension advises keeping lights roughly 2 to 6 inches above plants and adjusting the height as seedlings grow. The exact ideal distance varies with the intensity and design of the fixture.
University of Minnesota Extension similarly recommends keeping lights no more than about 4 inches above seedlings, with approximately 2 inches described as ideal for its suggested setup.
Always check the manufacturer’s instructions for powerful LED fixtures, since high-output lights may require greater distances.
If seedlings stretch dramatically toward the lamp, inadequate light is one of the first things to investigate.
How Many Hours of Light Do Seedlings Need?
Seedlings need a night as well as a day.
A useful target for many vegetable seedlings is approximately 14 to 16 hours of artificial light per day, followed by a dark period. University of Maryland Extension recommends 14–16 hours for seedlings, while University of Minnesota gives a general range of 12–16 hours.
A simple outlet timer removes the need to remember to switch the fixture on and off every day.
Leaving grow lights running 24 hours a day is generally unnecessary. More hours do not automatically mean stronger plants.
Timing Seeds Backward From Your Last Frost Date
One of the most common indoor seed-starting mistakes happens before the first seed even touches soil: gardeners start too early.
Begin with your area’s expected last spring frost date. Then check the seed packet for the recommended indoor starting period and count backward.
As general examples, tomatoes are commonly started around six weeks before their anticipated outdoor planting period, while peppers and eggplants often receive approximately eight weeks. Fast-growing cucumbers, squash, and melons usually need much less indoor time. University of Maryland’s guidance, for example, lists tomatoes at about six weeks, peppers and eggplants at about eight weeks, and cucumbers and squash at four weeks or less before the relevant planting period.
These are starting points rather than universal calendar dates. Your climate, crop, cultivar, transplant date, and seed-packet instructions matter.
Starting earlier is not automatically better. Seedlings kept indoors too long can become stretched, crowded, nutrient-stressed, or root-bound.
If tomatoes are part of your spring plan, our guide to growing tomatoes in a 5-gallon bucket can help you plan where compact transplants can go after hardening off.
Preventing Leggy Seedlings
A seedling with a long, thin stem leaning desperately toward the light is sending a clear signal.
Insufficient light is a major cause of leggy growth. Keeping the grow light close enough and providing an adequate photoperiod encourages more compact development.
Starting seeds too early can compound the problem. Even a good lighting setup has limits when large seedlings spend weeks crowded together indoors.
Overly warm growing conditions after germination may also encourage rapid growth. Many seedlings can be grown somewhat cooler after they have sprouted than during germination.
Do not attempt to solve legginess by leaving weak lights running continuously. Improve light intensity and positioning instead.
Preventing Damping Off
Few seed-starting problems are more frustrating than watching healthy-looking seedlings suddenly collapse at soil level.
This is often damping off, a disease problem associated with several soilborne pathogens. Excessive moisture, poor drainage, crowding, cool conditions, and low light can create conditions favorable to the disease.
Prevention begins with cleanliness.
Use clean trays and fresh growing medium rather than garden soil or previously used seed-starting mix. Choose containers with adequate drainage and avoid keeping the growing medium permanently saturated.
Give seedlings sufficient space and air circulation. Water according to the moisture level of the growing medium rather than following a rigid daily schedule.
Once seedlings have emerged, remove humidity covers that were used during germination. Constantly trapping moisture around young seedlings can create an unnecessarily humid environment.
Watering and Feeding Young Seedlings
Seed-starting mix should remain consistently moist during germination, but there is an important difference between moist and soaked.
Check the medium itself rather than judging only by the surface. Bottom watering can work particularly well once seedlings are established because moisture moves upward through the drainage holes.
Do not allow containers to sit indefinitely in standing water. After the growing medium has absorbed sufficient moisture, excess water should be removed.
Young seedlings initially obtain much of what they need from their seed reserves, and some commercial growing mixes already contain nutrients. Once true leaves develop, seedlings grown in nutrient-free media can be fed carefully with an appropriately diluted fertilizer according to product directions.
Heavy fertilization does not create stronger seedlings. Excess salts can damage tender roots and create additional stress.
Hardening Off Before Transplanting
A seedling raised indoors has lived a sheltered life.
Even under powerful grow lights, it has not experienced outdoor wind, rapidly changing temperatures, or the intensity of direct sunlight. Moving seedlings directly from a shelf into full spring sunshine can result in wilting or leaf injury.
Hardening off gradually introduces plants to outdoor conditions.
University of Minnesota Extension recommends beginning roughly two weeks before planting outdoors. Seedlings can initially spend a few hours outside in a shaded, wind-protected location before being brought back indoors, then receive progressively longer exposure and more sunlight over subsequent days.
Another extension guideline describes a roughly 7–10 day transition, illustrating that the exact schedule can vary with conditions and plants.
Watch the weather throughout this period. Tender warm-season vegetables should still be protected from frost and damaging cold.
Common Seed-Starting Myths
Myth: A sunny window is always enough
A bright window may look extremely sunny to human eyes, but many windowsills provide insufficient or inconsistent light for compact seedlings.
University extension guidance specifically notes that window light is often inadequate for strong seedling development.
Myth: Seeds should be started as early as possible
Earlier does not necessarily mean better.
The objective is to produce a healthy transplant of an appropriate size at the time outdoor conditions become suitable—not the oldest plant possible.
Myth: Grow lights must stay on continuously
Seedlings do not normally need 24-hour illumination. A daily light-dark cycle is appropriate, with approximately 12–16 hours of light commonly recommended depending on the crop and growing setup.
Myth: More water speeds growth
Overwatering can do exactly the opposite.
Waterlogged growing media reduce healthy root conditions and contribute to an environment favorable to damping-off organisms.
Myth: Expensive specialty equipment guarantees better seedlings
Equipment helps, but consistency matters more.
Correct timing, adequate light, suitable moisture, clean growing media, reasonable temperatures, and gradual hardening off are the fundamentals.
Frequently Asked Questions
How far should LED grow lights be from seedlings?
There is no universal distance for every LED because fixtures vary dramatically in intensity. For typical home seed-starting LED or fluorescent fixtures, extension recommendations often place lights within several inches of seedlings; University of Maryland gives approximately 2–6 inches. Always follow the specifications for your particular fixture.
How long should grow lights stay on?
For many vegetable seedlings, about 14–16 hours per day is a practical target. A timer makes the schedule consistent while preserving a dark period overnight.
Can ordinary LED bulbs start seeds?
Potentially, provided the plants receive sufficient intensity and an appropriate spectrum. Purpose-designed broad-spectrum LED grow fixtures make coverage and positioning easier, particularly when growing full trays.
When should I start tomato seeds indoors?
A common guideline is around six weeks before the expected transplanting period, although seed-packet recommendations and local growing conditions should guide your final date.
Why are my seedlings tall and thin?
Insufficient light is one of the most frequent causes. Check the lamp’s distance and intensity first, then consider whether temperatures are excessively warm or the seedlings were started too early.
Should I use garden soil for starting seeds?
A fresh, lightweight seed-starting medium is preferable. Garden soil may drain poorly in small cells and can introduce organisms that increase disease problems.
Do seedlings really need hardening off?
Yes. Gradual acclimation helps indoor-grown seedlings adjust to stronger sunlight, wind, and temperature fluctuations before permanent transplanting.
Conclusion
Successful indoor seed starting is less about buying elaborate equipment and more about controlling a handful of important variables.
Time sowing dates backward from the appropriate outdoor transplant period, provide strong artificial light close to the seedlings, maintain sensible moisture, keep containers and growing media clean, and avoid starting plants unnecessarily early.
A good starting seeds indoors grow lights setup can transform a shelf or spare corner into several weeks of valuable growing time. Instead of waiting for spring weather to become perfect, your tomatoes, peppers, flowers, and other transplants can already be developing strong roots and leaves.
Then comes the final step that should never be rushed: hardening the plants off gradually before transplanting them into their permanent outdoor home.
Handled correctly, that modest tray of seeds under a light in late winter can become a productive garden long before seeds sown directly outdoors could catch up.
Internal Link :
- How to Grow Tomatoes in a 5-Gallon Bucket — useful when discussing where tomato seedlings can be transplanted after hardening off.
- Add a contextual link to a Secrets of the Green Garden article covering spring vegetable planting, transplanting, or seedling care when an appropriate published article is available.
External Sources:
- University of Maryland Extension — Starting Vegetable Seeds Indoors — current guidance covering seed-starting media, germination, LED and fluorescent lighting, light distance, photoperiod, and transplant production.
- University of Minnesota Extension — Starting Seeds Indoors — detailed recommendations for sowing schedules, artificial lighting, seedling care, and hardening off.
- University of Minnesota Extension — How to Prevent Seedling Damping Off — guidance on the environmental conditions associated with damping off and practical prevention measures.