
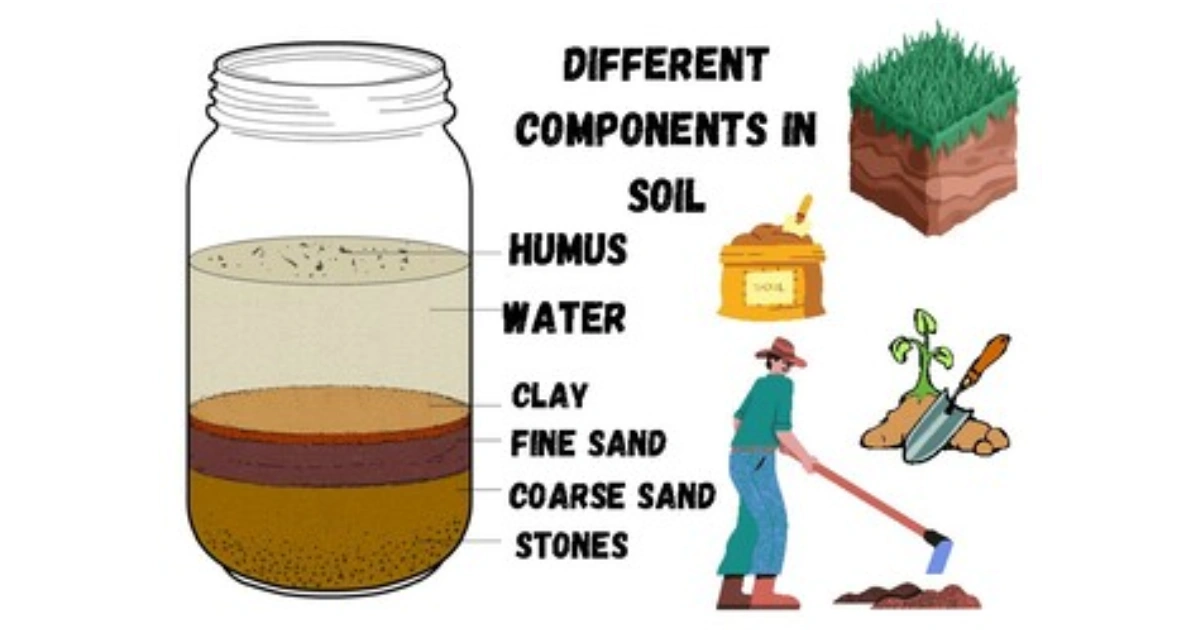
Understanding the texture of your soil is a fundamental step in improving the health and productivity of your vegetable garden. Whether you’re a seasoned gardener or just starting, knowing your soil type can make all the difference. Soil texture affects everything from water retention and drainage to nutrient availability, which in turn influences the growth of your plants. Let’s explore how you can determine the texture of your soil at home using a simple, cost-effective method that anyone can follow.
Why Soil Texture Matters for Your Garden
Soil texture refers to the proportion of sand, silt, and clay particles in your soil. This simple yet critical factor plays a huge role in how well your garden will thrive. Here’s why:
- Water Retention: Soils with more clay hold water for longer, while sandy soils drain quickly.
- Nutrient Availability: Clay soils tend to hold more nutrients, whereas sandy soils need additional amendments to retain nutrients.
- Aeration: Sandy soils are more porous, providing better aeration to roots, while compacted clay can restrict air flow to plant roots.
Knowing your soil’s texture will help you tailor your gardening practices to optimize water, nutrient use, and overall plant health.
How to Determine Your Soil Texture: A Simple DIY Method
Materials You’ll Need:
- A clear jar or bottle with a tight-fitting lid (to shake the mixture)
- A sample of soil from your garden
- Clean water
- Measuring spoons (optional)
Step-by-Step Procedure:
1️⃣ Fill the jar halfway with soil.
Start by collecting a soil sample from various spots in your garden, especially from different depths. This will give you a representative sample of the soil texture.
2️⃣ Add clean water to the jar.
Pour enough water into the jar to fill it to about 3/4 full. You want enough liquid to thoroughly mix with the soil.
3️⃣ Shake vigorously.
Seal the jar tightly with the lid, and shake it for about 2 minutes to break up the soil and mix it well with the water.
4️⃣ Let it settle.
Place the jar on a flat surface and allow it to rest for 24 hours. Over time, the soil particles will settle into distinct layers.
What You’ll See After 24 Hours:
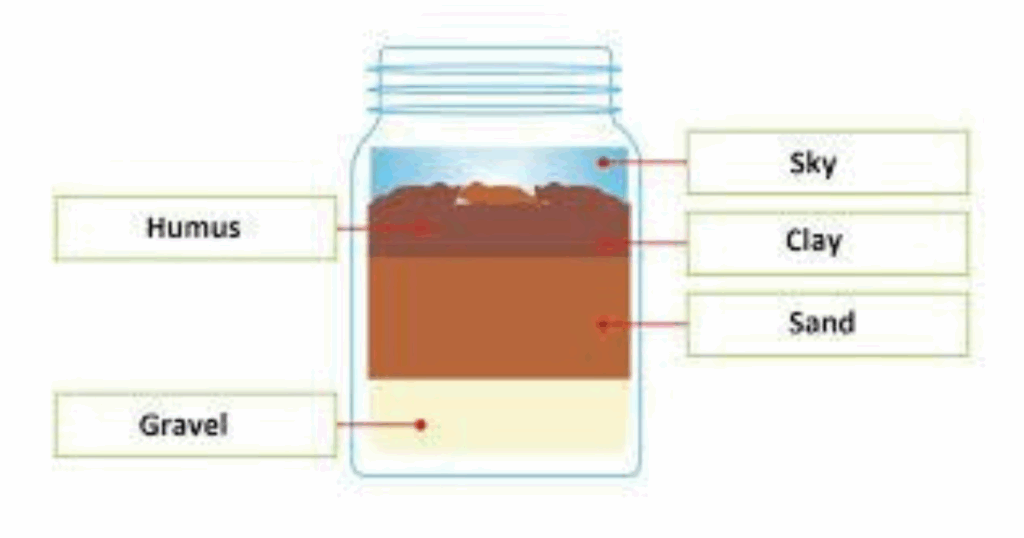
After the jar settles, you will observe several clear layers:
- Gravel at the bottom (the heaviest particles)
- Sand above the gravel
- Silt above the sand
- Clay at the top (the finest particles)
- Organic matter and dissolved nutrients floating on top of the water
Each layer will be well-defined, and you can measure the thickness of each layer to get a rough idea of your soil’s texture.
Understanding Your Results: What Do the Layers Mean?
Once the layers have settled, it’s time to analyze your results. The proportions of sand, silt, and clay in your soil will determine whether you have sandy, loamy, or clayey soil.
- Sandy Soil: If the bottom layer (gravel and sand) is much thicker than the others, your soil is sandy. Sandy soil drains quickly but doesn’t hold nutrients well, so you’ll need to amend it with organic matter to improve its nutrient retention.
- Loamy Soil: If the layers are relatively even, you likely have loamy soil, which is considered ideal for most plants. It has good water retention, nutrient availability, and drainage.
- Clay Soil: If the top layer (clay) is thicker, your soil is likely heavy clay. While it holds nutrients well, it can be poorly drained, which may suffocate plant roots. Improving clay soil with organic matter and adjusting its drainage is crucial.
Soil Texture and How It Affects Your Plants
Each soil type comes with its own benefits and challenges. Let’s break down how different soil types affect your gardening practices.
- Sandy Soil:
- Pros: Excellent drainage, easy to work with.
- Cons: Low nutrient retention, may need frequent watering.
- Improvement Tips: Add compost or mulch to increase nutrient content and moisture retention.
- Loamy Soil:
- Pros: Balanced water retention, good nutrient content, and drainage.
- Cons: Generally requires less intervention than other soil types.
- Improvement Tips: Regularly amend with organic matter to maintain soil structure and fertility.
- Clay Soil:
- Pros: Rich in nutrients, retains moisture.
- Cons: Poor drainage, prone to compaction.
- Improvement Tips: Incorporate organic material like compost or leaf mold to improve structure and drainage. Consider adding sand for better aeration.
The Benefits of Knowing Your Soil Texture
- Better Water Management:
Knowing your soil’s texture helps you optimize watering. For instance, sandy soils need more frequent but lighter watering, while clay soils require deep but less frequent watering. - Efficient Fertilization:
Different soils have different capacities for holding nutrients. Knowing your soil type helps you determine how much fertilizer to apply and whether organic amendments are necessary. - Choosing the Right Plants:
Some plants thrive in certain soil types. For example, root vegetables like carrots grow best in sandy soils, while other plants like hydrangeas can benefit from more acidic, clay-heavy soils. Tailoring your plant choices to your soil ensures better growth and yields. - Avoiding Common Gardening Mistakes:
Misunderstanding your soil can lead to overwatering, poor drainage, or nutrient imbalances. Knowing your soil texture prevents these common mistakes.
Common Mistakes to Avoid When Testing Soil Texture
- Using Soil from One Spot Only:
Always take soil samples from multiple areas in your garden for a more accurate reading. - Not Shaking the Jar Enough:
Make sure to shake the jar vigorously for at least two minutes to thoroughly mix the soil and water. Incomplete mixing can affect your results. - Forgetting to Let It Settle for 24 Hours:
Patience is key! Allowing the soil to settle is essential for accurate results. Rushing this step can lead to unclear layers.
Seasonal Tips for Soil Care
- Spring: Test your soil before planting to determine whether it needs amendments like compost or organic fertilizers.
- Summer: In hot months, sandy soil may dry out too quickly. Use mulches to retain moisture.
- Fall: Add organic material to clay soil to help improve its structure before the winter freeze.
- Winter: Avoid working with wet clay soil during the colder months to prevent compaction.
Tools and Materials Checklist:
- Transparent jar or bottle
- Clean water
- Soil sample
- Measuring spoons (optional)
- Compost and mulch for soil improvement 🌿
Frequently Asked Questions
1. How often should I test my soil texture?
It’s a good idea to test your soil texture once a year or whenever you plan to make significant changes to your garden (e.g., adding new plants or fertilizers).
2. Can I improve sandy soil?
Yes! Adding organic matter like compost can help sandy soil retain nutrients and moisture.
3. Is loamy soil the best for all plants?
Loamy soil is ideal for most plants, but certain plants may have specific preferences. It’s still important to choose plants that are well-suited to your soil type.
Conclusion: Take Action and Transform Your Garden
Now that you know how to test your soil texture, it’s time to put this knowledge to work! Whether you have sandy, loamy, or clay soil, understanding its composition will help you make better decisions for watering, fertilization, and plant selection. With this simple DIY test, you’re well on your way to a healthier, more productive garden. Share your results with fellow gardeners, and let’s continue the conversation on how soil texture influences gardening success!
Let us know in the comments how this method worked for you, and don’t forget to share it with your gardening friends!