
If you’re looking for a low-maintenance, eco-friendly way to create rich, fertile garden beds, lasagna gardening is your answer. This no-dig method layers organic materials to suppress weeds, build healthy soil, and encourage thriving plants—all without breaking your back.
Whether you’re starting a new garden or revitalizing an old one, lasagna gardening is ideal for beginners and seasoned gardeners alike.
What Is Lasagna Gardening?
Lasagna gardening, also known as sheet mulching, is a sustainable gardening technique that mimics nature’s way of building soil. Instead of tilling or turning the earth, you create layers of biodegradable materials that break down over time, improving soil structure and fertility.
The name “lasagna” comes from the layering process—alternating “browns” (carbon-rich materials) and “greens” (nitrogen-rich materials), much like building a lasagna dish in your kitchen.
Why Choose Lasagna Gardening?
No digging required: Saves time and energy.
Suppresses weeds: The bottom layers act as a natural weed barrier.
Improves soil: Organic materials decompose into nutrient-rich humus.
Environmentally friendly: Reuses yard and kitchen waste.
Water-efficient: Retains moisture, reducing the need to water frequently.
Let’s walk through how to start your own lasagna garden bed from scratch.
Step 1: Choose the Right Location
Pick a sunny spot that gets at least 6-8 hours of sunlight daily. While lasagna beds can be built anywhere—even over grass or gravel—it’s helpful to remove large rocks or debris first.
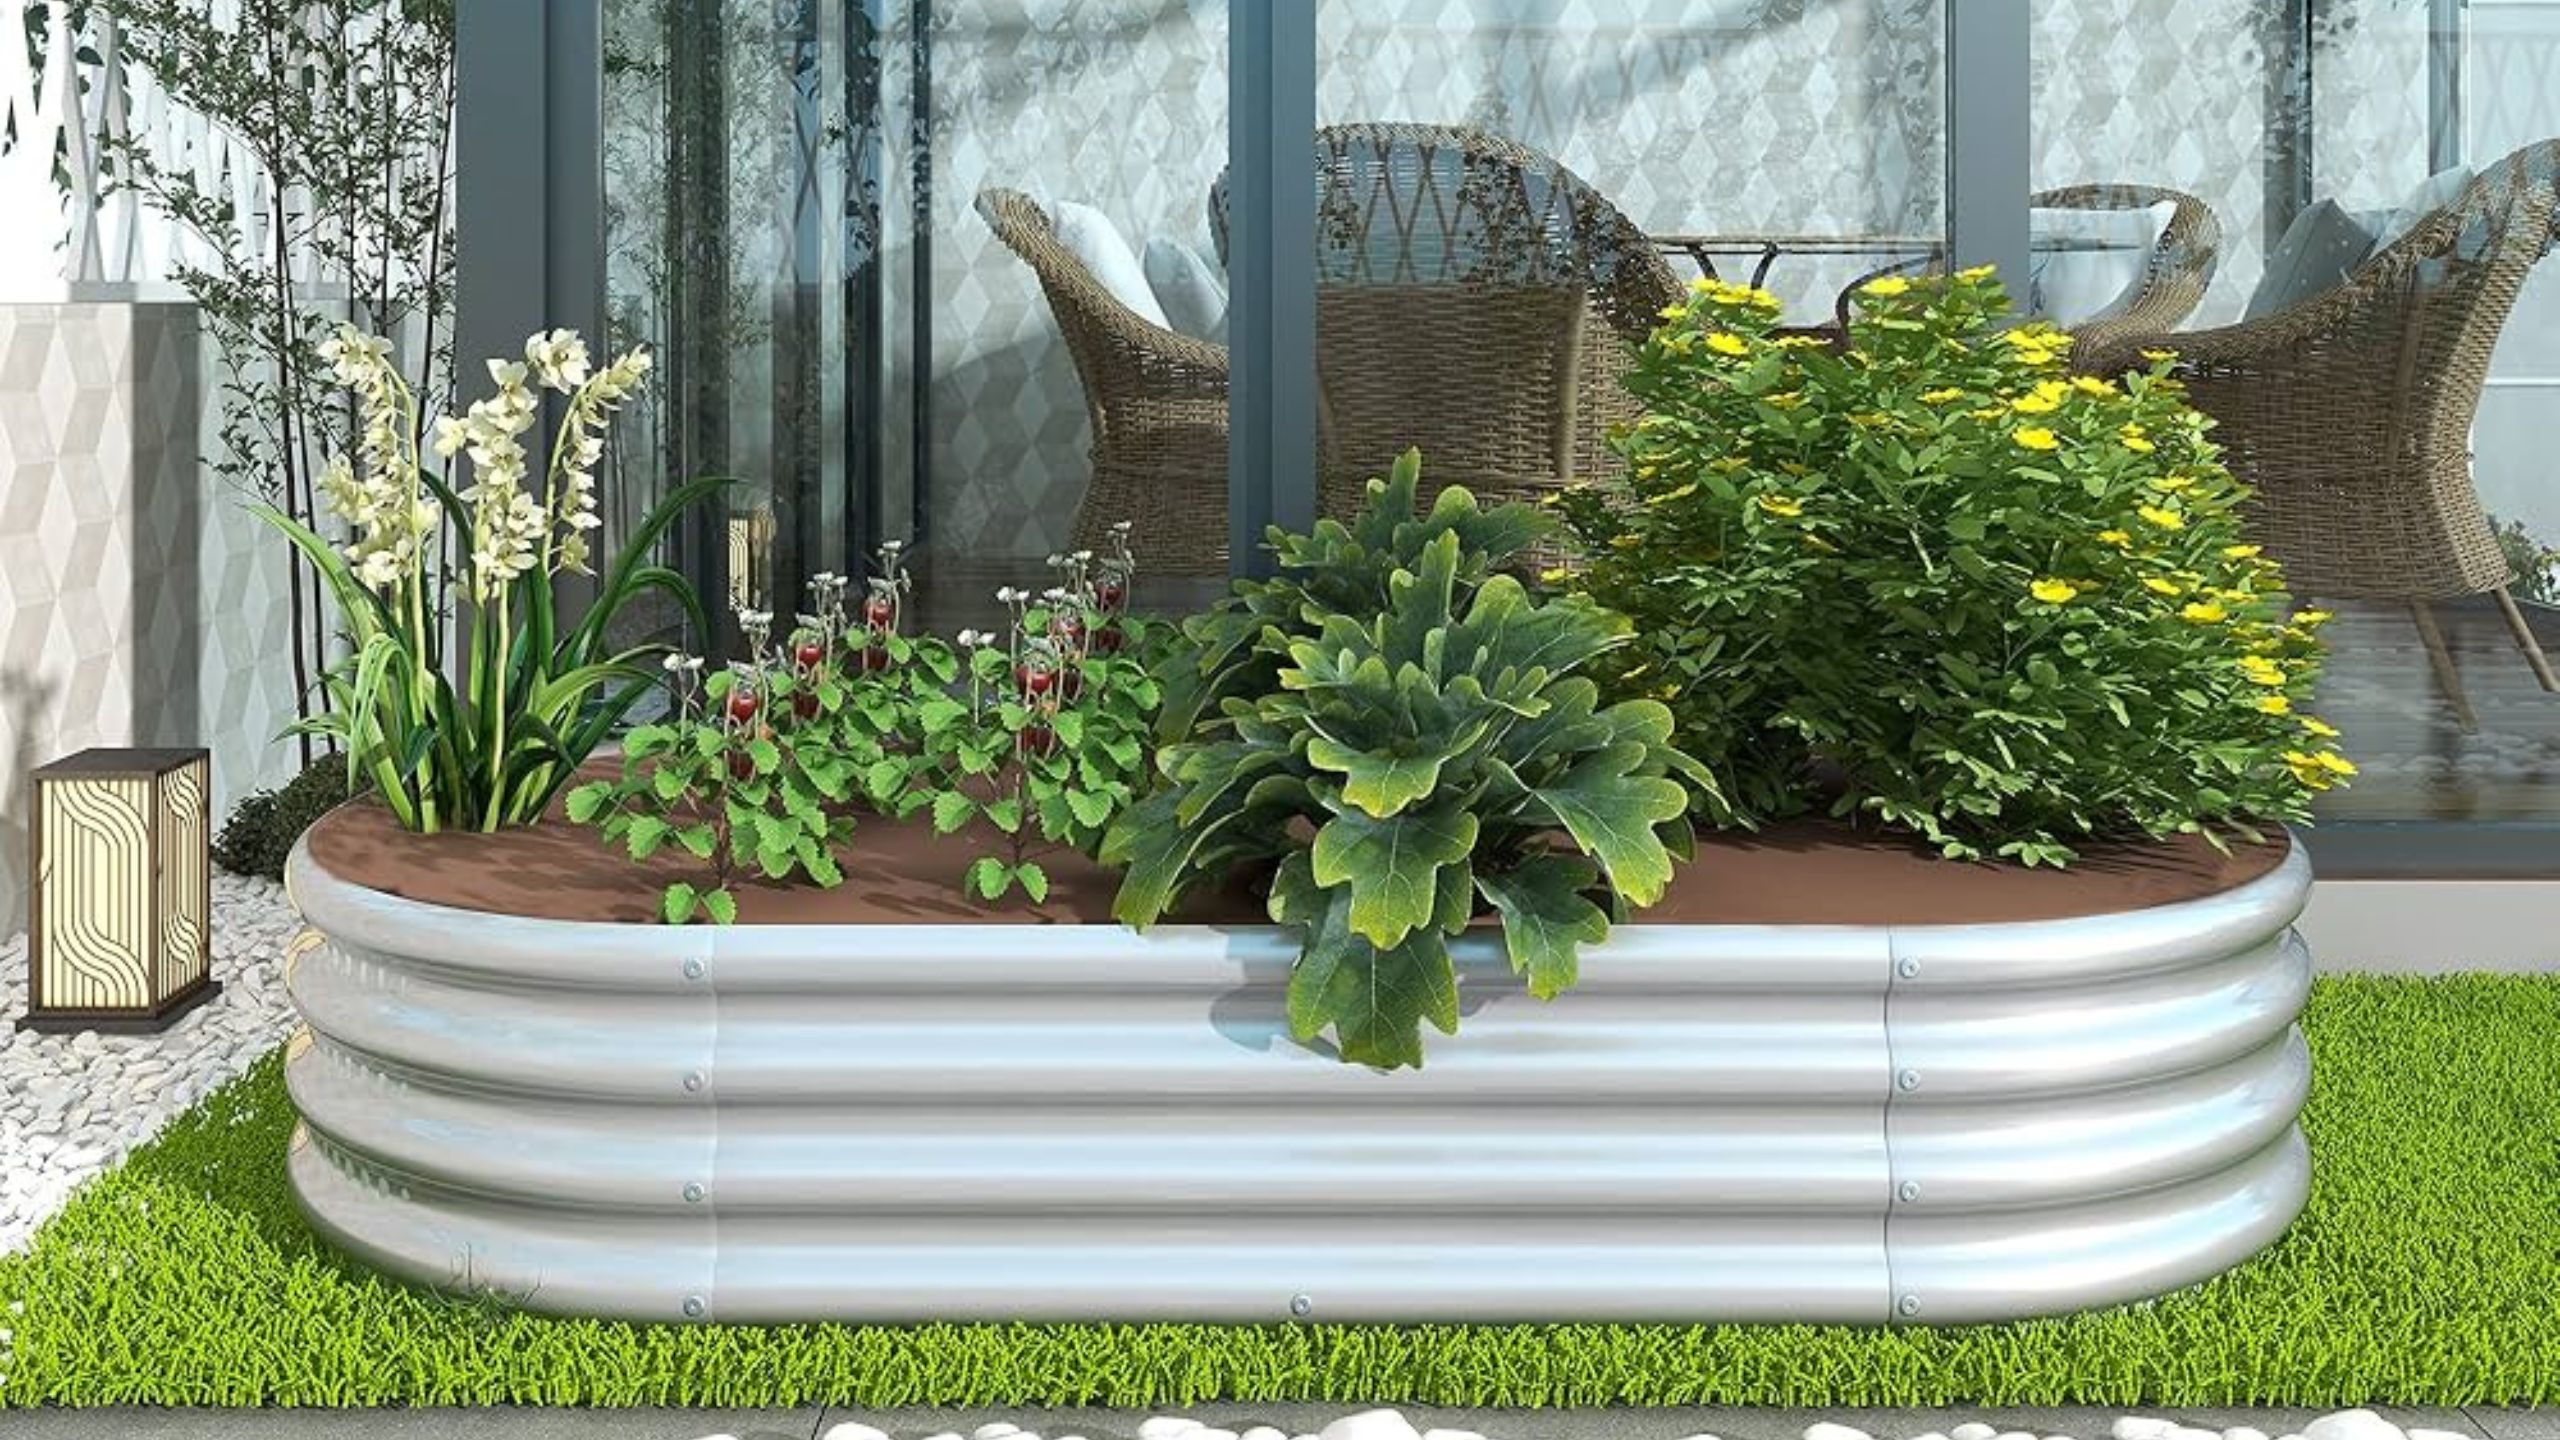
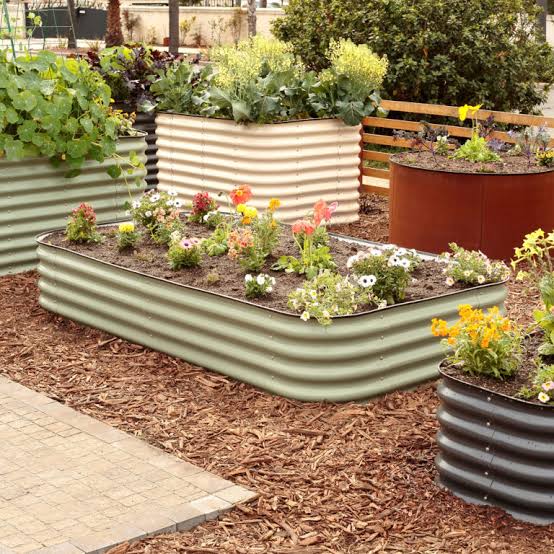
You can build directly on top of existing soil or start fresh in a raised bed frame.
Step 2: Gather Your Materials
Here’s what you’ll need:
Brown (Carbon-rich) Materials:
Straw mulch
Shredded newspaper or cardboard
Dried leaves
Wood chips or rough mulch
Green (Nitrogen-rich) Materials:
Fresh grass clippings
Kitchen scraps (no meat or dairy)
Garden trimmings
Compost
Finishing Layer:
High-quality soil or potting mix for planting
These materials help support microbial activity, improve drainage, and balance moisture levels. Try to have a roughly 2:1 ratio of browns to greens for optimal decomposition.
Step 3: Layering the Bed
Now comes the fun part—building your garden lasagna!
- Start with a thick layer of cardboard or newspaper.
This smothers weeds and forms a barrier between your bed and the existing soil. Wet it slightly to keep it from blowing away and to help it break down faster. - Add alternating layers of browns and greens.
Spread each layer evenly, and lightly water as you go. This helps initiate microbial activity and speeds up decomposition. - Build up to 18-24 inches high.
Don’t worry—it will settle over the next few weeks. Try to keep layers balanced: too much green material may cause odor or compaction, while too much brown can slow down decomposition.
Step 4: Let It Settle, Then Plant
After building your lasagna bed, allow it to settle for 2-4 weeks. This gives the materials time to decompose and create a stable planting surface.
Once settled, top it off with a few inches of compost or potting soil and you’re ready to plant. Grow vegetables, herbs, or flowers directly into this nutrient-rich medium. You’ll be amazed at how healthy and productive your plants become.
Step 5: Ongoing Maintenance
Lasagna beds are relatively low-maintenance, but a little upkeep goes a long way:
Water regularly, especially in hot or dry weather. The layered structure retains moisture well, but new seedlings will still need consistent hydration.
Add fresh layers of mulch, compost, or shredded leaves over time to replenish nutrients and suppress weeds.
Watch for pests and pull any emerging weeds early while they’re easy to remove.
Final Thoughts: A Garden That Grows With You
Lasagna gardening is a smart, sustainable method for building a fertile garden without digging or disturbing the soil. It turns waste into wealth, creating a natural ecosystem right in your backyard.
Whether you’re short on time, space, or resources, this method helps you grow healthier plants with less effort. Plus, it’s a great way to recycle yard clippings and kitchen scraps.
Ready to get started? Grab some cardboard, collect your compostables, and start layering your way to a flourishing garden.