
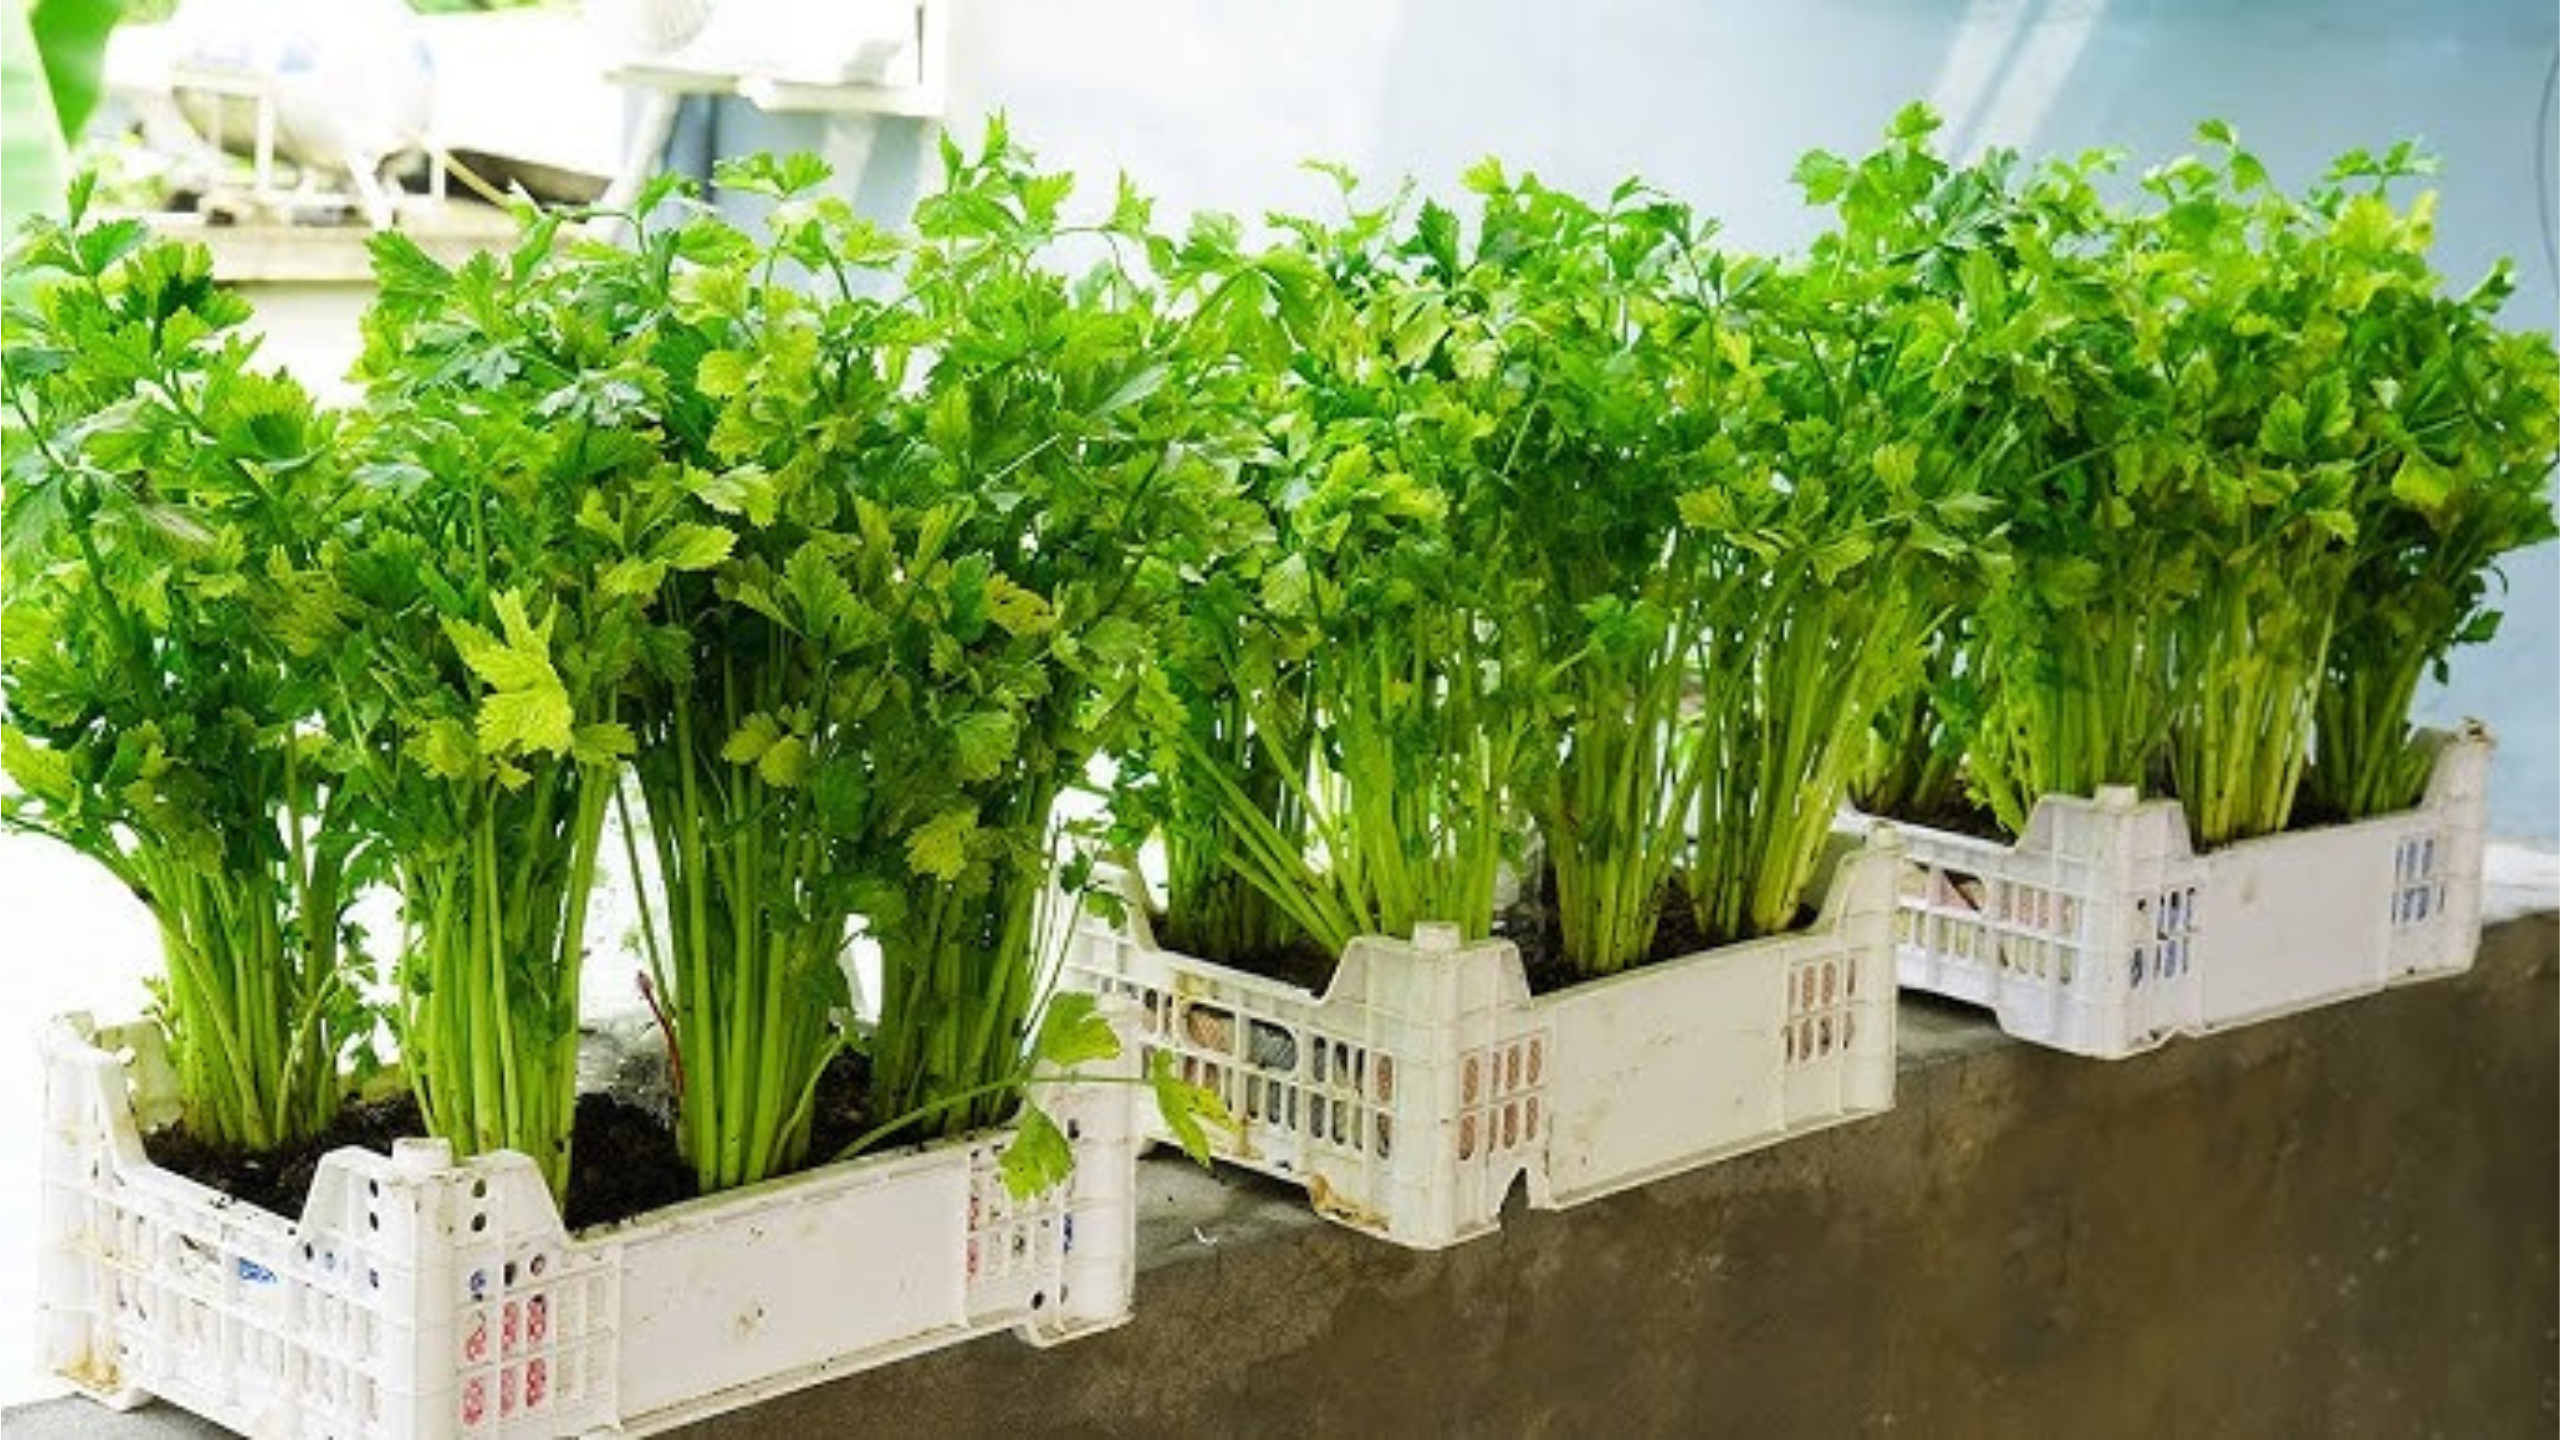
Imagine having a fresh bunch of celery on hand whenever you need it—without heading to the store. Sounds too good to be true? It’s not. With just a bit of kitchen waste and a little know-how, you can regrow celery right at home, over and over again.
Not only is this method eco-friendly, but it’s also surprisingly easy and budget-friendly. Whether you’re looking to reduce food waste, save money, or enjoy homegrown produce, regrowing celery from scraps is a perfect start.
Let’s dive into how you can turn leftover celery bases into a thriving garden staple.
Celery is a staple in many kitchens. It adds crunch to salads, depth to soups, and is a favorite snack when paired with peanut butter or dips. But buying it every week can add up—especially when you consider how much of it ends up in the trash.
Regrowing celery is a small, sustainable change that makes a big difference. It reduces waste, saves money, and provides you with a continuous supply of a healthy vegetable—right from your windowsill.
What You’ll Need
Before you begin, gather these simple materials:
- Celery Base — Cut the celery about 2 inches from the bottom. Leave some of the stalks attached to the base.
- Shallow Bowl or Dish — Use this to hold water and support the celery base during its first growth phase.
- Fresh Water — Change this regularly to keep the plant healthy.
- Pot or Garden Soil — Once roots begin to grow, you’ll need a pot with well-draining soil or a garden space for transplanting.
- A Sunny Spot — A windowsill or balcony with 6–8 hours of indirect sunlight per day works best.
Step-by-Step Guide to Regrow Celery
Step 1: Save the Base
After using your celery, keep the bottom 2 inches of the base. Trim any damaged or dirty stalks.
Step 2: Place in Water
Place the base in a shallow dish, cut side down. Add just enough water to cover the bottom. Keep it in a bright area, avoiding harsh direct sunlight.
Step 3: Change the Water Regularly
Change the water every 2–3 days to prevent mold and bacteria. In 5–7 days, tiny green shoots will begin to emerge.
Step 4: Watch for Roots
Roots will start forming after 1 to 2 weeks. When they reach at least an inch long, your celery is ready for transplanting.
Step 5: Transplant to Soil
Use a pot with drainage holes and quality potting soil. Plant the celery base so roots are covered, and shoots remain above the surface. Water thoroughly and place it in a sunny spot.
Step 6: Care and Maintenance
Keep soil consistently moist—not soggy. Ensure the plant gets at least 6 hours of sunlight per day. Rotate the pot for even growth, and feed lightly with water-soluble fertilizer every few weeks.
Step 7: Harvesting
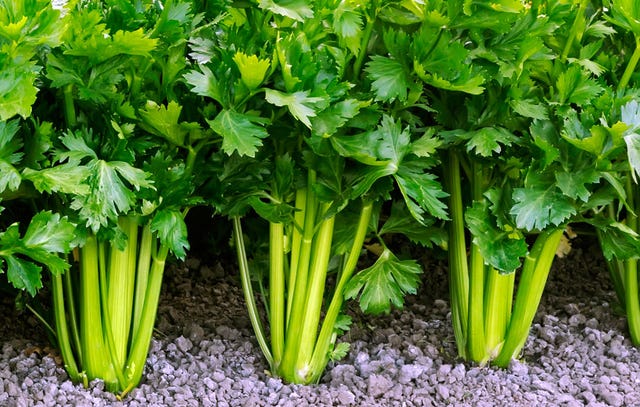
When several stalks have grown tall, cut the outer stalks first. This encourages continued inner growth for a long-lasting harvest.
Extra Tips for Success
Go Organic: Organic celery often regrows better since it lacks chemical growth inhibitors.
Grow Indoors Year-Round: Enjoy fresh celery regardless of season.
Start a Mini Herb Garden: Try green onions, lettuce, or bok choy alongside your celery.
Be Patient: Celery takes time but rewards you with crisp, flavorful stalks.
A Greener Kitchen Starts Here
By regrowing celery from scraps, you’re taking a simple step toward sustainable living. It’s fun, educational, and perfect for families, cooks, and gardeners alike.
Next time you chop celery, save the base and watch it grow.