
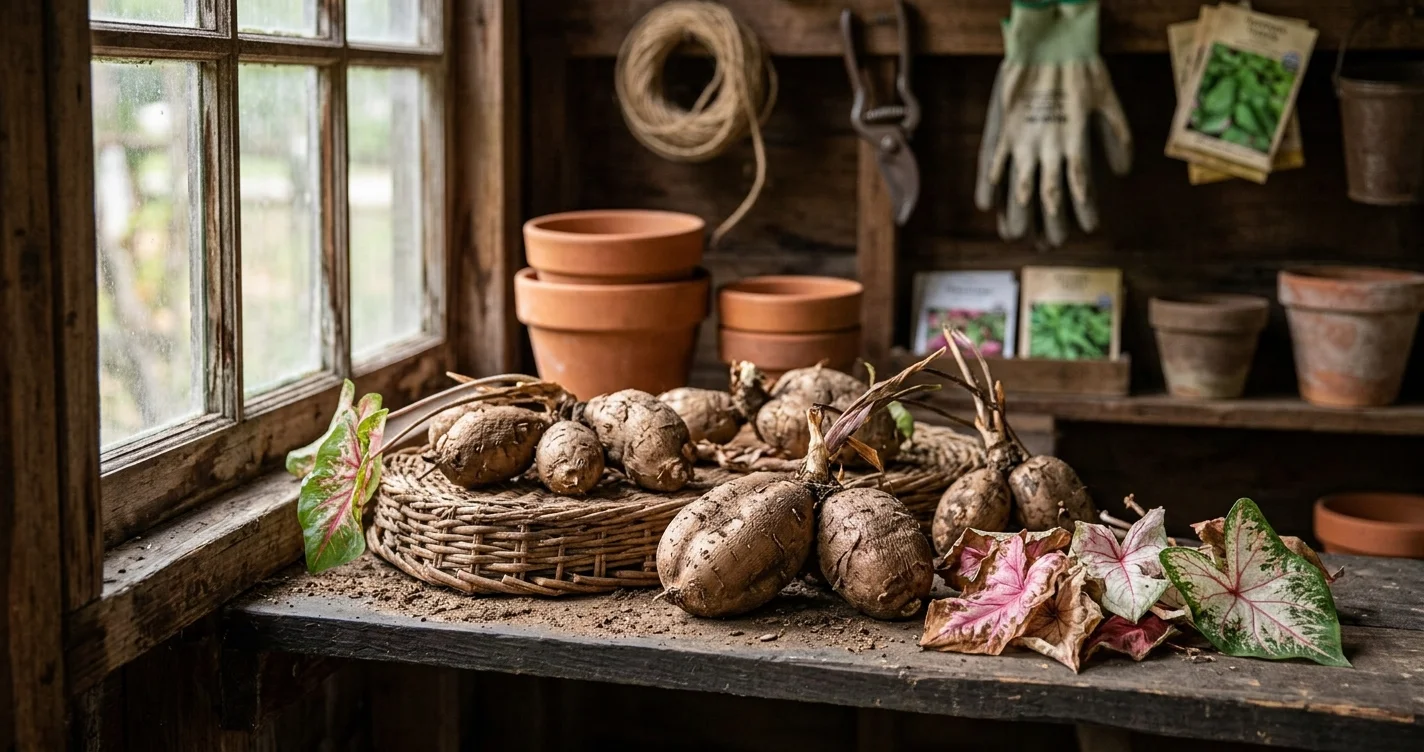
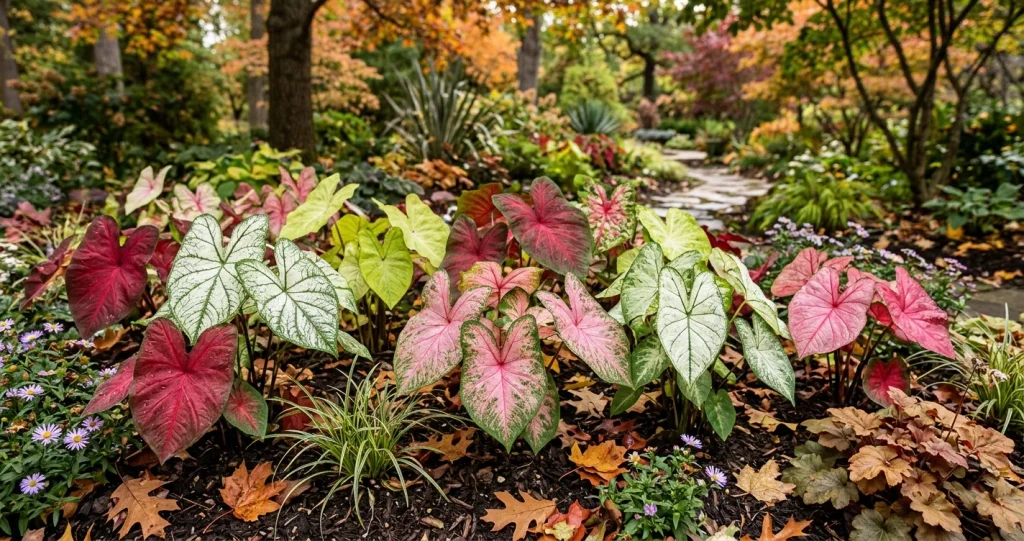
A caladium can transform a shady summer garden into a display of pink, red, white, and green foliage. Then autumn arrives, temperatures fall, and those spectacular leaves begin to droop, fade, and disappear.
It may look as though the plant is dying. But beneath the soil, something remarkable is happening.
Caladiums grow from underground tubers that can survive a dormant period and produce fresh leaves when warm weather returns. In colder parts of the United States, gardeners can often preserve these tubers rather than replacing their plants every spring.
Learning how to store caladium tubers is surprisingly straightforward. The essential steps are knowing when to lift them, allowing them to dry properly, and keeping them in a warm, dry storage environment until planting season.
With careful handling, those colorful summer plants may be ready for another growing season.
Table of Contents
- Why Caladiums Need Winter Protection
- When to Dig Up Caladium Tubers
- How to Dig Caladium Tubers Without Damaging Them
- How to Store Caladium Tubers: The Science Behind Winter Dormancy
- Choosing the Best Storage Materials
- Storing Potted Caladiums Over Winter
- Common Caladium Storage Problems
- When and How to Replant Caladium Tubers
- In Your Own Yard: A Practical Winter Storage Routine
- Frequently Asked Questions
Why Caladiums Need Winter Protection
Caladiums are tropical plants valued for their colorful, often heart-shaped leaves. Most ornamental varieties belong to the genus Caladium, with many garden cultivars derived from species such as Caladium bicolor.
In warm climates, these plants can behave as perennials, returning from their underground storage organs when growing conditions become favorable.
In colder regions, however, caladiums are commonly treated as annuals because their tubers are vulnerable to prolonged cold and freezing temperatures.
What Happens to Caladiums in Fall?
As days become shorter and temperatures decline, caladium foliage often begins to yellow, wilt, or collapse.
This seasonal decline can signal the plant’s transition toward dormancy.
During the growing season, the leaves produce sugars through photosynthesis. Some of that energy is stored in the underground tuber, which supports future growth.
Once the leaves naturally decline, the tuber can remain dormant until conditions become favorable again.
However, dormancy does not make caladiums frost-hardy.
Can Caladiums Stay in the Ground All Winter?
In USDA hardiness zones 9–11, caladiums may survive outdoors year-round in suitable sites, although local winter conditions and drainage matter.
In colder zones, lifting the tubers is generally the safer approach.
Even in relatively mild regions, unusually cold or persistently wet soil can damage them.
Gardeners should consider local temperature patterns, soil drainage, and the particular growing conditions of their plants rather than relying on a zone number alone.
When to Dig Up Caladium Tubers
Timing is one of the most important parts of successful winter storage.
Digging too early can interrupt the plant’s natural transition toward dormancy. Waiting too long may expose the tubers to damaging cold.
Watch the Leaves, Not Just the Calendar
Caladium foliage often begins declining as nighttime temperatures approach approximately 60°F (16°C).
This is a useful signal to begin preparing for winter storage.
Gardeners in colder regions may notice yellowing leaves in early fall, while plants in warmer areas can remain attractive much longer.
The goal is to lift the tubers after the foliage begins its natural decline but before freezing conditions threaten the underground parts.
Avoid Waiting for a Hard Freeze
Caladiums are sensitive to cold.
A light frost may damage their leaves, while freezing soil can seriously injure the tubers.
For this reason, gardeners should monitor local forecasts and plan to lift their plants before a hard freeze.
If a sudden cold spell is expected, protecting the tubers takes priority over waiting for every leaf to yellow.
Choose a Dry Day
Whenever possible, dig caladiums when the soil is reasonably dry.
Wet soil tends to cling to the tubers and can make cleaning and curing more difficult.
A dry day also makes it easier to inspect the tubers for damage.
How to Dig Caladium Tubers Without Damaging Them
Caladium tubers can be surprisingly easy to injure with a shovel.
Small cuts and bruises may create opportunities for decay during storage, so gentle handling is important.
Step 1: Loosen the Soil Around the Plant
Use a garden fork or hand trowel to loosen the soil several inches away from the base of the plant.
Work around the root zone rather than digging directly beneath the stems.
Carefully lift the soil and tuber together.
Avoid pulling forcefully on the foliage, which may detach without bringing the tuber out of the ground.
Step 2: Remove Loose Soil
Gently shake or brush away excess soil.
Avoid aggressive scrubbing, which can damage the tuber’s protective surface.
For traditional dry storage, it is generally preferable to keep the tubers relatively dry rather than washing them immediately before curing.
If soil is firmly attached, allow it to dry before brushing it away.
Step 3: Inspect Each Tuber
Healthy caladium tubers should feel reasonably firm.
Their surfaces may be irregular, with small growing points and remnants of roots.
Look for soft spots, extensive discoloration, unpleasant odors, or visible decay.
Set aside damaged specimens so they do not remain in contact with healthy tubers during storage.
Step 4: Allow the Foliage to Dry
After lifting, leave remaining stems and foliage attached during the initial curing period if they are still present.
As the material dries, it becomes easier to remove without tearing the tuber.
Once dry, trim away dead foliage and loose roots carefully.
Avoid cutting into the tuber’s living tissue.
How to Store Caladium Tubers: The Science Behind Winter Dormancy
The secret to storing caladium tubers is understanding that they are alive even when they appear inactive.
A dormant tuber is not a dried seed or an ordinary piece of wood. It contains living tissues and stored resources needed to produce future growth.
Successful storage protects those tissues while minimizing conditions that encourage decay.
Why Caladium Tubers Need a Curing Period
Freshly dug tubers often carry surface moisture and small areas of injured tissue.
Curing allows the outer surfaces to dry and can help reduce the risk of storage problems.
A commonly recommended approach is to cure caladium tubers for approximately one to two weeks in a warm, dry, shaded location with good air circulation.
Temperatures around 70–80°F (21–27°C) are often suitable for this stage.
The exact time depends on humidity, tuber condition, and how much soil remains attached.
The tubers should become surface-dry without being exposed to intense direct sunlight.
Why Cold Storage Can Be Harmful
Many gardeners are familiar with storing tulip or daffodil bulbs in cool conditions.
Caladiums are different.
Because they originate from tropical environments, their tubers are vulnerable to chilling injury.
Storage temperatures below approximately 50°F (10°C) can be risky, especially with prolonged exposure.
For practical home storage, a relatively stable temperature around 60–70°F (16–21°C) is often recommended.
This makes a frost-free indoor closet or another moderately warm storage area more suitable than an unheated garage in many northern climates.
Why Moisture Matters
Excess moisture is one of the greatest threats to stored caladium tubers.
When tubers remain wet, fungi and other microorganisms may contribute to decay.
Poor airflow can make the problem worse.
However, extremely dry conditions can also cause tubers to shrivel over time.
The goal is a balanced environment: dry enough to discourage rot, but not so harsh that the tubers lose excessive moisture.
This is why gardeners often use dry, breathable packing materials rather than sealing tubers in damp containers.
Why Darkness and Airflow Help
Dormant caladium tubers do not need sunlight.
A dark or dim storage location is usually appropriate.
Gentle air circulation helps prevent moisture from accumulating around the tubers.
A breathable cardboard box, paper bag, or ventilated container can provide suitable conditions when paired with the correct temperature.
The storage location should remain protected from freezing temperatures and major temperature fluctuations.
How Long Can Caladium Tubers Remain Dormant?
Caladium tubers are commonly stored through the winter and replanted in spring.
Depending on local climate, this may mean several months of dormancy.
Their survival depends on their condition at harvest, curing, storage temperature, and moisture management.
Some tubers may fail despite careful handling, so occasional inspection is worthwhile.
Choosing the Best Storage Materials
The container and packing material can influence how well caladium tubers survive.
Fortunately, elaborate equipment is usually unnecessary.
Cardboard Boxes
Cardboard boxes are a practical choice because they are inexpensive and breathable.
Arrange cured tubers in a single layer when space allows.
If multiple layers are necessary, separate them with dry packing material.
Avoid overcrowding.
Dry Peat Moss or Vermiculite
Dry peat moss and vermiculite are commonly used for storing dormant plant material.
They can help separate tubers and buffer changes in moisture.
Use them dry or only very slightly moist if a specific storage method calls for it. Wet packing material can encourage decay.
Vermiculite is a convenient alternative for gardeners who prefer to avoid peat-based products.
Paper Bags
Paper bags work well for small collections.
They allow some air exchange and are easy to label.
Keep the bags in a location where they will not be crushed or exposed to moisture.
Materials to Avoid
Sealed plastic bags can trap condensation and create conditions favorable to rot.
Damp potting soil is also generally unsuitable for storing freshly cured tubers using the dry-storage method.
Whatever container you choose, temperature and moisture control remain more important than decorative packaging.
Storing Potted Caladiums Over Winter
Gardeners growing caladiums in containers may have another option.
Instead of lifting every tuber immediately, the entire pot can sometimes be stored during dormancy.
Allow the Foliage to Decline
As the plant enters dormancy, gradually reduce watering.
Once the foliage has died back, remove the dead leaves and stems.
Avoid continuing a normal summer watering schedule when the plant is no longer actively growing.
Move the Pot Indoors
Place the pot in a dry, frost-free location with temperatures suitable for dormant caladiums.
A moderately warm closet, utility room, or protected indoor storage space may work.
An unheated shed or garage can become too cold in many regions.
Keep the Soil Mostly Dry
During dormancy, the potting mix should remain mostly dry.
Persistent moisture can encourage tuber decay.
Check the pot occasionally, especially if the storage area experiences temperature or humidity changes.
For gardeners with many containers, lifting and packing the tubers separately may be more space-efficient.
Common Caladium Storage Problems
Even carefully stored tubers can develop problems.
Recognizing warning signs early may help protect the rest of your collection.
Soft or Mushy Tubers
Soft tissue often indicates decay.
Excess moisture, physical injury, and unsuitable storage conditions can contribute.
Remove affected tubers promptly.
If the damage is extensive, disposal is generally safer than attempting to store the specimen alongside healthy ones.
Shriveled Tubers
Some moisture loss during storage is normal.
Severe shriveling, however, may indicate excessive drying.
Check whether the storage environment is unusually warm or dry.
Avoid soaking dormant tubers as a quick remedy, since sudden moisture exposure can create additional problems.
Mold on the Surface
Visible mold may indicate excessive humidity or inadequate airflow.
Inspect affected tubers carefully.
Discard specimens showing soft rot or extensive deterioration, and improve storage conditions for the remaining tubers.
Tubers Sprouting Too Early
Warm storage conditions can sometimes encourage premature growth.
If shoots appear before outdoor planting conditions are suitable, the tubers may be started indoors in a warm growing environment.
Provide appropriate light once leaves develop.
Avoid exposing newly sprouted caladiums to cold outdoor temperatures.
When and How to Replant Caladium Tubers
Spring planting should begin only when conditions are consistently warm.
Caladiums prefer warm soil and generally grow poorly in cold, wet conditions.
Wait for Warm Soil
A soil temperature of approximately 70°F (21°C) or warmer is a useful target for planting caladium tubers.
In many northern regions, this occurs well after the last expected frost.
Gardeners can also start tubers indoors several weeks before outdoor planting.
Identify the Growing Side
Caladium tubers have growing points, sometimes called eyes, on their upper surface.
Plant the tuber with the growing points facing upward when they are visible.
If the orientation is unclear, examine the tuber carefully rather than forcing it into the soil.
Plant at the Correct Depth
Caladium tubers are commonly planted about 1–2 inches deep, depending on tuber size and growing conditions.
Use a loose, well-drained growing medium.
Water after planting, then maintain appropriate moisture as growth begins.
Avoid keeping cold soil saturated.
Provide Warmth and Suitable Light
Many caladium varieties perform best in partial shade or filtered light.
Some newer cultivars tolerate more sun, especially when moisture is adequate.
Choose a location appropriate for the variety and your regional climate.
With sufficient warmth, healthy tubers should begin producing new shoots.
In Your Own Yard: A Practical Winter Storage Routine
A simple seasonal routine can make caladium storage easier to manage.
Start by observing your plants as autumn temperatures decline.
When leaves begin yellowing and nighttime temperatures approach 60°F (16°C), prepare your tools and storage materials.
Choose a dry day to lift garden-grown tubers carefully.
Brush away loose soil, inspect for damage, and allow the tubers to cure in a warm, shaded, well-ventilated space.
After curing, remove dried foliage and arrange the tubers in labeled paper bags or breathable boxes with suitable dry packing material.
Store them indoors at approximately 60–70°F (16–21°C), away from freezing temperatures and excess moisture.
Check them periodically through winter.
When spring soil temperatures rise to around 70°F (21°C), replant healthy tubers in well-drained soil.
For gardeners growing caladiums in containers, storing the dormant pots indoors may be an easier alternative.
The most useful habit is keeping a simple record of each variety and how well it survives storage.
Over several seasons, these observations can reveal which methods work best in your particular home and climate.
Frequently Asked Questions
1. Can caladium tubers be stored in the refrigerator?
Refrigerator storage is generally unsuitable for caladium tubers.
Most household refrigerators operate at temperatures well below the range recommended for these tropical storage organs.
Prolonged exposure to cold can cause chilling injury.
A moderately warm, dry indoor location is usually a better choice.
2. Should I wash caladium tubers before storing them?
For traditional dry storage, brushing away loose soil is generally preferable to washing.
Washing introduces additional moisture that must be removed before packing.
If tubers become wet during handling, allow them to dry thoroughly in a suitable curing environment before storage.
3. Can I divide caladium tubers before winter storage?
Caladium tubers can be divided for propagation, but cutting them creates wounds that may increase the risk of storage decay.
For home gardeners, storing healthy tubers intact and dividing them closer to spring planting is often a simpler approach.
When dividing, use a clean tool and ensure each section contains a viable growing point.
Allow cut surfaces to dry appropriately before planting.
Conclusion
Caladiums may disappear from the garden when autumn arrives, but their colorful display does not have to end permanently.
Beneath the fading leaves, healthy tubers can remain alive and ready for another season of growth.
Understanding how to store caladium tubers means paying attention to a few essential details: lifting them before damaging cold, curing them carefully, keeping them dry and moderately warm, and inspecting them during winter.
These simple practices can help preserve favorite varieties and reduce the need to purchase replacement plants each spring.
The next time your caladium leaves begin to fade, remember that the plant may simply be preparing for a period of rest.
With the right winter care, those brilliant heart-shaped leaves can return when the garden becomes warm again.
External Sources
1. Caladium How to Store Caladium Tubers: The Science Behind Winter Dormancy. Explain how to dig caladium tubers, dry them for one to two weeks, use dry storage materials, and prevent chilling injury and rot. Clemson University — Home & Garden Information Center
2. How to Overwinter Tender Perennials When to Dig Up Caladium Tubers and Choosing the Best Storage Materials: Support recommendations for lifting caladiums when foliage declines, curing them for one to two weeks, and storing them around 60–65°F in dry peat moss or vermiculite. Iowa State University Extension and Outreach
3. Tips for Overwintering Tender Bulbs Common Caladium Storage Problems: Explain how to protect tender storage organs from winter cold, avoid rot or excessive drying, and inspect stored tubers periodically. University of Illinois Extension
4. Planting and Caring for Tender Perennials When and How to Replant Caladium Tubers: Support spring replanting recommendations, including starting caladiums indoors four to six weeks before the last frost, planting depth, and warm temperatures for sprouting. Iowa State University Extension and Outreach