
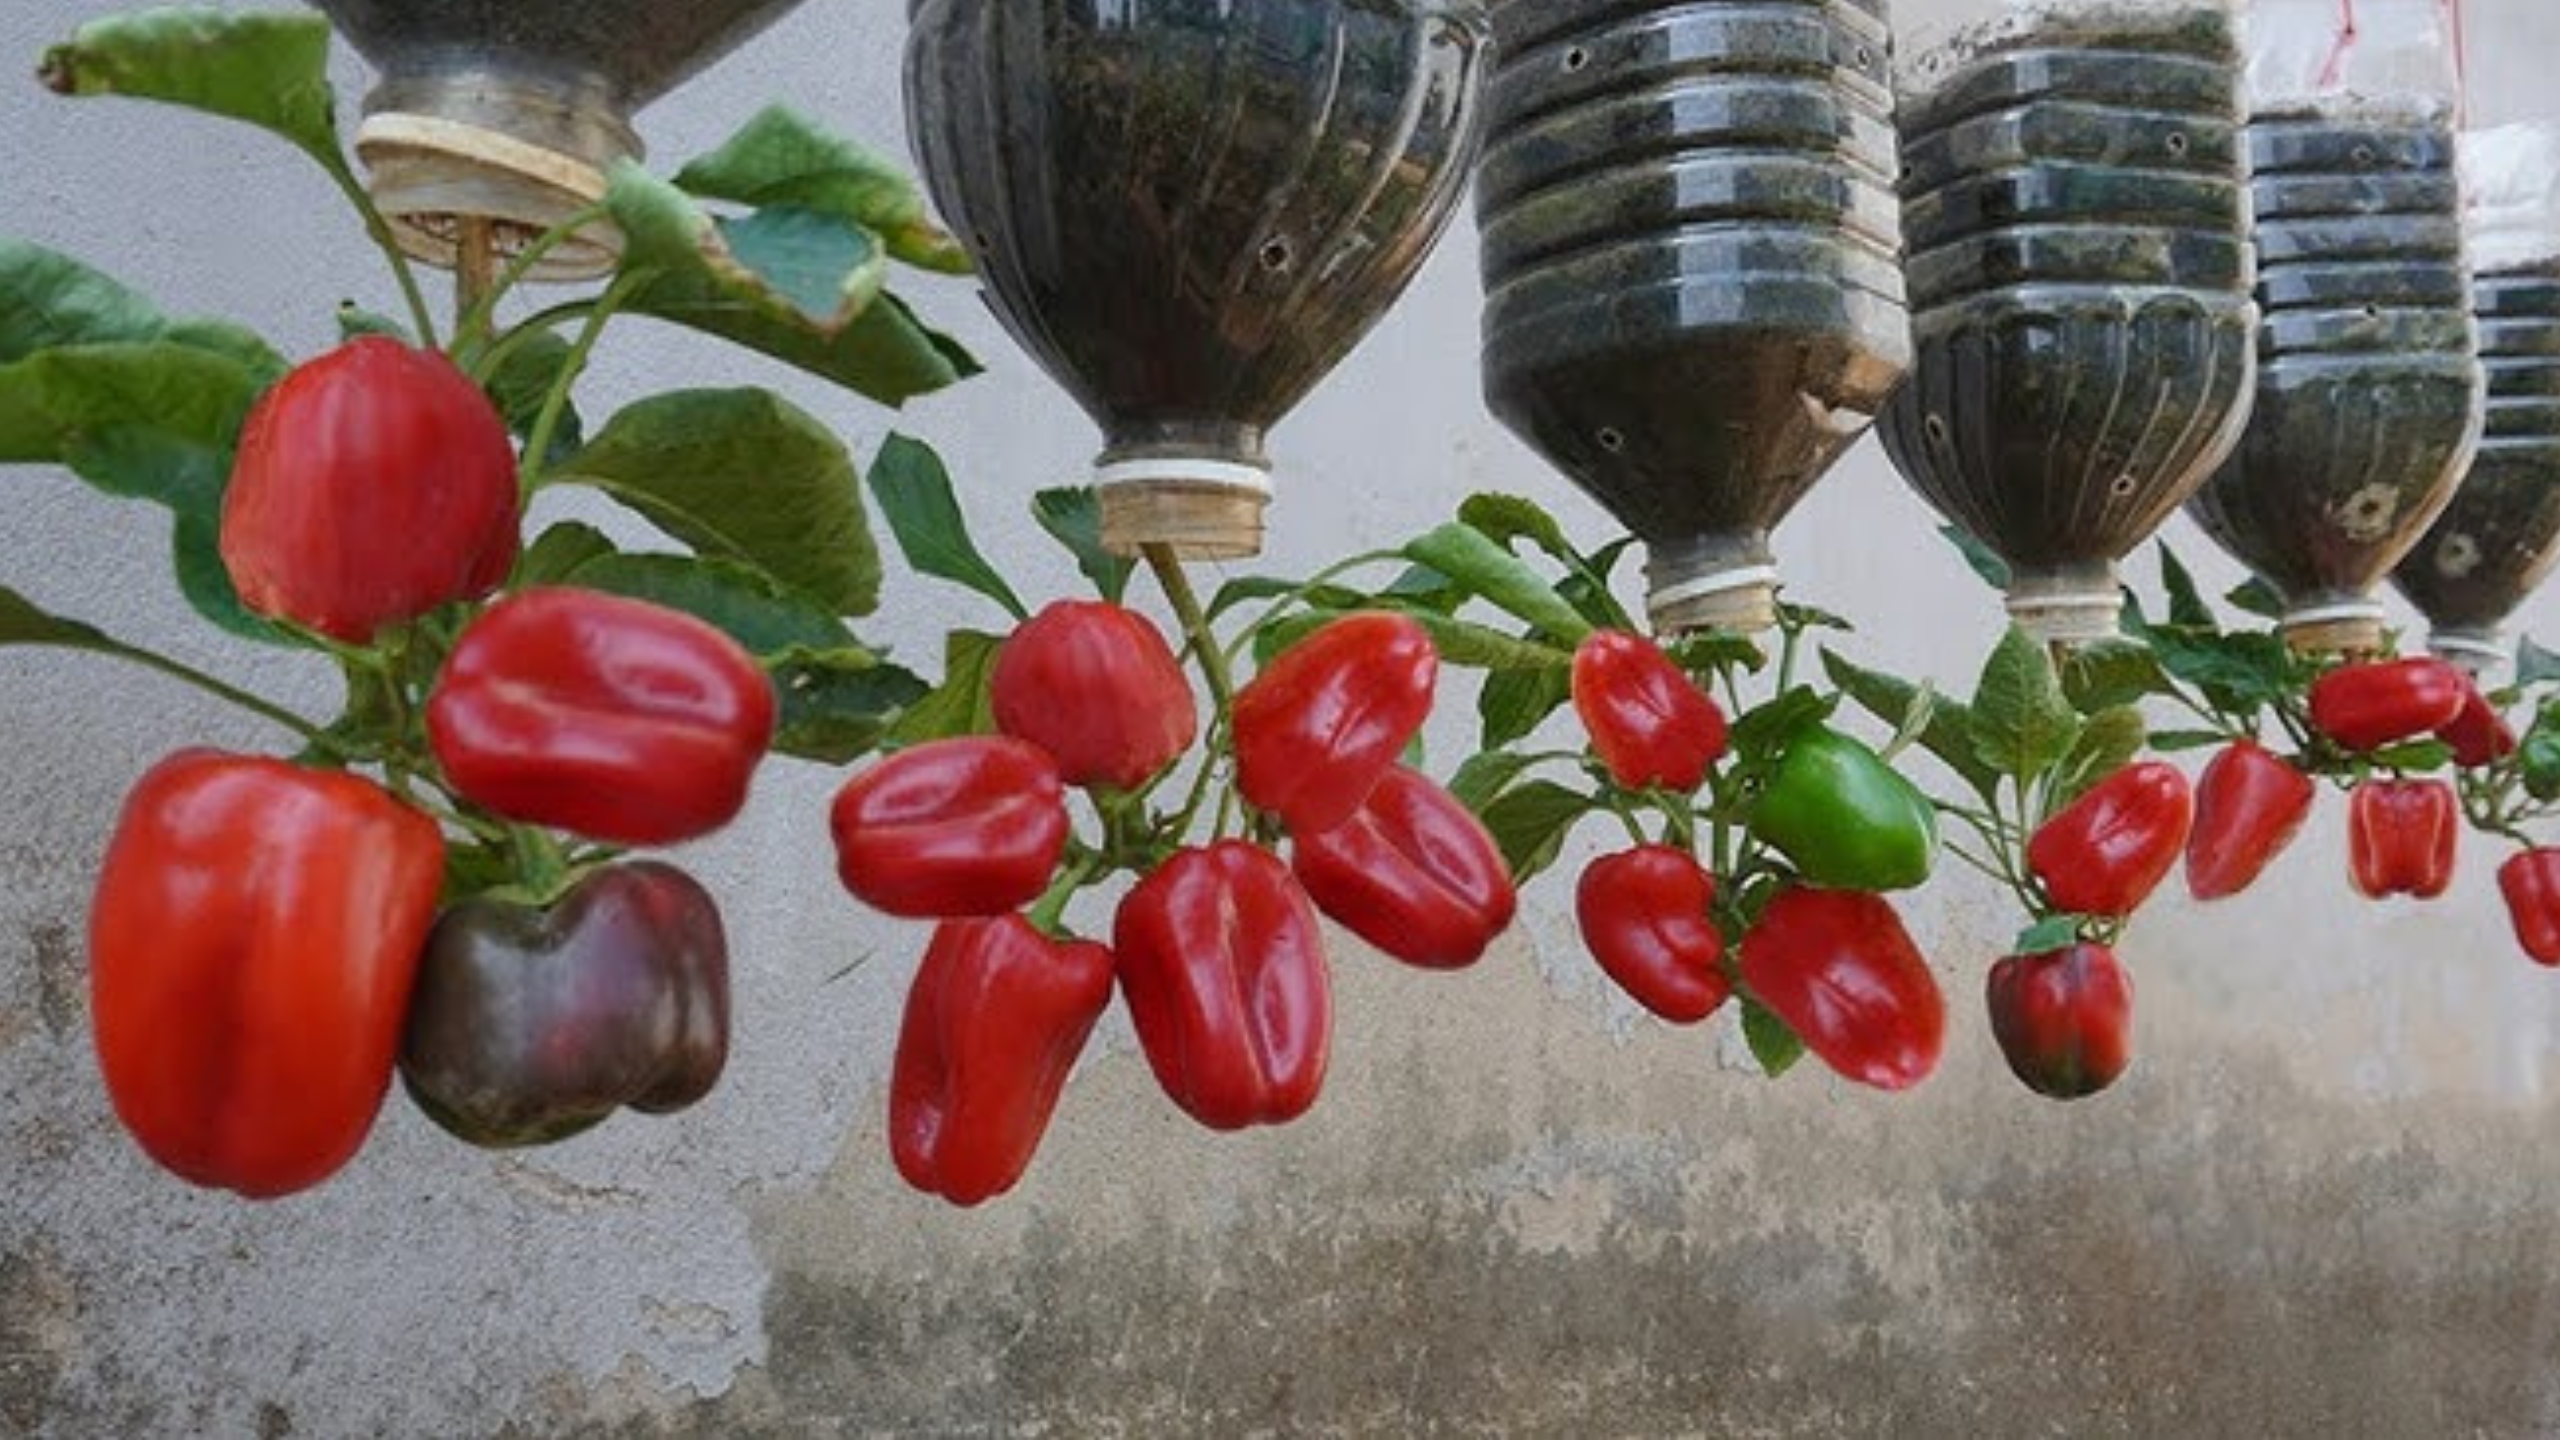
Growing bell peppers in an inverted fashion isn’t just a whimsical trend; it’s a savvy gardening technique, especially beneficial for those with limited space, offering a host of advantages that go beyond mere novelty.
Part 1: The Upside-Down Advantage: Why Invert Your Garden?
Cultivating bell peppers in an upside-down method presents distinct benefits, particularly for urban gardeners:
- Space Alchemy: Perfect for apartment balconies and petite backyards, this vertical growing method transforms confined areas into thriving gardens.
- Breathe Easy: Enhanced Airflow, Healthier Plants: The suspended position guarantees optimal air circulation around your bell peppers. This is crucial for preventing moisture-related diseases common in less-ventilated, ground-level setups.
- Above the Fray: Protection from Ground-Level Pests: By hanging in the air, your peppers are less vulnerable to soil-borne diseases and pests such as slugs and snails.
- Effortless Gardening: Say Goodbye to Staking: This approach eliminates the need for cages or stakes, simplifying plant care and reducing labor.
- Minimal Ground Involvement: A Hands-Off Approach: Less interaction with the soil means fewer weeding and ground maintenance chores.
- Precision Hydration: Targeted Water and Nutrient Delivery: Watering from above ensures direct delivery of water and nutrients to the roots, catering to the bell peppers’ specific needs.
Part 2: Building Your Inverted Oasis: A Step-by-Step Guide
Creating your own upside-down bell pepper garden is both simple and rewarding. Here’s how to get started:
Gather Your Arsenal: Materials Needed
- Reusable large plastic bottles (2 liters or larger).
- Bell pepper seedlings.
- Masking tape.
- Punch or drill.
- Sharp knife or scissors.
- Durable twine or rope.
- Quality potting mix or compost.
Assemble Your Masterpiece: Step-by-Step Instructions
- Bottle Makeover: Thoroughly clean the plastic bottles and remove all labels. Use a sharp knife or scissors to cut off the bottom of each bottle, creating a clean edge.
- Safety First: Edge Smoothing and Hole Creation: Cover any sharp edges with masking tape for safety. Then, create four evenly spaced holes near the cut edge for the twine.
- Planting the Seedling: The Inversion: Flip the bottle so the original top (neck) faces down. Carefully insert the bell pepper seedling, positioning it so the roots extend into the bottle and the stem protrudes from the neck.
- Nourishment: Adding the Growing Medium: Fill the bottle with quality potting mix or compost, ensuring the roots are well-covered and the soil level is just below the bottle’s neck.
- Securing the Setup: Hanging Support: Thread the twine or rope through the pre-made holes, creating a stable and balanced support for hanging.
- Location, Location, Location: Optimal Placement: Hang your new bell pepper planters in a sunny spot, as bell peppers flourish in ample sunlight.
- Ongoing Nurturing: Regular Care and Maintenance: Regularly check the soil moisture, keeping it damp but not waterlogged. Consistent care is vital for optimal growth and fruiting.
By embracing these steps, you can craft a unique and fruitful upside-down bell pepper garden, injecting a splash of green into urban environments. This method not only conserves space but also infuses an intriguing twist into your gardening endeavors, promising a satisfying and bountiful experience.

Hi! I know this is somewhat off topic but I was wondering which blog platform
are you using for this website? I’m getting tired of WordPress
because I’ve had problems with hackers and I’m looking at options for another platform.
I would be fantastic if you could point me in the direction of a
good platform.
I’m not sure why but this weblog is loading extremely slow for me.
Is anyone else having this problem or is it a problem on my end?
I’ll check back later on and see if the problem still exists.