
Growing sweet potatoes at home can be incredibly rewarding, especially when you maximize space by using a trellis. This method not only saves garden space but also encourages healthier plants and a higher yield. Whether you have a small backyard or a limited balcony, this guide will walk you through each step, making the process accessible and enjoyable.
Step 1: Select Healthy Sweet Potato slips
The journey begins with choosing healthy, robust slips—these are young sprouted sweet potatoes that will develop into your vines. Visit a trusted nursery and select slips that are disease-resistant and vigorous. Look for slips with strong, green stems and healthy roots. Avoid any that show signs of rot, yellowing, or disease, as healthy slips are crucial for a productive harvest.
Why are healthy slips important?
Healthy slips develop faster, resist pests and diseases better, and ultimately produce better yields. Starting with quality planting material sets the foundation for success.
Step 2: Build a Sturdy Trellis
A strong, well-constructed trellis is vital for supporting the upward growth of your sweet potato vines. You can use materials like wooden stakes, metal frames, or durable mesh panels.
Tips for building your trellis:
- Ensure it is tall enough—at least 4-5 feet—to accommodate vine growth.
- Use sturdy anchors to prevent tilting or collapsing under the weight of the foliage.
- Attach supportive strings or twine to guide the vines upward gently.
A solid structure helps maximize vertical space and keeps the vines healthy and manageable, preventing them from sprawling on the ground where they may rot or become infested.
Step 3: Plant Your Slips Properly
Once the structure is ready, plant your sweet potato slips about 12 to 18 inches apart at the base of the trellis. Gently insert the slips into the soil, covering the roots fully but leaving the shoots above ground. This spacing ensures each plant has enough room for healthy root and vine development.
A helpful tip:
Ensure the soil is loose and well-draining to prevent waterlogging. Sweet potatoes dislike soggy roots; they prefer slightly sandy or loamy soil.
Step 4: Prepare the Soil
Fertile, nutrient-rich soil is key to a high-yield harvest. Mix in organic compost or well-rotted manure to boost fertility. If growing in containers or raised beds, consider using a high-quality potting mix combined with organic fertilizer.
Why organic matter?
Rich soil promotes vigorous vines and large, tasty tubers. Organic amendments improve soil structure and provide essential nutrients without chemicals, fostering healthier plants.
Step 5: Guide the Vines and Train Them Up
As your sweet potato vines grow, gently attach the vines to the trellis using soft ties or twine. Be careful not to damage the delicate stems. Training the vines upward encourages better air circulation, reduces the risk of diseases, and makes harvesting easier.
Regular maintenance:
Consistently check and guide new growth. This proactive approach helps create a tidy, productive plant.
Step 6: Mulch and Water Consistently
Apply a layer of organic mulch—such as straw, shredded leaves, or grass clippings—around the base of the plants. Mulch conserves moisture, suppresses weeds, and maintains consistent soil temperature.
Watering tips:
Keep the soil evenly moist but not soaked. Water deeply whenever the top inch feels dry, especially during hot weather. Proper watering supports healthy vine growth and tuber development.
Step 7: Prune and Maintain
Regularly remove any yellowing or diseased leaves to prevent pest and disease problems. Thin excessive growth if the vines become overcrowded. Pruning encourages better airflow, reduces humidity around the plants, and directs energy toward tuber growth.
Why prune?
Maintaining a manageable vine size ensures resources are prioritized for tuber development rather than excessive foliage.
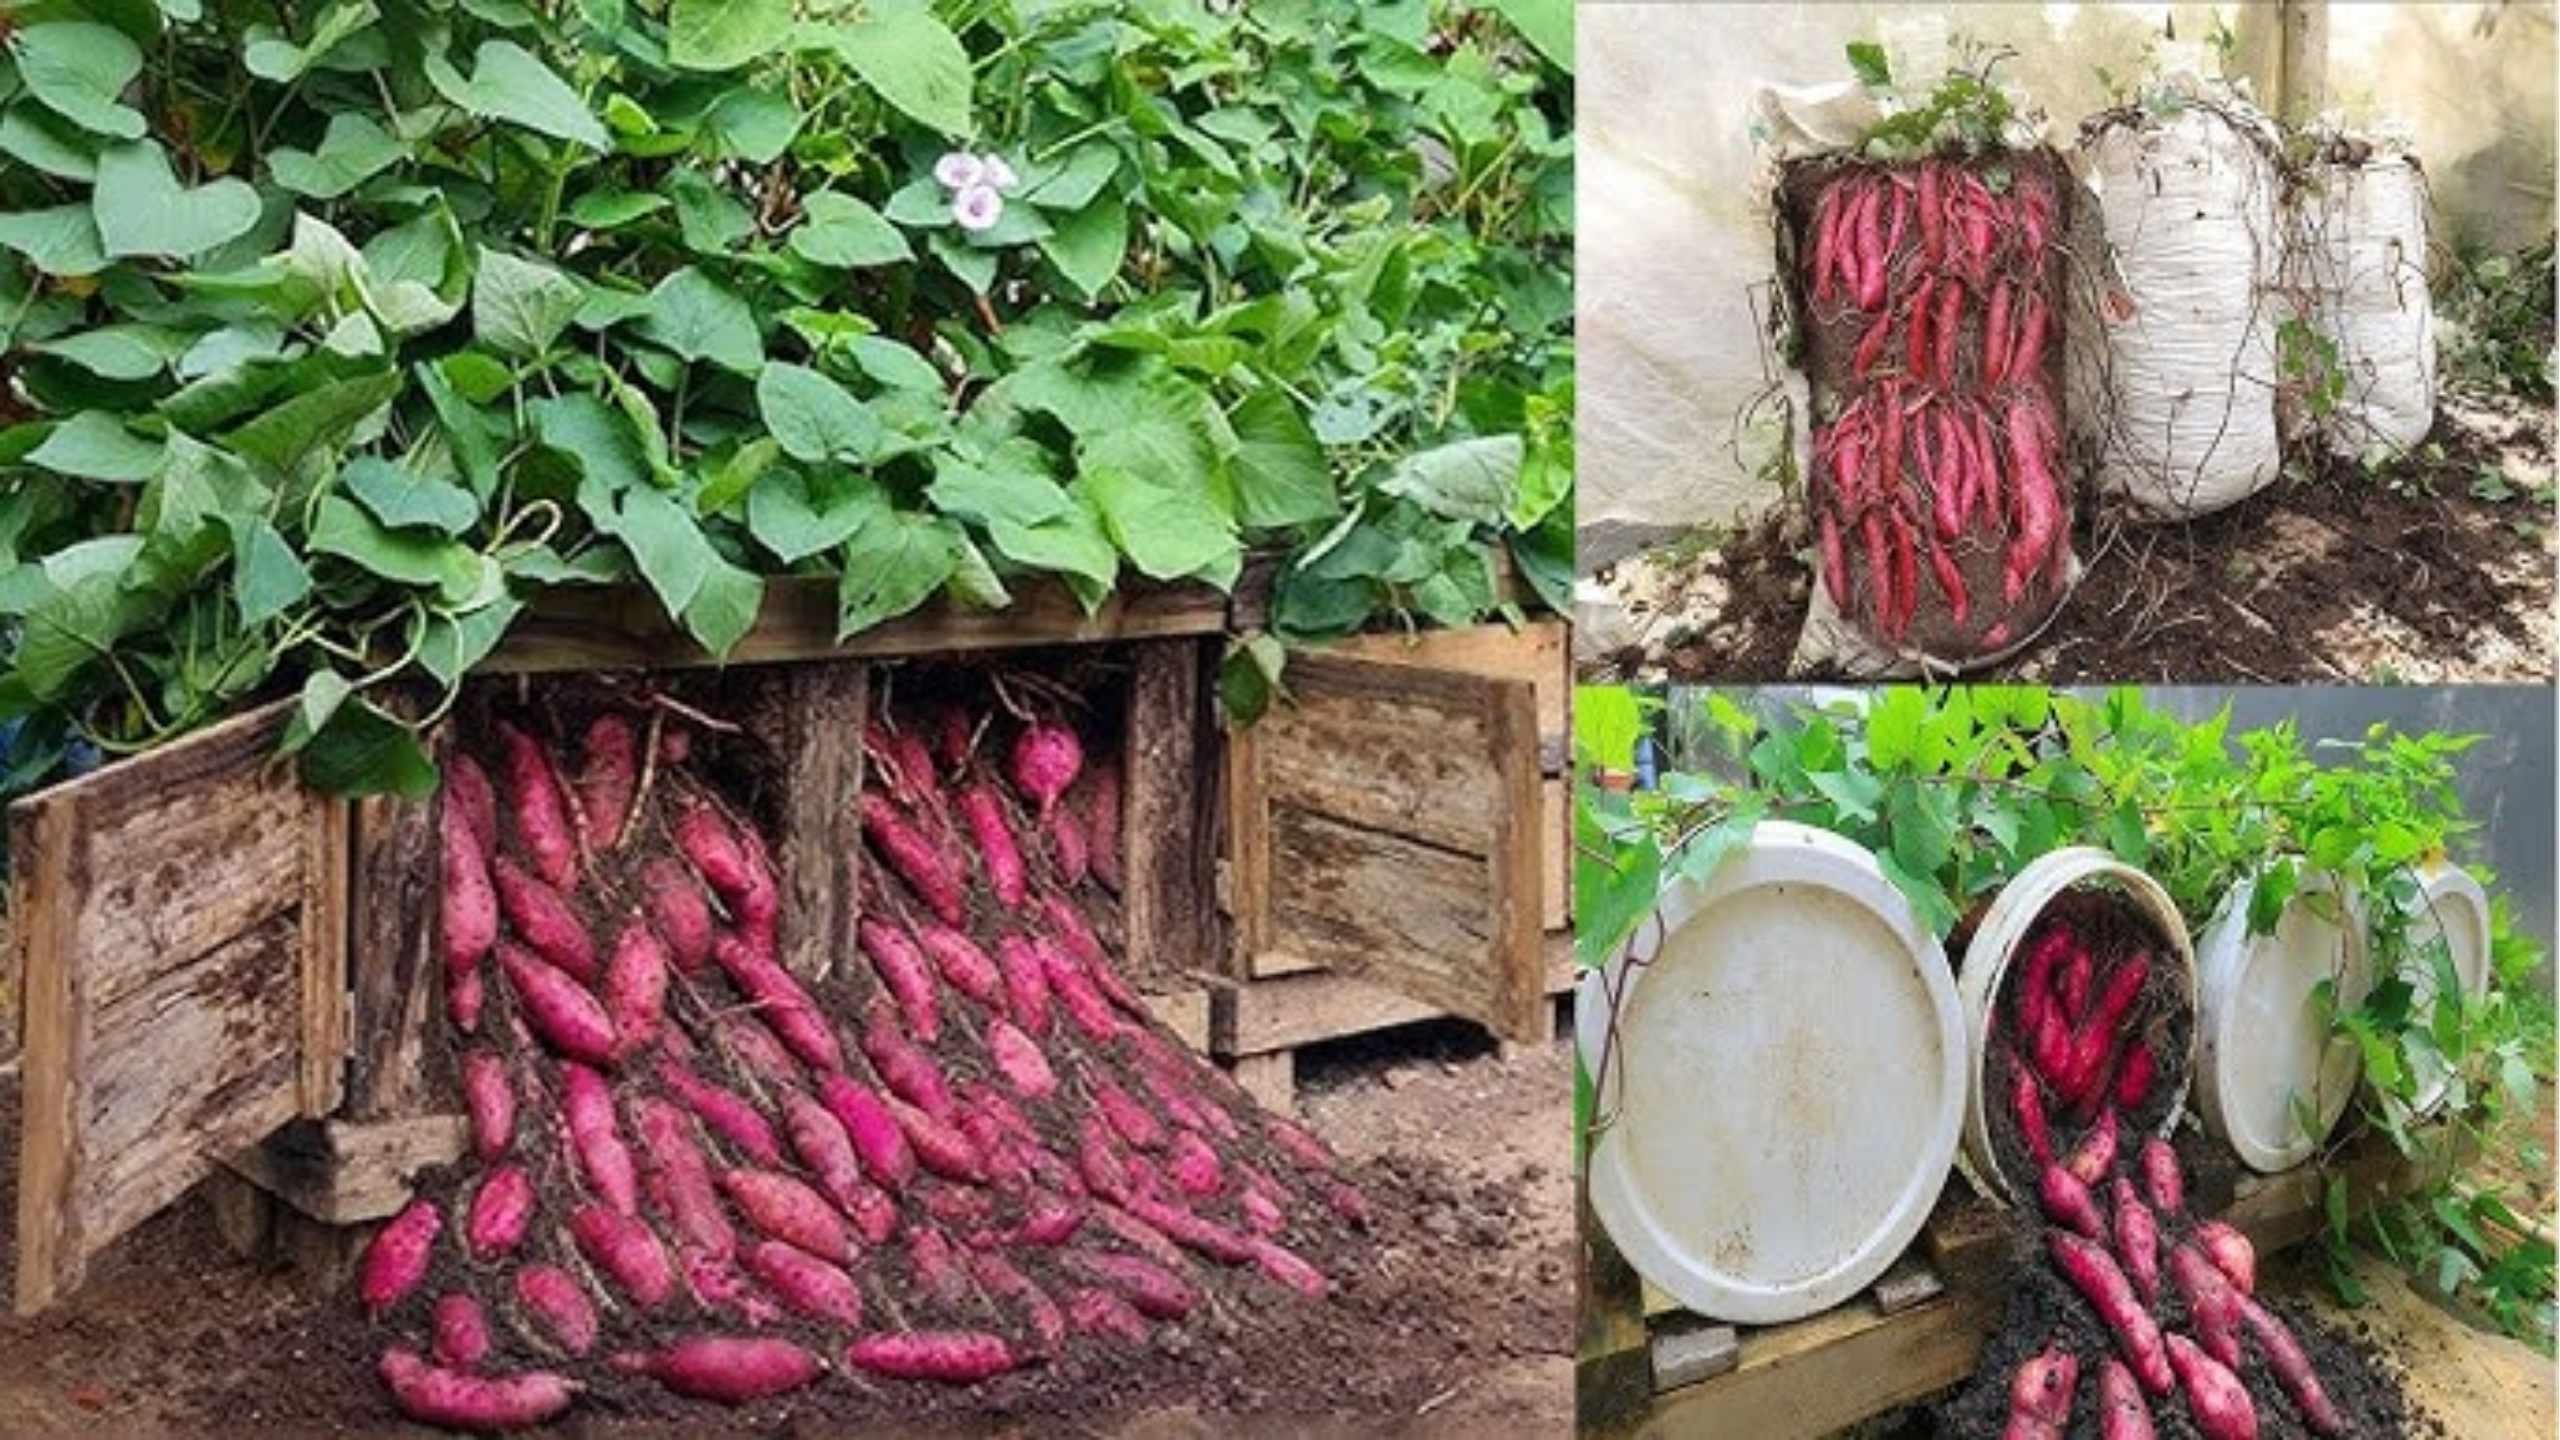
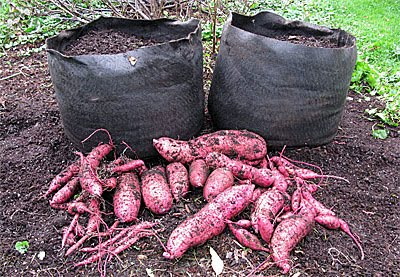
Step 8: Harvesting Your Sweet Potatoes
Typically, sweet potatoes are ready to harvest 3 to 4 months after planting. Gently dig around the base of the vines to locate the tubers, taking care not to damage them during extraction. Once harvested, allow the sweet potatoes to cure in a warm (around 80°F) and dry environment for 1-2 weeks. This curing process enhances sweetness and storage life.
How do you know when to harvest?
Look for vines that have stopped growing or started to yellow. The size of the tubers also indicates readiness.
Step 9: Proper Storage
After curing, store your sweet potatoes in a cool (55-60°F), dark, and well-ventilated place. Avoid refrigeration, as low temperatures can adversely affect their texture and taste. Proper storage ensures your harvest stays fresh for several months.
Final Thoughts
Growing sweet potatoes on a trellis at home is both practical and rewarding. It turns limited space into a thriving food source while making harvesting easier and reducing mess. With proper preparation, attentive care, and patience, soon you’ll enjoy fresh, homegrown sweet potatoes with every meal.
Want to Start Today?
Gather your slips, prepare your trellis, and set your garden in motion. Whether you’re an experienced gardener or a beginner, this method is accessible and fun. Plus, nothing beats the satisfaction of harvesting your own sweet, nutritious tubers right from your backyard or balcony.
Hey there! Someone in my Facebook group shared this
website with us so I came to check it out. I’m definitely enjoying the information. I’m book-marking and will be tweeting this
to my followers! Great blog and fantastic design.
Right now it sounds like WordPress is the best blogging platform out
there right now. (from what I’ve read) Is that what you’re using on your blog?
Web development Fort Smith offers fantastic support post-launch.
https://www.gpshow.com.br/anunciante/ionabucklan/
Website design in Fort Smith, AR, is perfect for startups.
https://elearnportal.science/wiki/User:LuannThrossell
You actually make it seem so easy with your presentation but I
find this matter to be actually something that I think I would
never understand. It seems too complex and very broad
for me. I am looking forward for your next post, I’ll try to get
the hang of it!
Web design in Fort Smith delivers stunning websites.
https://boombam.app/index.php/The_CyberSpyder_Approach_To_Custom_Web_Design_In_Fort_Smith
jwv1kz
Good way of explaining, and pleasant paragraph
to obtain facts concerning my presentation subject,
which i am going to convey in university.