
Prolonging Orchid Life with the Bottle Method

Ensuring the longevity of delicate plants like orchids requires dedicated care, and one effective technique endorsed by horticultural experts is the bottle method. This innovative approach, highly regarded by nurserymen, acts as a safeguard for the sustained vitality of your orchids. Here, we unveil the precise steps to implement this powerful tactic for orchid enthusiasts.
Understanding the Care Challenges for Orchids
Cultivating orchids at home demands specialized attention to ensure their well-being. Unfortunately, many struggle to provide the necessary care, leading to premature deterioration, often due to neglect or inconsistent watering practices. Even those with attentive care routines may seek alternative techniques to enhance their orchid cultivation endeavors.
Enter the bottle method—a revolutionary approach that promises a thriving orchid plant, offering sustained benefits throughout its lifecycle, including the crucial flowering phase.
Initiating the Bottle Method: The Preliminary Steps
Let’s delve into the specifics of the bottle method, uncovering the key steps to unlock the potential for a long-lasting and flourishing orchid.
Step 1: Gather Materials
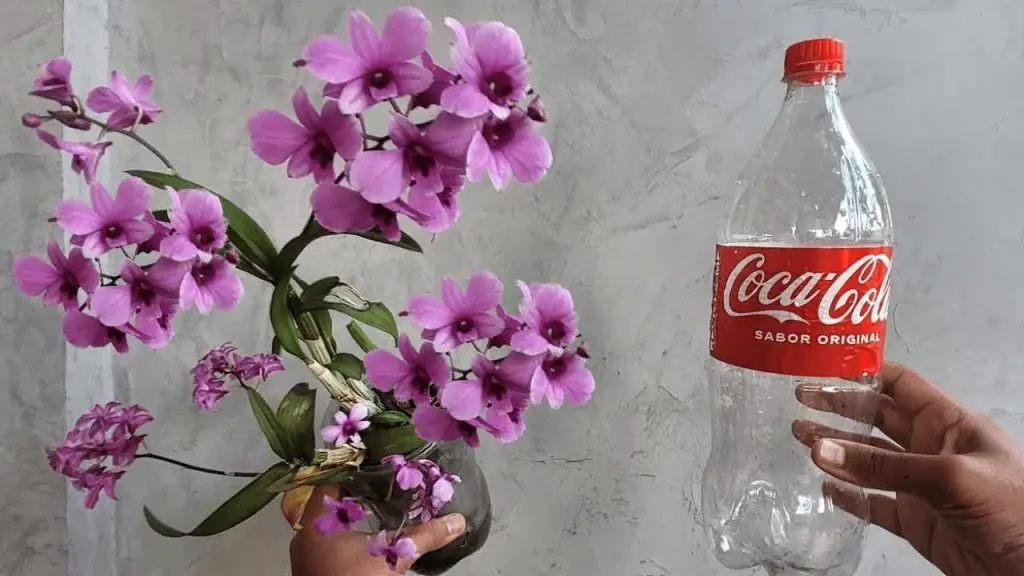
Commence the process by obtaining an empty transparent plastic bottle. Opt for a plasticized variant to ensure optimal visibility into its interior.
Step 2: Prepare the Bottle
Remove any labels from the bottle and proceed to cut it in half using a cutter. The resulting sections will form the upper and lower parts of the bottle.

Step 3: Perforate the Cap
Heat the tip of a metal object, such as a knife or nail, using a lit candle. Utilize the heated tip to create multiple holes in the cap of the upper bottle section.
Continuing the Bottle Method Procedure
Shift your focus to the lower bottle section, repeating the hole-making process around its base using the same method. These strategically placed holes will serve a vital role in the irrigation phase.
Introduce recycled charcoal pieces into the bottom of the bottle, providing a stable base.
Softening the outer circumference of the upper bottle section with a warm iron ensures that the edges won’t harm the orchids.
Orchid Plant Placement
Prepare the orchid plant with completed substrate, removing it carefully from the pot to preserve the roots.
Mix charcoal pieces and coconut fiber, placing them as the base for the orchid within the bottle.
Invert the top part of the bottle onto the base, filling it with potassium and magnesium-rich charcoal pieces.
Place the orchid on this charcoal base, filling the top part of the bottle with additional charcoal pieces to create a supportive environment.
Secure the plant with a supporting stick and use hooks designed for suspended jars to hang the plastic bottle pot.

Nurturing Your Orchid with the Bottle Method
Water the plant in moderation and observe the plant’s growth within the bottle. The charcoal acts as a potent nutrient source, invigorating the orchid’s development and promoting enduring health.
In conclusion, the bottle method offers a comprehensive solution to enhance orchid care, providing remarkable and lasting results. This tried-and-true technique is a must-try for orchid enthusiasts, ensuring sustained well-being for your cherished plants.