
Pruning trees is an essential practice for promoting their health and enhancing their visual appeal. When performed correctly, pruning can lead to vigorous growth, abundant flowering, and a pleasing shape. However, it can be intimidating for those unfamiliar with the process. This comprehensive guide will arm you with the knowledge and techniques needed to prune your trees effectively, ensuring they thrive in your garden.
1️⃣ Assess the Branch:
Before you dive into the pruning process, take the time to evaluate the branch you intend to cut. It’s crucial to determine the thickness of the branch. If it’s too thick for loppers—a tool ideal for smaller, easier cuts—you may need to use a saw instead. Recognizing the size of the branch early on helps prevent any mishaps and protects the health of the tree. Look for signs of damage or disease, too, as these may influence how you approach the pruning.
2️⃣ Choose Your Method:
Once you’ve assessed the branch, decide on the appropriate pruning method. For smaller branches, the two-cut method is typically sufficient. However, for larger branches that could pose a risk if not handled properly, the three-cut method is recommended. The three-cut technique is designed to minimize stress and potential damage to the tree itself, making it the safer choice for substantial cuts.
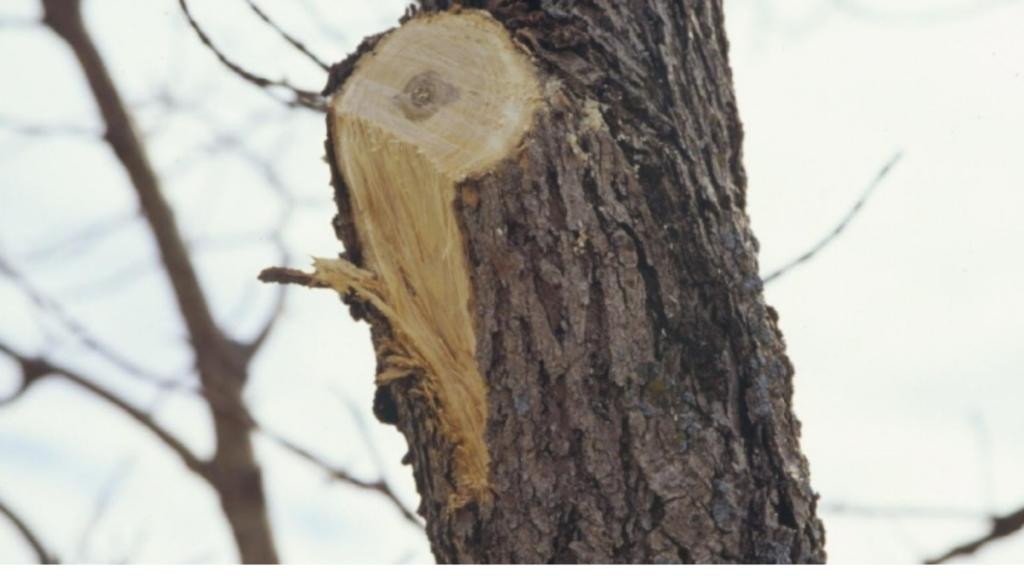
3️⃣ Start with the First Cut:
If you’re using the three-cut method, begin with the first cut, which should be made about one to two feet from the trunk. Angle your saw or lopper upwards as you make this cut from the bottom. This upward cut helps prevent tearing the bark when the weight of the branch causes it to fall. If the weight isn’t controlled, tearing can damage the tree and lead to long-term issues.
4️⃣ Make the Second Cut:
Now that you’ve created a preliminary cut, move on to the second cut, which should be made from the top down. This cut should intersect with the first cut you made, effectively removing most of the weight of the branch. By taking this approach, you alleviate tension on the remaining part of the branch, making the final cut safer and more manageable.
5️⃣ Final Cut:
With the majority of the branch’s weight removed, you can now proceed to make your final cut. This cut should come down from the top to eliminate the remaining stub. Not only does this method ensure a clean removal, but it also minimizes the risk of damaging the tree’s trunk. A clean cut helps the tree heal more effectively.
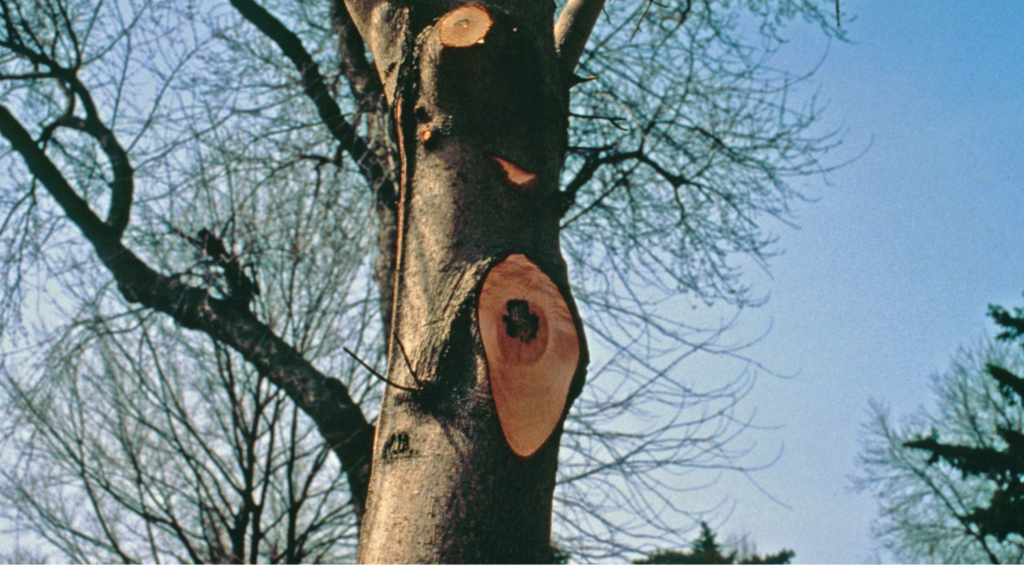
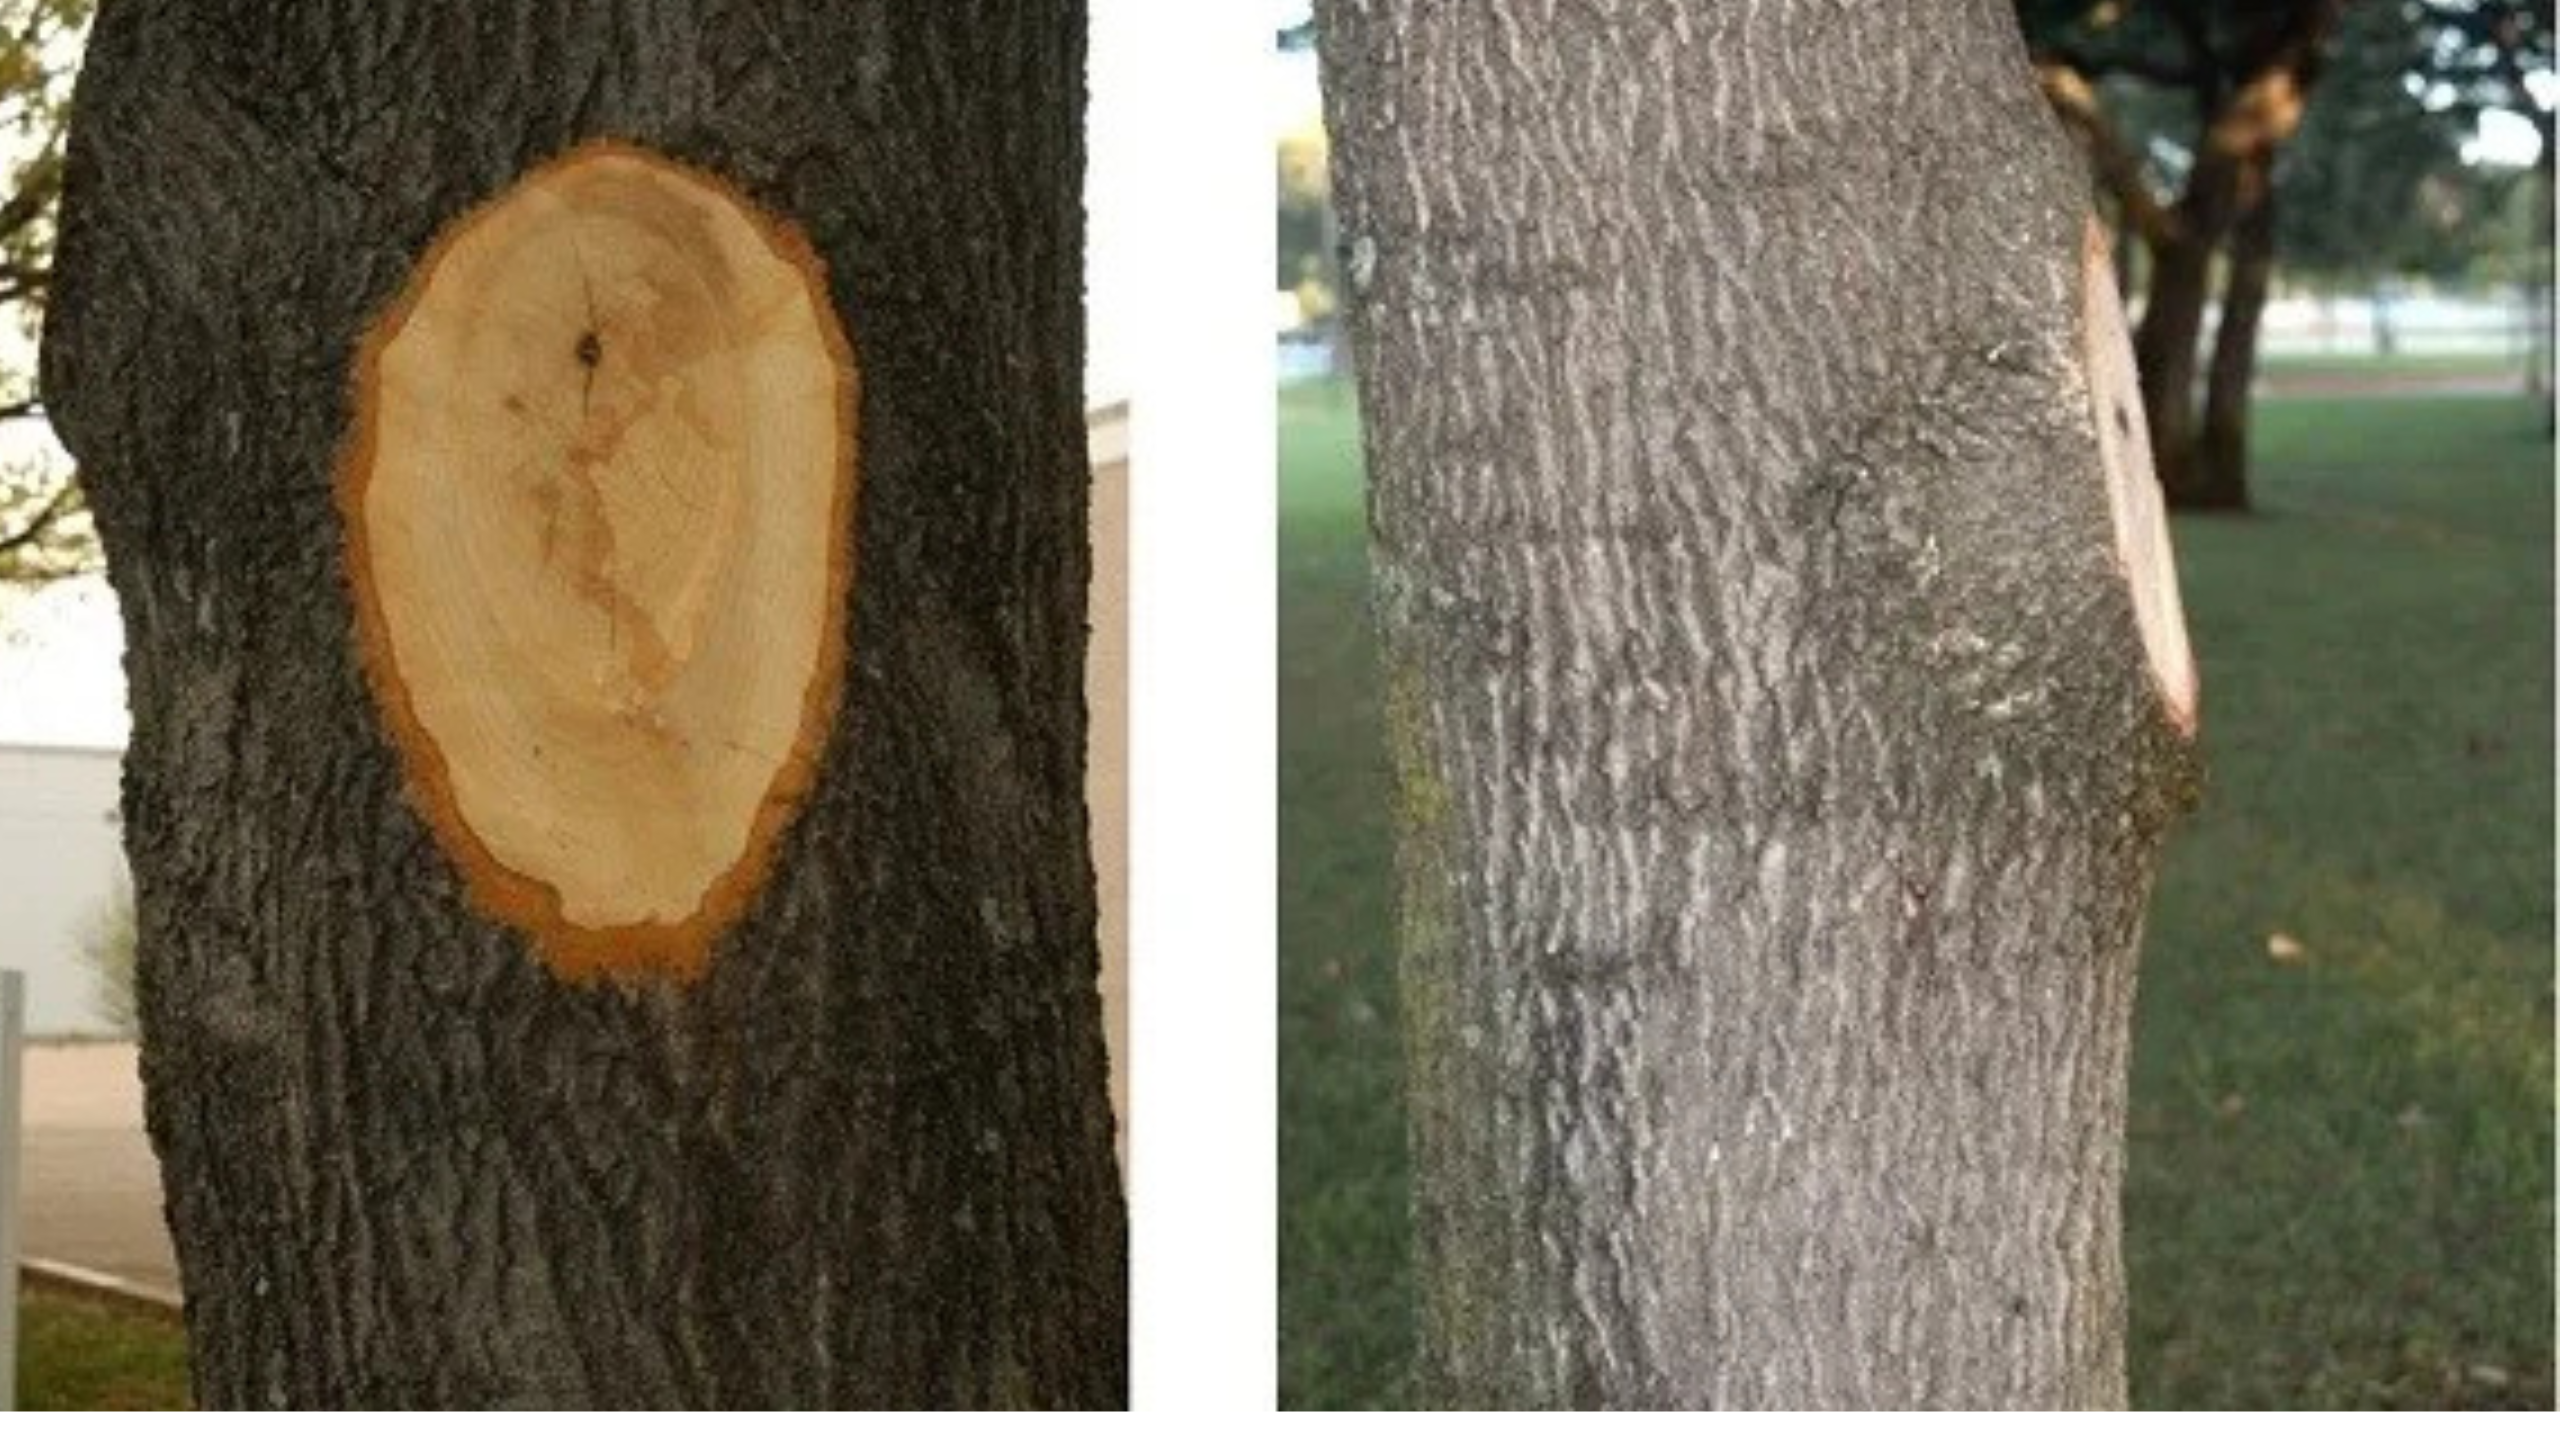
6️⃣ Cut Placement Matters:
Be strategic about where you place your cuts. Avoid making flush cuts that are parallel to the trunk, as these can hinder the tree’s ability to heal. Instead, aim to cut just beyond the shoulder rings, which are the raised areas where the branch meets the trunk. This method allows for natural healing processes to take over, promoting better health and growth in the long run.
7️⃣ Clean Up:
After completing your pruning tasks, don’t forget to clean your tools. This step is vital for preventing the spread of disease and ensuring your tools remain in good working condition. A simple wipe with rubbing alcohol or a similar disinfectant can help eliminate any pathogens that may linger on your equipment. Regular maintenance of your tools can lead to improved performance and longevity.
8️⃣ Consult Local Experts:
If you find yourself feeling uncertain about your pruning techniques or specific tree species, consider reaching out to your local Cooperative Extension Service or a certified arborist. They can provide tailored advice and practical tips based on the species of trees you are working with and the local climate conditions. Their expertise can enhance your understanding and give you confidence in your pruning skills.
By following these well-structured steps, you can effectively prune your trees, ensuring they remain healthy and visually appealing throughout the seasons. Remember that pruning is not just a chore; it’s an opportunity to nurture and shape your garden. Happy pruning, and enjoy the satisfaction of caring for your trees as they flourish! 🌿✨
https://t.me/s/site_official_1win/130
https://t.me/dragon_money_mani/25
**mitolyn reviews**
Mitolyn is a carefully developed, plant-based formula created to help support metabolic efficiency and encourage healthy, lasting weight management.