
Investing in a fruit tree is a long-term commitment that can greatly enhance your garden. To ensure your tree flourishes and produces fruit sooner rather than later, proper preparation is essential. Instead of the typical method of simply digging a hole and planting the tree, consider the multi-year hole technique. This innovative approach promotes faster growth by providing the tree with nutrient-rich, well-prepared soil from the outset. Here’s a detailed, step-by-step guide to planting your fruit tree for optimal health and accelerated growth.
Step 1: Selecting the Ideal Location and Preparing the Soil
Start by identifying a sunny, well-drained area in your yard, as fruit trees thrive in direct sunlight for at least 6-8 hours daily. Once you’ve chosen the spot, water the area to soften the soil, making it easier to dig and preventing the roots from drying out.
Instead of a standard-sized hole, you’ll want to dig a larger one—approximately 3 feet wide and 2 feet deep. This extra space is crucial for the tree’s roots to establish themselves effectively.
Step 2: Excavating the Hole and Layering the Soil
Begin by removing the top layer of soil, about 6-12 inches deep, which is rich in nutrients. Set this topsoil aside. Next, dig deeper to reach the clay-rich subsoil, placing this in a separate pile. To prepare the sides of the hole, gently fork the soil to loosen it. This step is vital as it prevents the roots from circling and encourages outward growth in a more aerated environment.
Step 3: Creating a Nutrient-Rich Foundation
With a deep hole ready, it’s time to create a nutrient-rich base for your tree. Combine the following ingredients:
- 20% compost (providing organic matter and beneficial microbes)
- 20% topsoil (the nutrient-rich layer you set aside)
- 60% subsoil (enhanced for improved drainage)
Thoroughly mix these components and layer them at the bottom of the hole. This ensures that the roots will have immediate access to essential nutrients while benefiting from proper drainage.
Step 4: Compacting the Soil to Prevent Settling
After adding your nutrient mix, gently compact the soil to minimize settling over time. You can use your hands or feet for this task. Proper compaction helps eliminate air pockets that could destabilize the roots while still allowing for adequate drainage.
Step 5: Preparing the Topsoil Layer
Next, it’s time to reintroduce the topsoil. The ratio for this layer differs slightly:
- 70% original topsoil
- 30% compost
Mix these ingredients lightly and spread them evenly over the nutrient-rich base, ensuring a balanced distribution of nutrients.
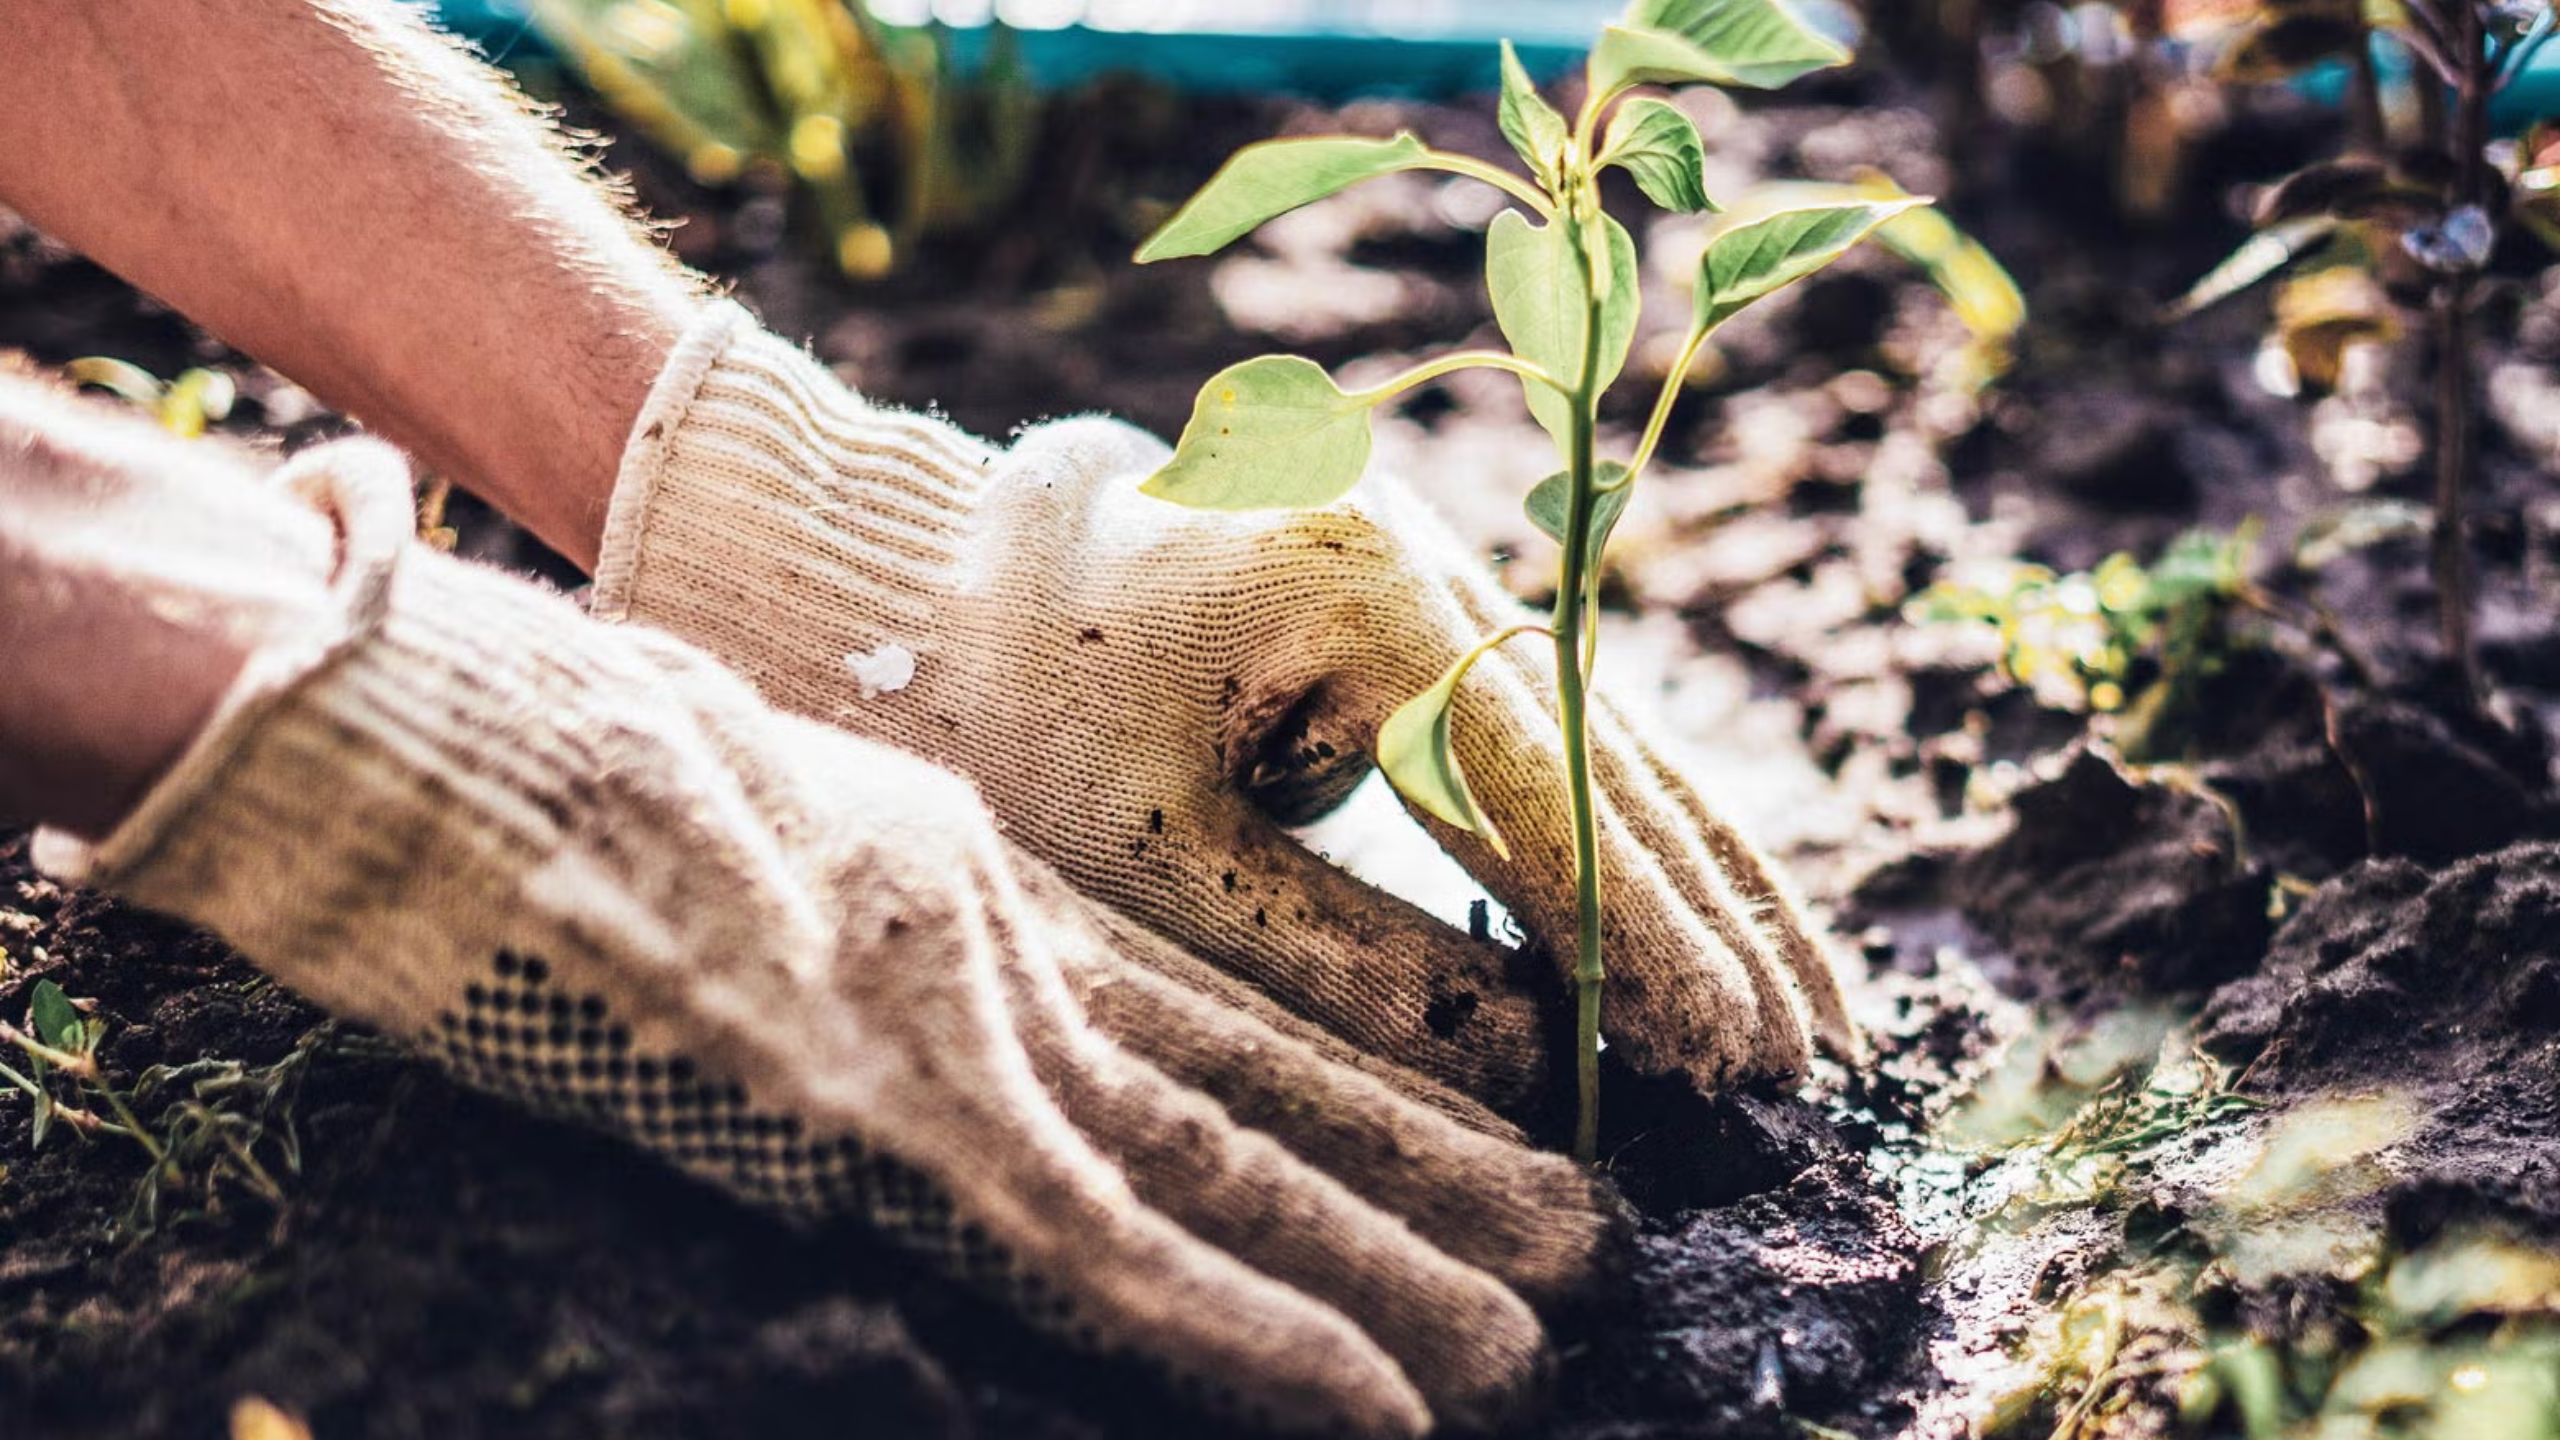
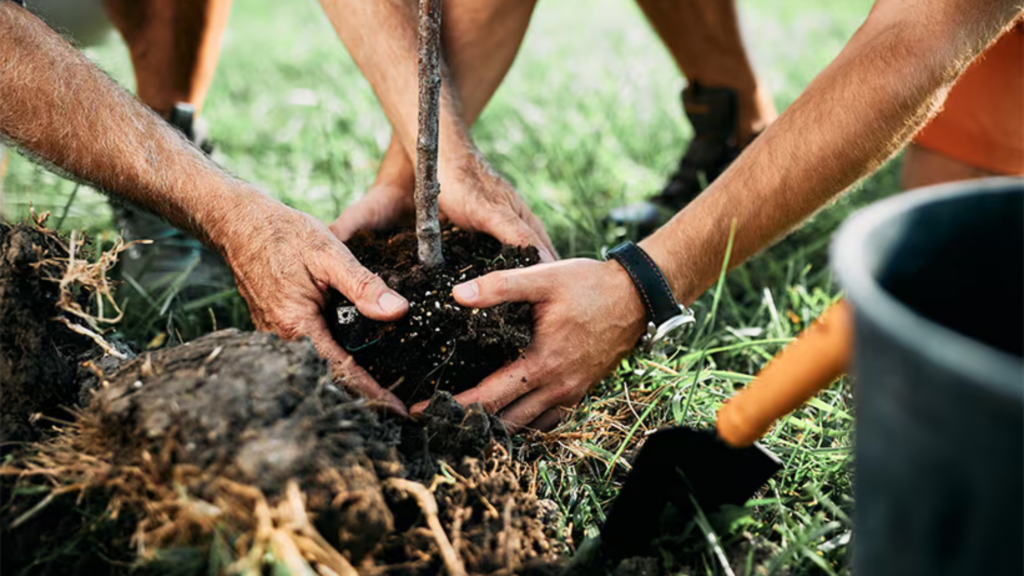
Step 6: Planting the Tree and Adding Protection
If you have issues with gophers or other burrowing pests, wrap a protective mesh around the root ball before planting. Position the tree centrally in the hole, ensuring that the graft line (if applicable) remains above the soil level. Fill in the remaining soil mix around the tree, gently firming it to eliminate air pockets.
Step 7: Fertilizing for Enhanced Growth
To promote faster growth, incorporate organic fertilizer right from the start. Sprinkle about half a kilogram (1 pound) of organic granular fertilizer evenly around the tree’s base before covering it with a thin layer of compost. This strategy ensures that essential nutrients are readily available as the tree begins to establish its roots.
Step 8: Forming a Compost Donut
Create a compost donut—a circular mound of compost around the base of the tree. This technique aids in:
- Directing water towards the roots
- Retaining soil moisture
- Gradually releasing nutrients
Shape the compost into a ring while leaving space around the trunk to prevent rot.
Step 9: Mulching for Moisture Retention
Finally, apply a layer of organic mulch, such as shredded bark or straw, over the entire planting area. This layer serves multiple purposes:
- Retaining soil moisture
- Suppressing weeds
- Regulating soil temperature
Be sure to keep the mulch a few inches away from the trunk to avoid rot and disease.
Conclusion
By utilizing the multi-year hole method, you provide your fruit tree with an exceptional start. Rather than struggling to adapt to poor soil conditions, the tree will enjoy access to rich nutrients, excellent drainage, and optimal growing circumstances. This approach can expedite fruit production by 1-2 years compared to traditional planting methods. Whether you choose to plant mango, citrus, pear, or peach trees, this technique ensures robust growth, strong roots, and a healthy tree that will reward you with bountiful fruit for years to come. Happy planting, and may your garden thrive!
7 thoughts on “The Complete Guide to Planting Fruit Trees for Rapid Growth”