
A Simple Step-by-Step Explanation
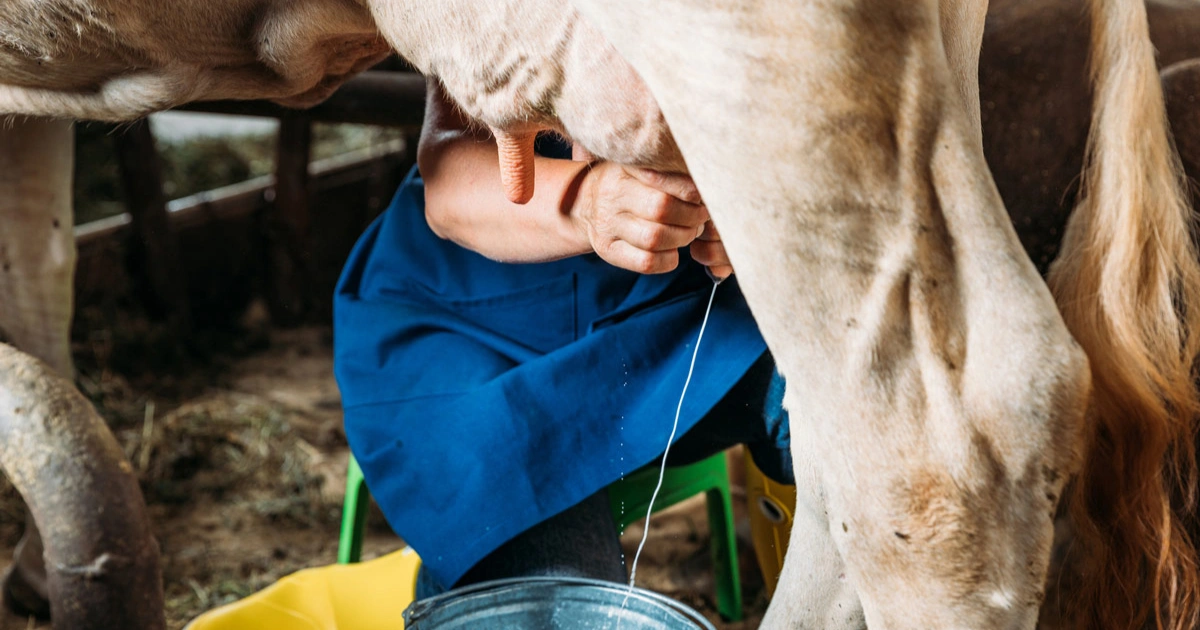
This illustration shows the traditional hand-milking method, still used today on small farms and homesteads. Proper technique is essential for animal comfort, milk hygiene, and good milk flow.
1. Clean hands first
Wash your hands thoroughly and apply a small amount of udder cream or petroleum jelly. This prevents friction and protects both your skin and the cow’s teats.
2. Clean the udder
Use a warm, damp cloth to gently wipe away dirt, hair, or manure. Lightly massaging the udder helps relax the cow and stimulates milk let-down.
3. Proper hand placement
Grip the teat at the top using your thumb and forefinger. This traps milk inside the teat before squeezing.
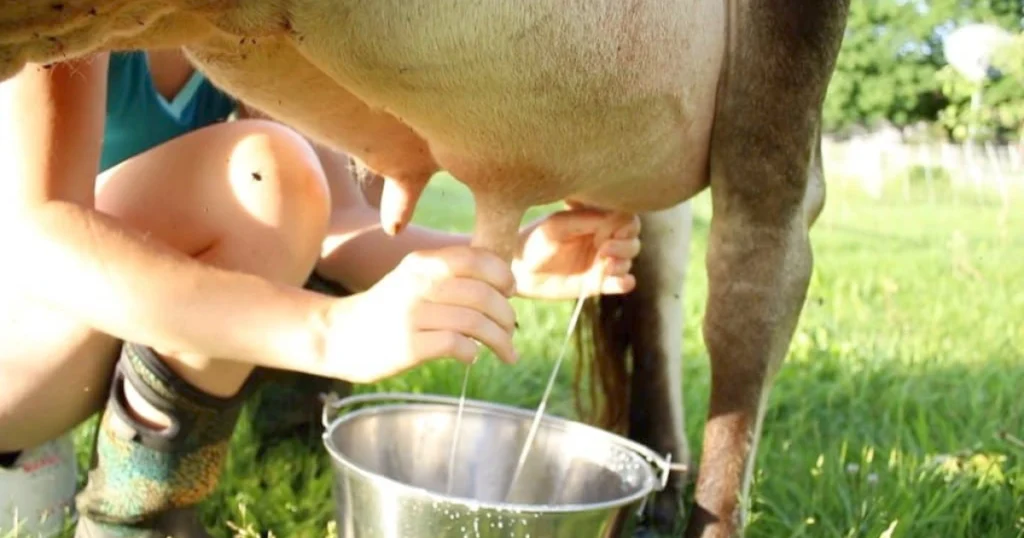
4. Squeeze, don’t pull
Curl the remaining fingers downward one by one, pressing the milk out smoothly. Pulling downward can cause pain and injury.
5. Discard the first milk
The first few squirts are released onto the ground. This clears bacteria or debris that may have collected in the teat canal.
6. Milk steadily and calmly
Alternate hands and teats with a steady rhythm until the bucket fills. A calm pace keeps the cow relaxed and improves milk flow.
Important notes
- Milking should never cause pain to the cow
- Always use clean buckets and tools
- A relaxed environment improves milk quality
- Consistency helps cows feel comfortable and cooperative
Common beginner mistake
Pulling on the teat instead of squeezing can hurt the cow and reduce milk production. Gentle pressure and rhythm are key.
Final thought
Hand milking is not just about technique—it’s about patience, cleanliness, and respect for the animal. When done correctly, it’s safe, efficient, and stress-free for both cow and farmer.
188V là nhà cái đổi thưởng uy tín cung cấp hàng trăm trò chơi phổ biến như Baccarat, Poker, Blackjack và nhiều biến thể của các game bài truyền thống Việt Nam. Điểm nổi bật khiến 188V trở thành lựa chọn hàng đầu chính là hệ thống bảo mật đa lớp, giao diện thân thiện với người dùng và tỷ lệ trả thưởng minh bạch. Theo thống kê nội bộ, hơn 85% người chơi mới tại 188V đều được giới thiệu từ những người chơi trung thành – một con số ấn tượng trong ngành công nghiệp cạnh tranh khốc liệt này. TONY03-11O
Toàn bộ hệ thống được vận hành dưới tiêu chuẩn bảo mật SSL 128-bit, giúp mã hóa mọi dữ liệu giao dịch và thông tin cá nhân. Tất cả các thao tác như đăng nhập, rút tiền hay xác minh đều được mã hóa ở cấp độ cao nhằm loại bỏ nguy cơ rò rỉ dữ liệu. xn88 app ios còn hợp tác với các đơn vị kiểm toán độc lập để định kỳ rà soát hệ thống, đảm bảo tuân thủ đúng các yêu cầu kỹ thuật và pháp lý quốc tế. TONY03-27O