
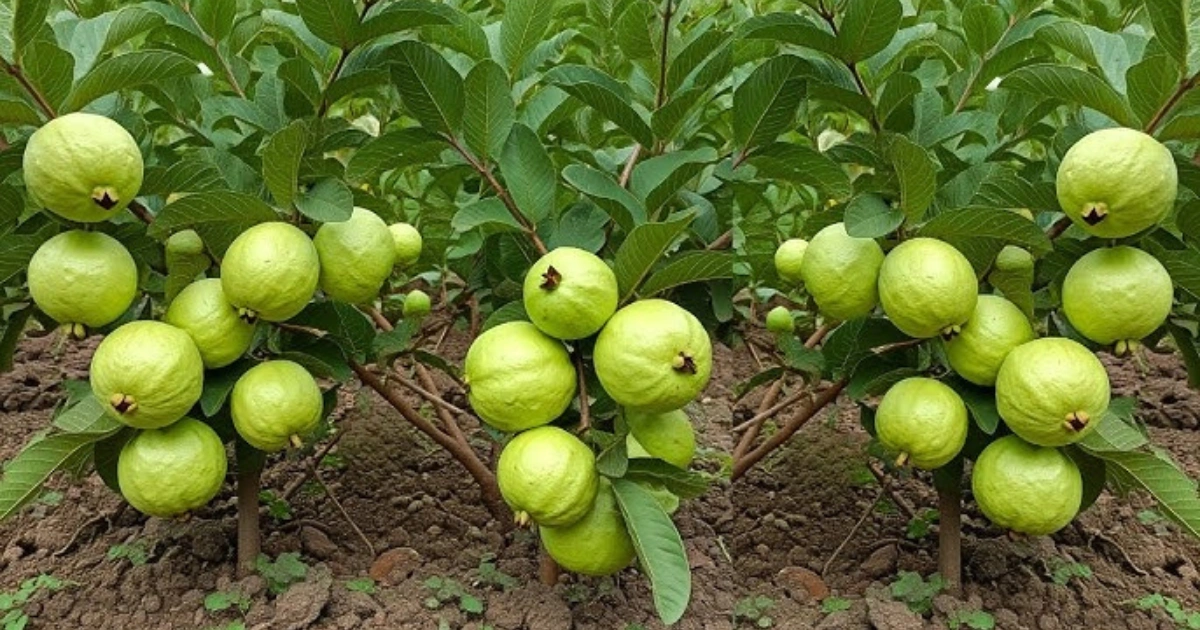
Guava (Psidium guajava) is a tropical fruit beloved for its sweet, aromatic flavor and numerous health benefits. While it thrives in tropical and subtropical climates, guava can also be successfully grown in pots, making it an accessible option for gardeners in a variety of climates. This comprehensive guide will walk you through every step of growing guava at home, from seed harvesting to nurturing your plant for a bountiful harvest.
Harvesting Guava Seeds
The first step to growing guava at home is to harvest seeds from a ripe fruit. Here’s how to extract the seeds effectively:
Materials Needed:
- Ripe guava fruit
- Knife
- Spoon
Step-by-Step Instructions:
- Choose a Ripe Guava: Select a mature guava that yields slightly to gentle pressure, indicating it’s ripe for seed extraction.
- Cut the Guava: Using a sharp, clean knife, slice the guava in half. Be careful not to damage the seeds inside.
- Remove the Seeds: Use a spoon to scoop out the seeds from the center of the fruit. Some seeds may be embedded in the flesh, so make sure to collect all of them.
- Clean the Seeds: Rinse the seeds under running water to remove any remaining pulp, then pat them dry with a clean paper towel.
Germinating Guava Seeds
Now that you have your seeds, it’s time to start the germination process. Proper germination is essential for healthy plant development.
Materials Needed:
- Guava seeds
- Moist paper towel
- Plastic ziplock bag
Step-by-Step Instructions:
- Prepare the Paper Towel: Place the guava seeds on a damp paper towel. The towel should be moist, not soaking wet, and the seeds should be spaced apart.
- Fold the Paper Towel: Fold the paper towel over the seeds to form a small packet.
- Seal in a Ziplock Bag: Place the folded paper towel with the seeds inside a plastic ziplock bag and seal it. This will create a humid environment ideal for germination.
- Store in a Warm Place: Place the ziplock bag in a warm, well-lit area, such as a windowsill. The ideal temperature for germination is between 75°F and 85°F (24°C to 29°C).
- Monitor and Wait: Check the seeds regularly to ensure the paper towel remains moist. Germination can take anywhere from 2 to 8 weeks.
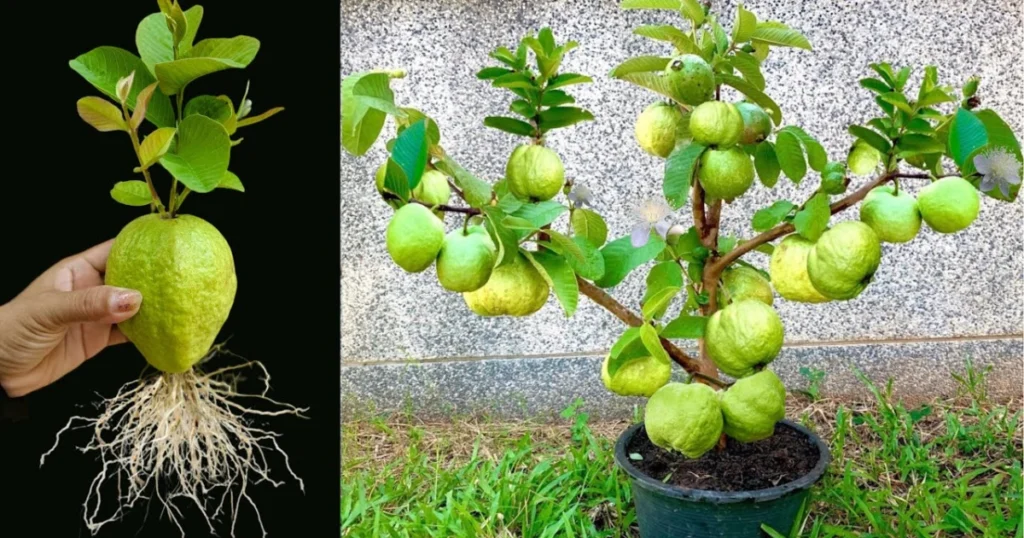
Planting Guava Seedlings in Pots
Once the seeds have sprouted and developed a small root, it’s time to transplant them into pots.
Materials Needed:
- Guava seedlings
- Well-draining potting mix
- Pots with drainage holes
- Watering can
- Balanced, slow-release fertilizer
Step-by-Step Instructions:
- Prepare the Pots: Choose pots that are at least 10 to 12 inches in diameter, with good drainage holes. Fill the pots with a well-draining potting mix suitable for fruit trees.
- Transplant Seedlings: Make a small hole in the potting mix and gently place the germinated guava seedling into the hole, ensuring the root is facing downward. Cover the seedling with soil.
- Watering: Water the seedlings thoroughly after transplanting. Keep the soil consistently moist, but avoid waterlogging.
- Fertilization: After the seedlings are established, start applying a balanced, slow-release fertilizer to provide essential nutrients.
Caring for Your Potted Guava Tree
Proper care is essential for ensuring your potted guava tree thrives and produces fruit. Here’s how to take care of your guava tree:
Sunlight:
Guava trees need full sunlight to thrive. Place your pots in an area where they receive at least 6 to 8 hours of direct sunlight daily.
Watering:
Guava trees require regular watering. Keep the soil consistently moist but well-drained. Avoid letting the soil dry out completely or become waterlogged.
Pruning:
Prune your guava tree to remove dead or damaged branches and to encourage healthy new growth. Regular pruning helps maintain the tree’s shape and ensures optimal airflow.
Pest and Disease Control:
Keep an eye out for common pests, such as fruit flies and aphids. Use organic methods for pest control when necessary.
Frost Protection:
If you live in a cooler climate, protect your guava tree during the winter months by either bringing it indoors or covering it with frost cloth.
Fruit Thinning:
When the fruit starts to appear, thin out excess fruit to allow the remaining ones to grow larger and healthier.
Harvesting:
Guavas are ready for harvest when they yield slightly to gentle pressure. To harvest, twist the fruit off the tree gently.
Conclusion
Growing guava at home in pots is a rewarding experience that can yield sweet and delicious fruits, even if you don’t live in a tropical climate. With the right care and attention, your potted guava tree can flourish and produce fruit year after year. Whether you have a sunny garden or a small balcony, growing guava brings a touch of the tropics right to your home.
By following these simple steps and providing your tree with the proper care, you can enjoy a bountiful harvest of homegrown guavas, adding flavor and health benefits to your diet while enhancing your gardening experience.
Related Articles:
- How to Grow Fruit Trees in Containers
- Best Indoor Fruit Trees for Small Spaces
- Gardening for Beginners: Tips for Growing Tropical Fruits
Trusted External Resources:
For additional information on growing fruit trees and sustainable gardening practices, check out these authoritative sources:
Pamukkale textiles shopping TravelShop is simply amazing for Bodrum trips! They recommended a hidden gem in Gümüşlük – small, family-run, right on the sea with the freshest seafood. Quiet, romantic, perfect service. We felt like VIPs the entire stay. Highly recommend this company! https://bio.site/travelshop
здесь https://forum.hpc.name/thread/w281/140840/oshibka-v-mnogopotochnom-prilojenii-python-pri-rabote-s-obshchey-peremennoy.html
Does your blog have a contact page? I’m having problems locating it but, I’d like to shoot you an e-mail. I’ve got some ideas for your blog you might be interested in hearing. Either way, great site and I look forward to seeing it grow over time.
Hi there, You have performed an excellent job. I will definitely digg it and personally suggest to my friends. I’m confident they’ll be benefited from this website.
Great post, I believe blog owners should larn a lot from this web blog its really user genial.