The Unique Taste and Versatility of Celeriac
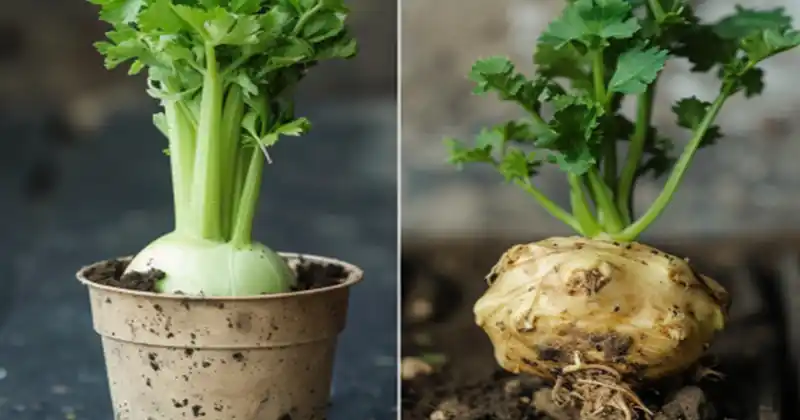
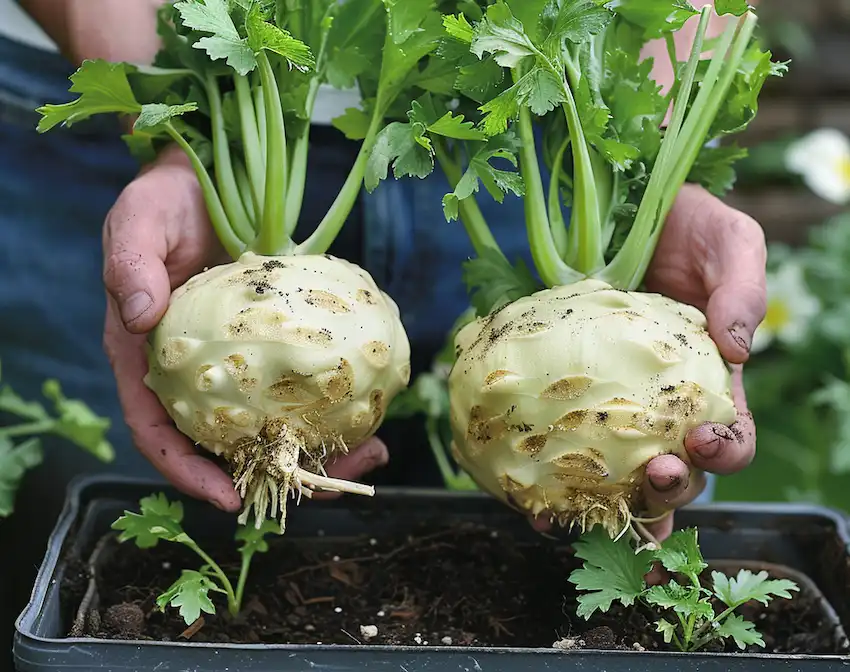
Celeriac, or celery root as it is commonly known, is a root vegetable often overshadowed by its leafy celery counterpart but is unparalleled in flavor and versatility. Beneath its rough, knobby exterior lies a firm, white flesh that boasts a subtle, earthy blend of celery and parsley with a hint of nuttiness. This unique taste makes celeriac a cherished ingredient in soups, stews, mashed dishes, and salads, enhancing recipes with its distinct flavor profile. Additionally, celeriac is celebrated for its nutritional benefits, including a rich supply of vitamins B6, C, K, and essential minerals like phosphorus, iron, and manganese.
Growing celeriac at home is a rewarding endeavor that allows gardeners to explore the depth of this vegetable’s culinary potential. Whether nestled in a garden bed or thriving in a container, celeriac adds diversity to your homegrown produce collection. The following guide will navigate through the process of cultivating celeriac in containers, ensuring even those with limited space can enjoy the harvest.
Growing Celeriac in Containers: A Step-by-Step Guide
- Choosing the Right Container: Opt for a deep container, at least 12 inches in depth, to accommodate the celeriac’s root growth. Ensure the container has adequate drainage holes to prevent waterlogging, which can lead to root rot.
- Seed Starting: Begin by sowing celeriac seeds indoors about 10-12 weeks before the last frost date. Use a high-quality seed starting mix and plant seeds 1/4 inch deep in trays or pots. Keep the soil moist and provide ample light, either from a sunny window or grow lights, to encourage strong seedling growth.
- Transplanting: Once the seedlings have grown and the risk of frost has passed, it’s time to move them into their containers. Harden off the plants by gradually exposing them to outdoor conditions over a week. This process reduces transplant shock and acclimates the seedlings to their new environment.
- Soil and Fertilization: Fill your container with a rich, well-draining potting mix. Celeriac thrives in soil with a pH between 5.8 and 6.8. Incorporate a balanced, slow-release fertilizer into the mix before planting to support initial growth.
- Planting: Space the celeriac seedlings about 12 inches apart in the container. This spacing gives each plant enough room to grow and prevents overcrowding.
- Watering and Care: Maintain consistent soil moisture, as celeriac roots are prone to drying out. However, avoid overwatering. A mulch layer can help retain soil moisture and regulate temperature. Throughout the growing season, feed the plants with a liquid fertilizer every four weeks to ensure they receive all necessary nutrients.
- Harvesting: Celeriac is ready to harvest approximately 14-16 weeks after planting, when the roots reach about 3-5 inches in diameter. The flavor of celeriac improves after a light frost, making late harvests particularly rewarding. Gently remove the root from the container, taking care not to damage it.
- Storing: After harvesting, trim the foliage and roots, and store celeriac in a cool, humid place. Properly stored celeriac can last several months, providing you with a lasting supply of this flavorful vegetable.

Growing celeriac in containers is an accessible gardening project that yields delicious results. With patience and care, even novice gardeners can produce a bountiful crop of celeriac, ready to enhance a variety of dishes with its unique taste.
Growing Celeriac in Garden Beds
- Site Preparation: Choose a location in your garden that receives full sun to partial shade. Celeriac isn’t a fan of extreme heat, so a spot that gets afternoon shade can be beneficial in hotter climates. The soil should be rich, well-draining, and have a pH between 5.8 and 6.8. Work in plenty of organic matter, such as compost or well-rotted manure, to improve soil fertility and structure.
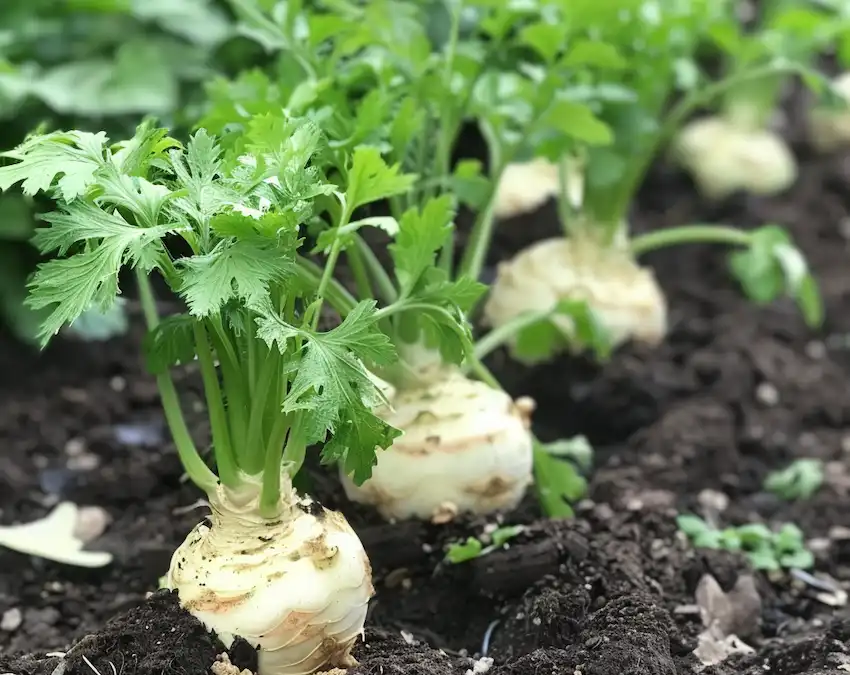
- Timing and Planting: Sow celeriac seeds indoors about 10-12 weeks before the last frost date in your area. Transplant the seedlings into the garden when they are sturdy and the danger of frost has passed, spacing them about 12 to 15 inches apart in rows that are 18 to 24 inches apart. This spacing allows ample room for growth and air circulation, which is vital for healthy plants.
- Watering and Mulching: Celeriac requires consistent moisture to develop its characteristic bulbous root. Water the plants regularly, aiming to keep the soil evenly moist but not waterlogged. Applying a layer of organic mulch around the plants can help conserve moisture, suppress weeds, and maintain a cool root environment.
- Nutrition and Care: Feed your celeriac plants with a balanced, all-purpose organic fertilizer according to the product’s instructions to encourage strong growth. Keep the garden bed free of weeds, which compete with celeriac for nutrients and water.
- Harvesting: Celeriac matures in about 14-16 weeks from transplanting, but the exact timing can vary based on growing conditions. The roots are typically ready when they are about 3-5 inches in diameter. Harvest by carefully loosening the soil around the root with a fork and lifting it out of the ground.
- Post-Harvest Care: Trim off the leafy tops and fine roots. Store celeriac in a cool, humid place like a root cellar or refrigerator. Properly stored, celeriac can last for several months, providing a long-lasting addition to your winter meals.

Tips for Success
Growing celeriac, whether in containers or garden beds, is a testament to the joys of gardening and the culinary diversity that comes with it. Here are some innovative tips to enhance your celeriac growing experience:
- Companion Planting: Plant celeriac alongside other garden favorites such as tomatoes, beans, or spinach. These companions can help deter pests and optimize garden space.
- Succession Planting: For a steady supply of celeriac, consider succession planting. Start a few seeds at intervals of 2-3 weeks to extend the harvesting period.
- Leaf Utilization: While the focus is on the root, celeriac leaves can be used similarly to celery leaves. They’re great in stocks or as a garnish, offering a zero-waste approach to your garden produce.
- Pest Management: Utilize floating row covers to protect young celeriac plants from common pests. This method avoids the need for chemical interventions, keeping your garden organic.
- Soil Health: Rotate your celeriac crop each year to prevent soil-borne diseases and maintain soil health. This practice ensures a vibrant garden and bountiful harvests year after year.
Cultivating celeriac at home enriches your garden with a versatile root vegetable that’s as nutritious as it is flavorful. Whether tucked into a container or nestled in a garden bed, celeriac is a testament to the wonders of home gardening. Embrace these tips and techniques to enjoy a successful celeriac crop, ready to enhance your cooking with its unique taste and texture.
