
By Marilyn Aghemo
Grafting a rose onto another variety might seem like a task best left to professionals, but with the right guidance, anyone can achieve beautiful results. This natural process allows you to combine different rose varieties, creating unique and stunning blooms in your garden. Here’s a step-by-step guide to help you master the art of rose grafting.
Understanding Rose Grafting
Grafting involves joining two different plant varieties to create a single, unique plant. For roses, this process can yield spectacular results, allowing you to enjoy the beauty of multiple rose varieties in one plant. While the results are not immediate, the satisfaction of seeing your grafted rose bloom is well worth the effort.
Choosing the Right Rootstock
Selecting the Porta Innesto (Rootstock):
- The rootstock is crucial for a successful graft. Experienced gardeners recommend using a Rosa canina (dog rose) or a Rosa multiflora for beginners.
- Rosa canina has robust roots and is adaptable to various soil types, making it an excellent choice for grafting.
- Rosa multiflora has shallow roots that complement the grafting process perfectly.
Preparing the Rootstock
Growing the Rootstock:
- To obtain the rootstock, you can either plant seeds from the two varieties or grow them from cuttings.
- For cuttings, select two branches about 20 centimeters long during the winter and plant them in the summer to grow your own rootstock.
Tools and Timing
Gathering the Necessary Tools:
- Before proceeding with the graft, ensure you have disinfected pruning shears and binding materials like raffia or lightweight cloth.
- The ideal temperature for grafting is around 25 degrees Celsius.
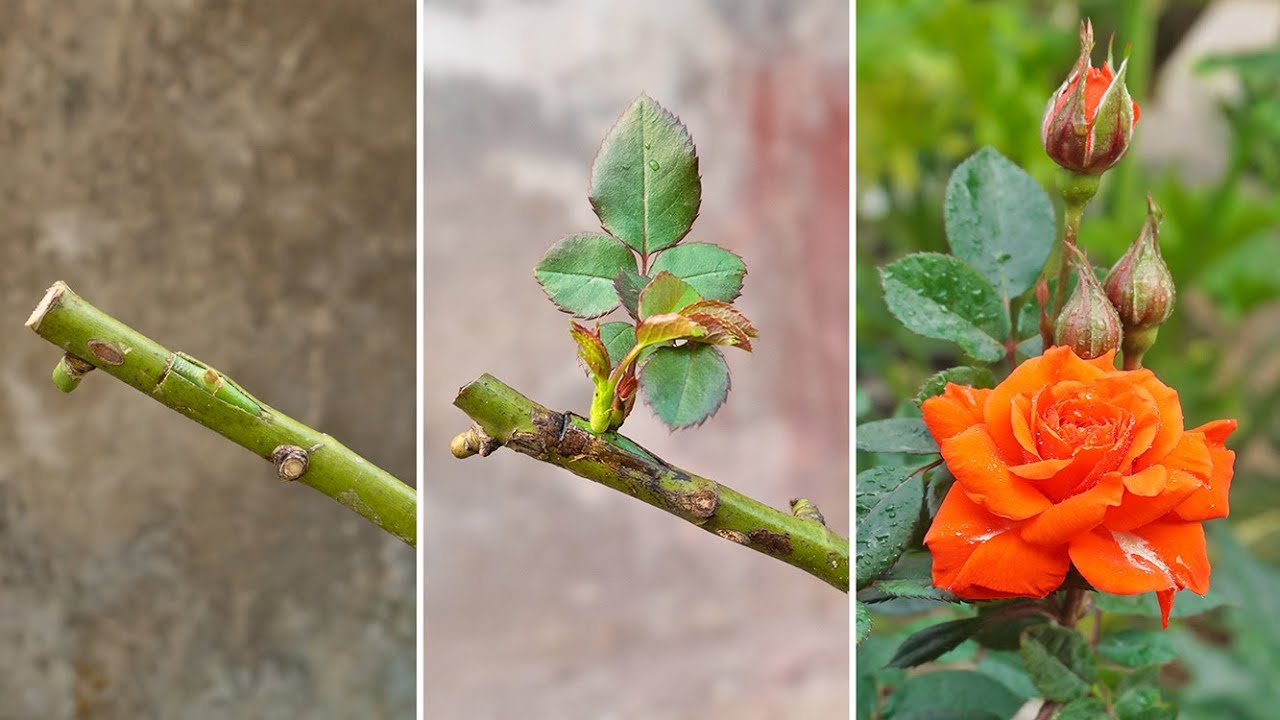
Preparing the Scion (Cutting):
- Cut the Scion: Make a perpendicular, non-smooth cut on the scion using your pruning shears.
- Remove Leaves and Thorns: Strip the leaves and thorns from the scion to make the grafting process easier.
- Attach the Scion: Join the cut scion to the rootstock.
- Bind the Graft: Wrap the graft with raffia or another lightweight material to cover the cut and secure the scion to the rootstock.
Monitoring the Graft
Checking the Graft:
- After about a month, remove the raffia to check the progress of the graft. Ensure the scion has successfully attached to the rootstock.
Final Steps:
- In February, cut the rootstock at the grafting point.
- In spring, observe the first buds and allow them to grow to about 15 centimeters.
- Prune the buds and remove any wild shoots around the structure.
Expert Tips
- Always consult with a professional gardener, as not all rose varieties are suitable for grafting.
- Patience is key; it may take several months to see the results of your grafting efforts.
By following these steps, you can successfully graft a rose onto another variety, creating a unique and beautiful addition to your garden. Enjoy the process and the stunning blooms that will follow! 🌹🍃