
Cultivating peanuts at home can be a rewarding and fun experience, allowing you to enjoy fresh, delicious peanuts right from your garden. Here are some essential tips to help you successfully grow your own peanuts.
1. Choose the Right Type of Peanut
For effective germination, opt for raw peanuts instead of roasted or salted ones. It’s best to select organic varieties, as they minimize exposure to harmful chemicals, ensuring a healthier crop.
2. Prepare the Soil
Peanuts thrive in well-drained soil with a pH level between 5.9 and 7.0. Conduct a pH test and make any necessary adjustments. Loosen the soil to a depth of about 30 cm and enrich it with compost or well-rotted manure to boost fertility, creating an ideal environment for your plants.
3. Planting Peanuts
The best time to plant peanuts is in late spring when the soil temperature reaches at least 18°C. Sow the seeds 2.5 to 5 cm deep, spacing them 15 to 20 cm apart, and cover them lightly with soil to encourage healthy growth.
4. Caring for Peanut Plants
Water your plants weekly with 2.5 to 5 cm of water, especially during the flowering phase. Keeping the area weed-free is crucial, as weeds can compete for nutrients and hinder growth.
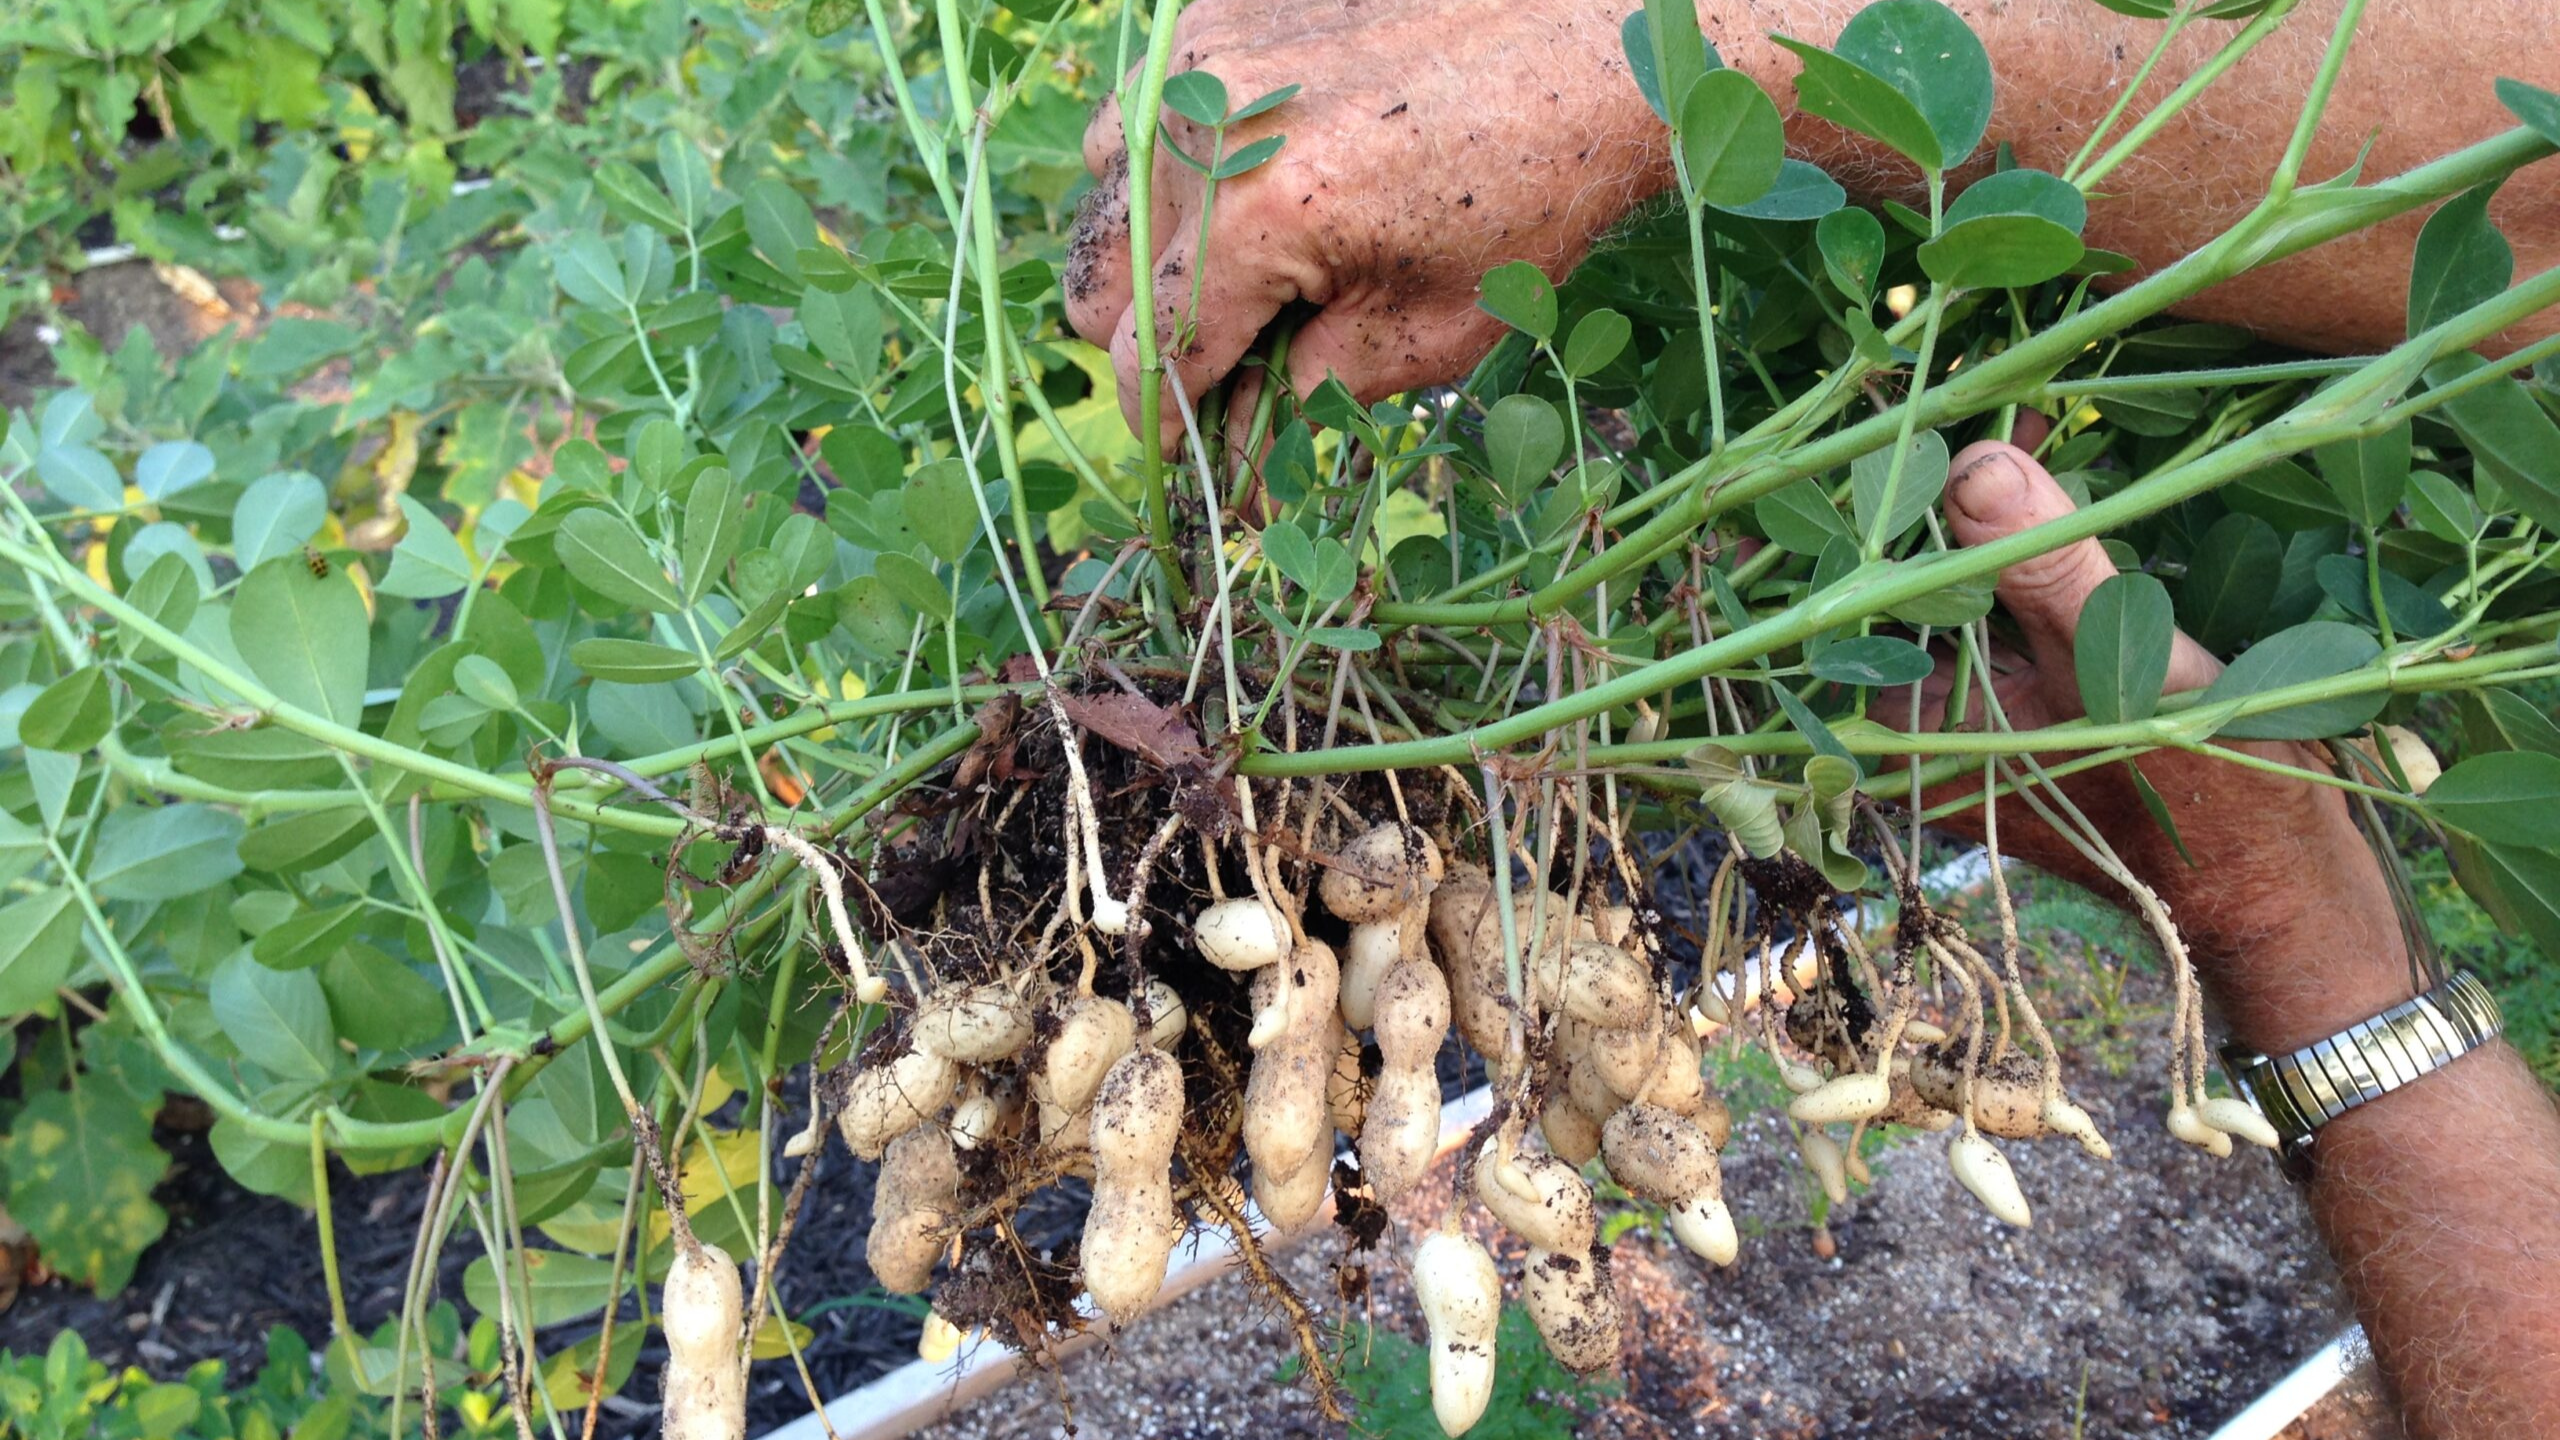
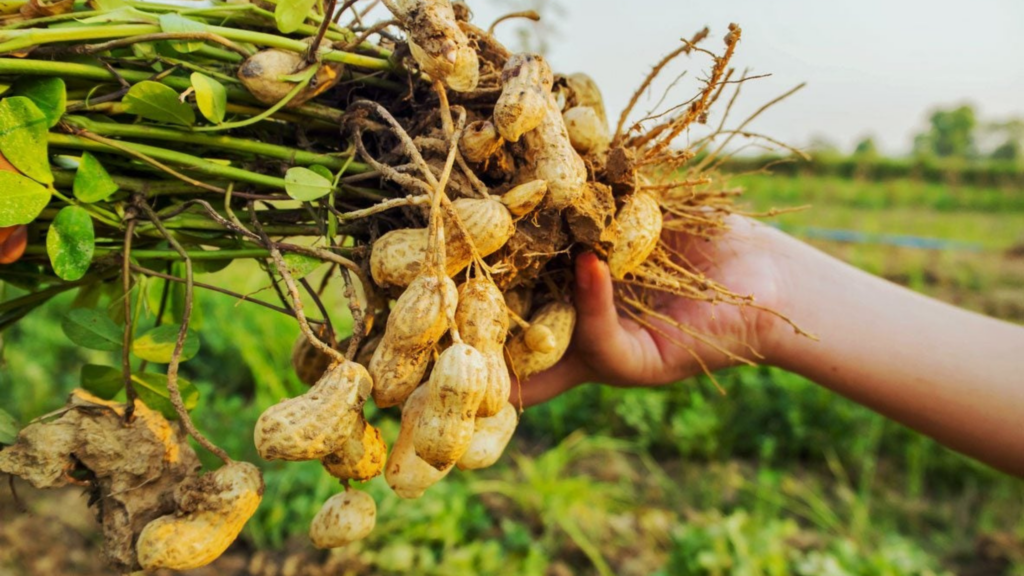
5. Harvesting Your Peanuts
Peanuts are ready for harvest when the leaves start to yellow and the veins on the pods become visible, typically 4 to 5 months after planting. Use a fork to gently lift the plants from the ground, being careful not to damage the pods.
6. Drying and Curing
After harvesting, shake off excess soil and hang the peanuts in a warm, dry location. Allow them to dry for a few weeks until the shells are completely dry. To enhance flavor and preservation, cure the plants in a well-ventilated area for about two weeks.
By following these steps, you’ll be able to enjoy fresh peanuts from your own garden, adding a delightful touch to your culinary creations. Happy gardening! ![]()
![]()
https://t.me/s/official_pokerdom_pokerdom