
Keeping your garden or lawn well-watered is essential for maintaining lush, healthy plants. A rotating sprinkler is a functional and widely used tool for this purpose, but you don’t need to spend a lot of money to get one. With a bit of patience and some recycled materials, you can create an efficient and cost-effective rotating sprinkler at home. Here’s a step-by-step guide to help you make your own DIY sprinkler using just two plastic bottles and a few other easily accessible items.
Materials Needed
Items:
- 2 plastic Coca-Cola bottles
- 2 three-way ¾-inch hose connectors (one central and two lateral)
- A candle and matches
- Sandpaper
- A file
- Electrical tape
- A small iron rod
- Glue
- A water hose and clamp
Step-by-Step Guide to Creating Your Rotating Sprinkler
Step 1: Prepare the Bottles
- Heat the Connectors: Light the candle and use the flame to widen the lateral holes of the hose connectors by passing them over the flame.
- Insert the Bottles: Once the holes are widened, insert the necks of the bottles (with caps on) into the lateral holes of the connectors. Rotate the bottles until the caps fit snugly into the holes.
- Repeat for the Second Bottle: Follow the same process for the second bottle.
Step 2: Create the Central Connection
- Widen the Central Hole: Re-light the candle and use the flame to soften the central hole of the first connector. Insert a second connector into the central hole and press to widen it. Remove the second connector once the hole is widened.
- File the Connector: Use a file to cut a small section near the central hole of the second connector, creating a ring-like piece. Sand the edges of this piece to smooth them out.
- Insert the Ring: Place the ring into the widened central hole of the first connector and press it in securely.
Step 3: Modify the Bottle Caps
- Sand the Caps: Sand the caps of the bottles until they are thin and only the circular part remains. Remove the centers of the caps.
- Insert the Bottles: Place the modified caps back onto the bottles and insert the bottles into the lateral holes of the connectors.
Step 4: Seal and Assemble
- Seal with Tape: Use electrical tape to seal the connections between the bottles and the connectors.
- Create Water Holes: Heat the iron rod over the candle flame and use it to make two holes in each bottle.
- Attach the Hose: Insert a tube into one of the connectors and secure it with glue. Attach the water hose to the tube using a clamp.
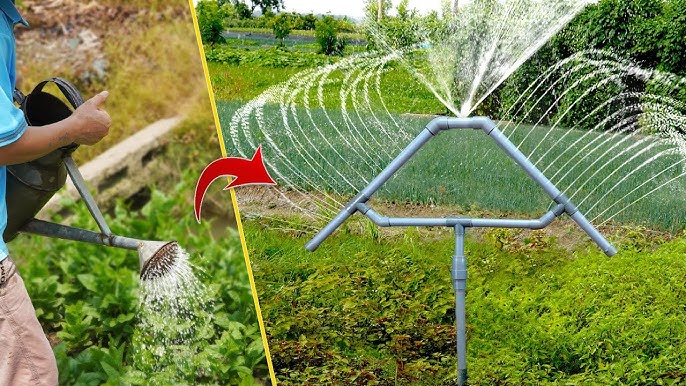
Your DIY rotating sprinkler is now ready to use! This economical and efficient irrigation tool will help keep your garden or lawn well-watered and thriving. Enjoy the satisfaction of creating a useful garden tool while saving money. Happy gardening! 🌱💦