
Homemade bread does not have to involve sticky counters, complicated equipment, or hours of cleanup. A bread in a bag recipe simplifies the entire process by letting you mix and knead everything inside a resealable bag. It is beginner-friendly, kid-approved, and surprisingly effective at producing soft, flavorful loaves.
This method has become popular in classrooms and home kitchens alike because it removes intimidation from baking while still delivering real, fresh bread.
In this guide, you’ll learn exactly how bread in a bag works, why it’s effective, and how to make your own loaf with simple pantry ingredients.
What Is Bread in a Bag?
Bread in a bag is a hands-on baking method where dough is mixed and kneaded inside a large zip-top bag instead of a bowl. The sealed bag keeps flour contained, minimizes mess, and creates a portable workspace.
Instead of traditional kneading on a floured surface, you massage the dough directly through the bag until it becomes smooth and elastic.
This technique is especially useful for:
- Beginner bakers
- Families baking with children
- Small kitchens with limited counter space
- Quick baking projects
- Educational activities
Despite its simplicity, the result is real yeast bread with proper rise and structure.
Why This Method Works
The success of a bread in a bag recipe comes down to three basic principles:
- Yeast activates in warm liquid and sugar
- Gluten develops through kneading, even inside plastic
- Proper resting time allows dough to rise
By combining ingredients directly in the bag, you eliminate unnecessary transfers while still achieving gluten development through manual pressure.
According to food science research from land-grant universities, kneading aligns gluten proteins, giving bread its chew and structure. Whether kneaded on a counter or in a bag, the process works the same.
Bread in a Bag Recipe (Simple Homemade Loaf)
This version creates two small loaves or one medium loaf.
Ingredients
- 3 cups all-purpose flour, divided
- 3 teaspoons sugar
- 1 packet rapid-rise yeast
- 1 cup warm water (about 110°F / 43°C)
- 3 tablespoons olive oil
- 1½ teaspoons salt
Step-by-Step Instructions
- Place 1 cup of flour, sugar, and yeast into a large zip-top bag. Seal and shake to combine.
- Carefully add warm water. Reseal the bag and gently squeeze until smooth. Let rest for 8 to 10 minutes until bubbles appear.
- Add olive oil and salt. Seal and mix again by squeezing the bag.
- Gradually add remaining flour, about ½ cup at a time, mixing after each addition until dough pulls away from the bag sides.
- Remove excess air, reseal, and knead through the bag for 5 to 7 minutes until dough becomes elastic.
- Remove dough, shape into loaves, and place in greased pans.
- Cover loosely and allow to rise in a warm place for 30 to 40 minutes, or until doubled.
- Bake at 375°F (190°C) for 25 to 30 minutes, until golden brown and hollow-sounding when tapped.
Cool before slicing.
Texture and Flavor Expectations
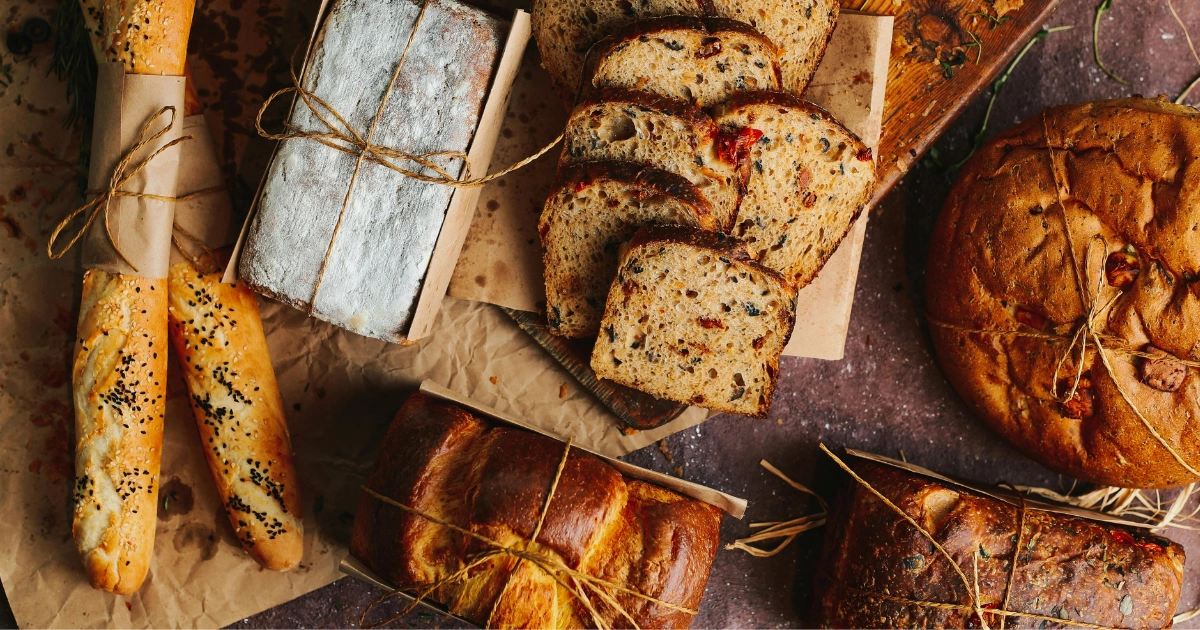
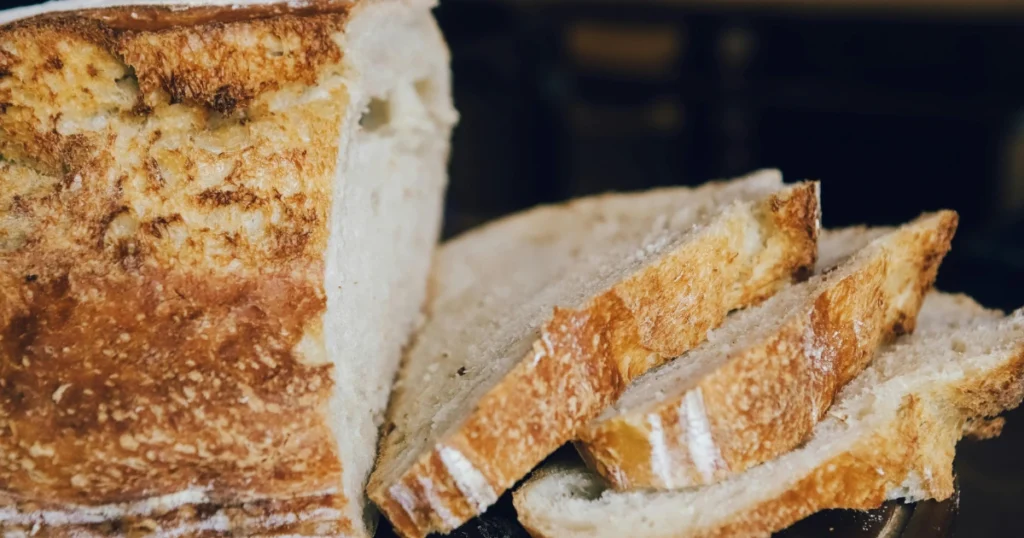
Bread made using this method produces a soft interior with a lightly crisp crust. Olive oil adds mild richness, while sugar balances yeast activity and browning.
The crumb is ideal for:
- Sandwiches
- Toast
- Garlic bread
- Simple breakfast spreads
Common Mistakes to Avoid
Even simple recipes can fail without a few precautions.
Avoid these issues:
- Using water that is too hot (kills yeast)
- Adding all flour at once
- Skipping kneading time
- Letting dough rise in a cold area
- Cutting bread before cooling
Temperature control and patience are key.
Variations You Can Try
Once you master the basic bread in a bag recipe, experiment with:
- Whole wheat flour (replace up to 50 percent)
- Garlic powder or dried herbs
- Shredded cheese
- Seeds or oats on top
- Honey instead of sugar
Small adjustments keep the method fresh and versatile.
Nutritional Notes
Homemade bread lets you control ingredients and reduce preservatives found in store-bought loaves.
For ingredient nutrition data, the USDA FoodData Central database is a reliable reference:
https://fdc.nal.usda.gov
If you want to reduce sodium or sugar, both can be adjusted without affecting structure significantly.
FAQ: Bread in a Bag Recipe
Is bread in a bag safe?
Yes, as long as you use food-grade bags and wash hands before handling dough.
Can I freeze the dough?
Yes. After kneading, freeze dough in an airtight bag for up to two months. Thaw overnight before shaping.
Why didn’t my bread rise?
Most failures come from expired yeast or water that was too hot or too cold.
Can I use instant yeast?
Yes. Rapid-rise or instant yeast works perfectly for this method.
Is this good for kids?
Absolutely. It is commonly used in classrooms because it teaches baking fundamentals without mess.
Internal Linking Suggestions for secretsofthegreengarden.com
To strengthen topical relevance and user engagement, consider linking this article with:
- “Kitchen Garden Vegetables for Beginners”
- “How to Grow Culinary Herbs at Home”
- “Composting Kitchen Scraps for Healthier Soil”
These naturally connect home baking with fresh ingredients and sustainable living.
Final Thoughts
A bread in a bag recipe proves that homemade bread does not need fancy tools or complicated steps. With a few ingredients and a simple plastic bag, anyone can experience the satisfaction of baking fresh bread from scratch.
This approach is practical, educational, and perfect for busy households or beginner bakers. Once you try it, it often becomes a go-to method for quick homemade loaves.
If you’d like next articles on no-knead breads, sourdough starter basics, or herb bread variations, just tell me.
Wow, superb blog layout! How long have you been blogging for? you made blogging look easy. The overall look of your website is excellent, let alone the content!