
Cultivating chili peppers at home is a rewarding process that not only provides fresh, spicy flavors for your kitchen but also offers a satisfying gardening experience. Whether you’re a seasoned gardener or just starting out, you can enjoy a continuous supply of chilies by following a simple, step-by-step guide. Here, we’ll walk you through each stage—from seed extraction to harvest—so you can enjoy freshly picked chilies year-round.
Step 1: Extracting and Preparing Your Seeds
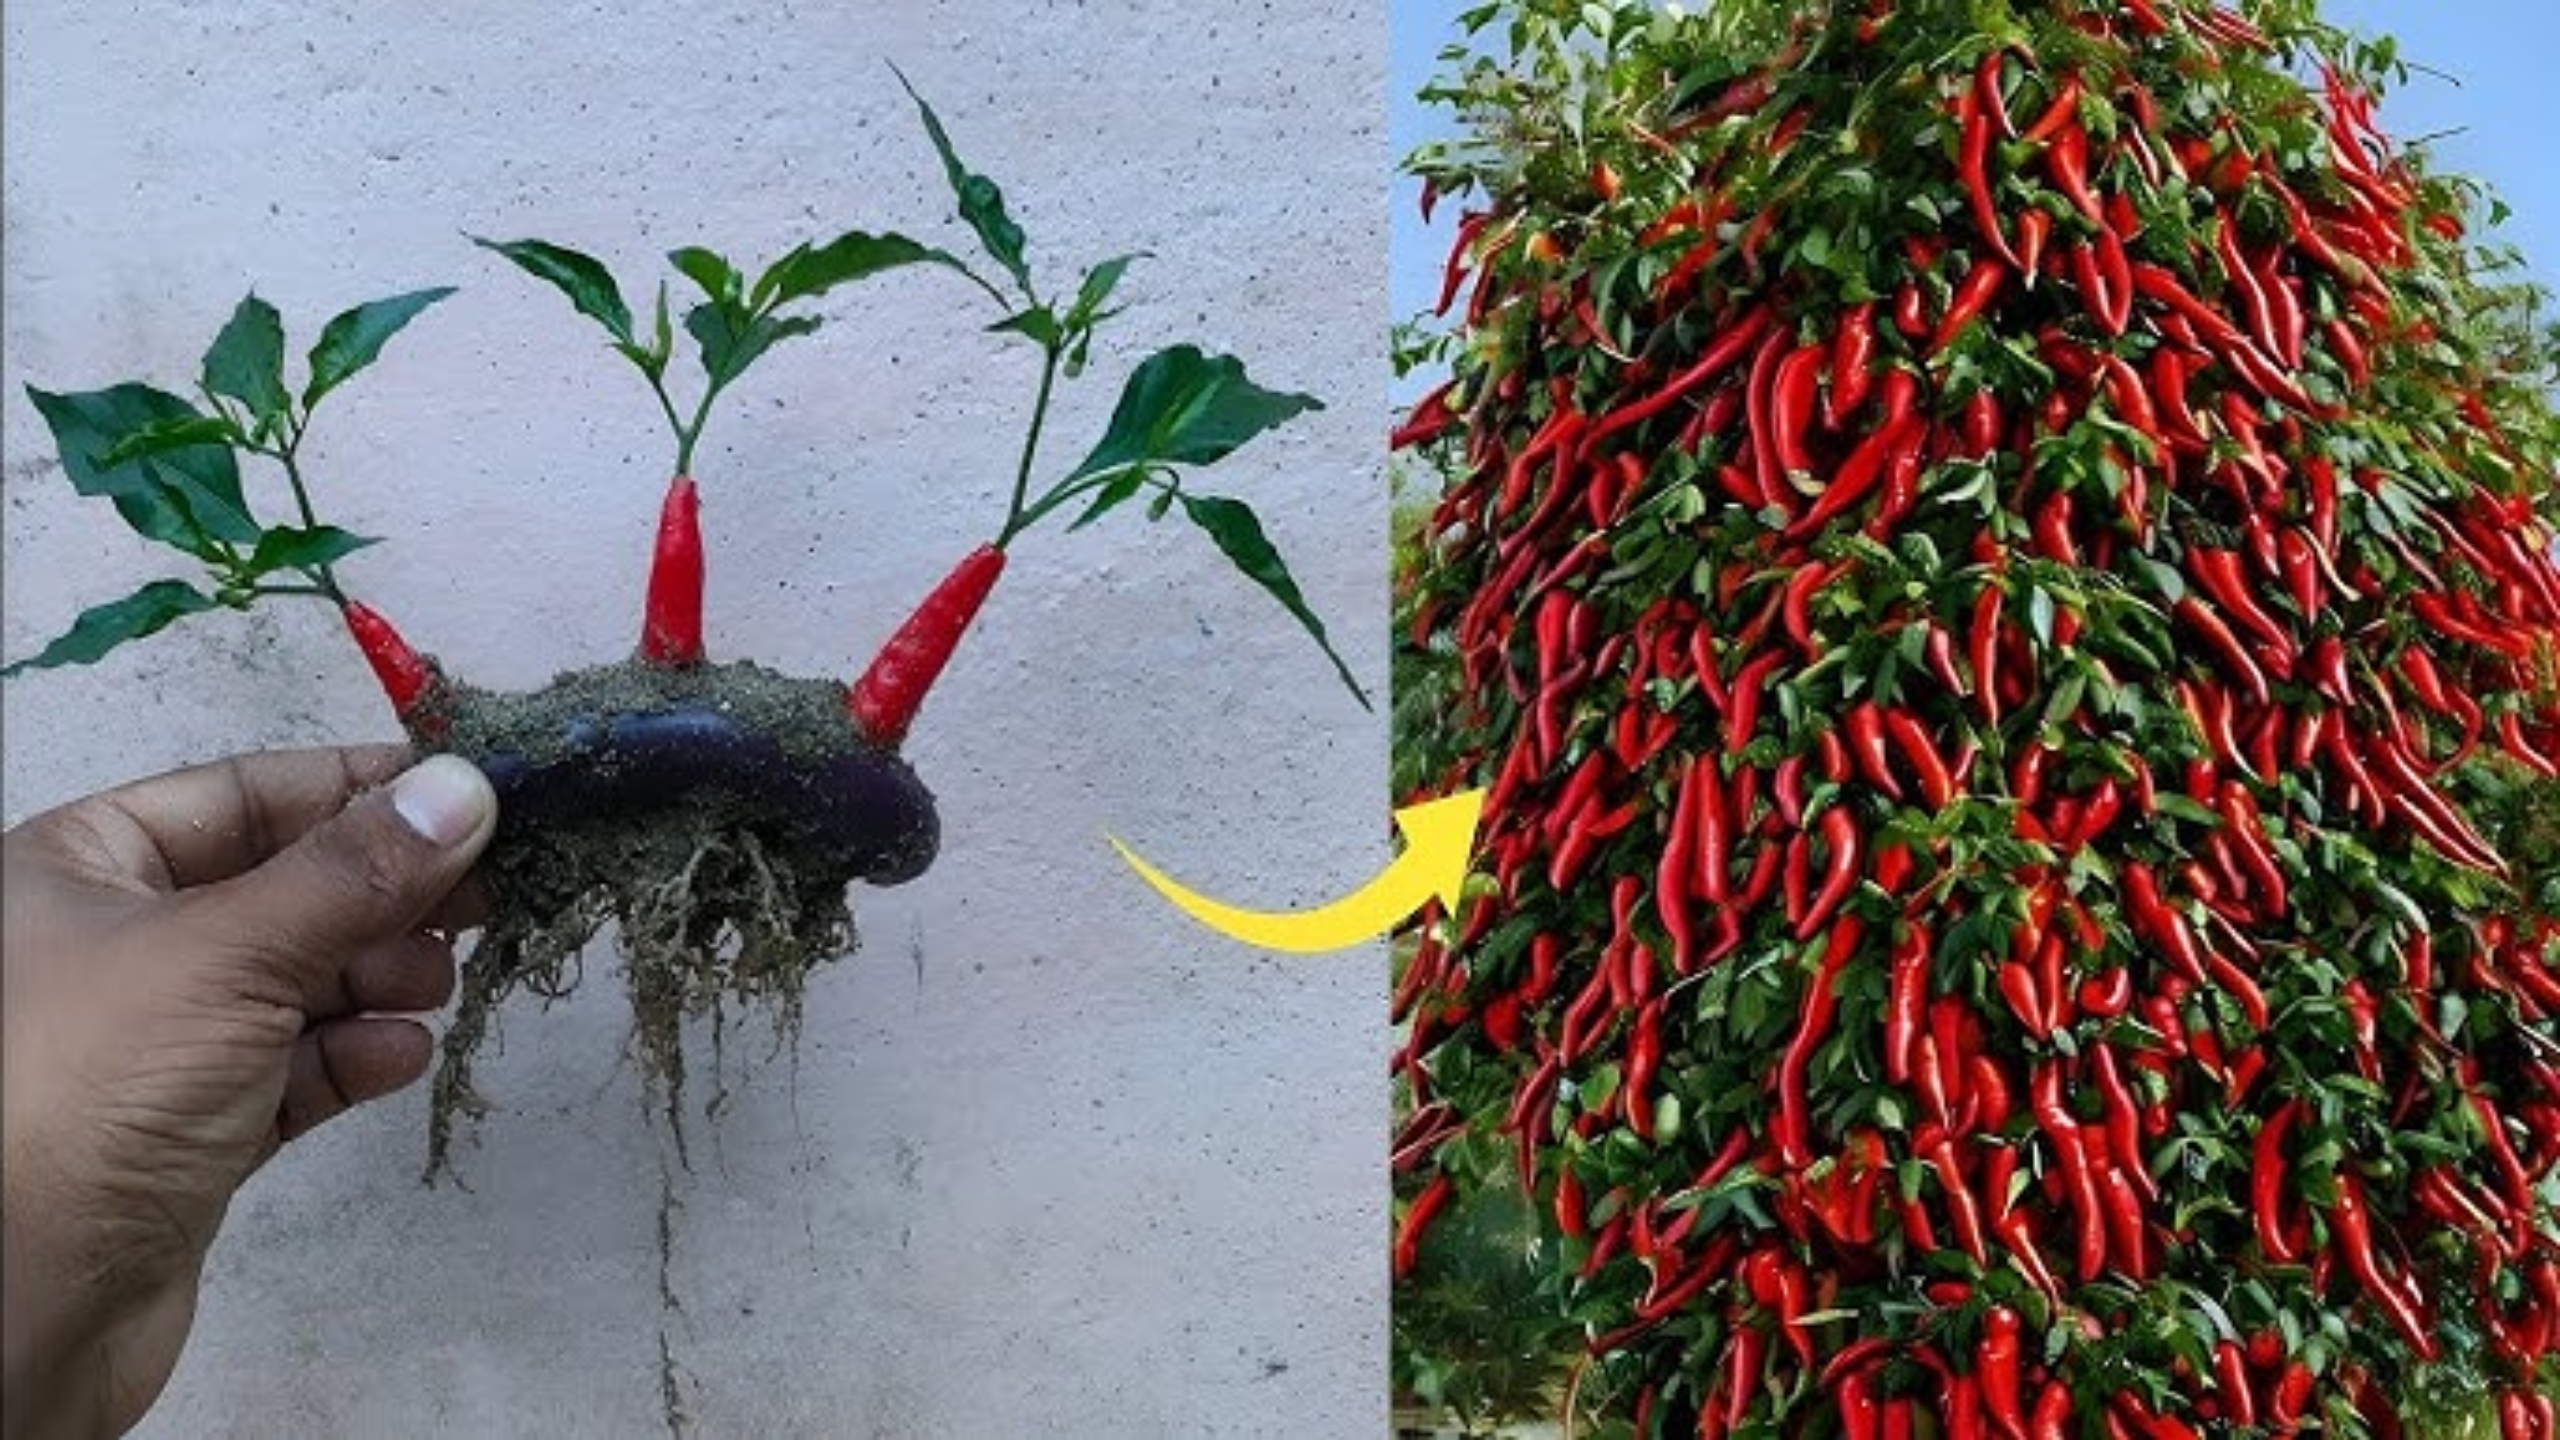
The journey begins with selecting the right chili. Choose a ripe, healthy chili pepper, which indicates that the seeds inside are mature and viable.
To extract the seeds, carefully cut open the chili and remove the seeds, placing them in a clean container. It’s vital to clean the seeds thoroughly—rinse off any pulp or residue to prevent mold or bacteria growth that could hinder germination.
Once cleaned, spread the seeds out on a paper towel or a clean cloth in a sunny spot. Allow them to dry for about 2 to 3 days. Exposing them to direct sunlight not only speeds up drying but also helps eliminate any remaining moisture that might cause mold.
Dry seeds are essential for good germination. Store any extra seeds in an airtight container in a cool, dark place until you’re ready to plant—proper storage extends their viability for several months.
Step 2: Preparing Your Planting Containers
Next, select the right containers for your chili plants. You can use eco-friendly pots, traditional clay or plastic pots, or recycled containers—just ensure they have drainage holes at the bottom to prevent waterlogging.
Fill each pot with a rich, nutritious soil mix. A good soil blend should include organic compost, peat moss, or coco coir, which helps retain moisture while allowing excess water to drain away.
Plant 4 to 5 seeds per pot, placing each seed about 1 centimeter deep (roughly half an inch). Cover lightly with soil and gently water to settle the soil around the seeds.
Starting with multiple seeds increases your chances of successful germination. Once the seedlings sprout, you can thin them out, keeping the healthiest ones to grow further.
Step 3: Watering and Maintenance
Proper watering is critical during the early stages of growth. Keep the soil consistently moist but not soaked—imagine the dampness of a wrung-out sponge.
Water your plants about every three days, adjusting based on your local climate and humidity levels. During hot or dry periods, you may need to water more frequently; in cooler or humid environments, less often.
Be mindful not to overwater, as this can cause root rot and other issues. Use your finger or a moisture meter to check soil moisture before watering.
Step 4: Providing Adequate Light
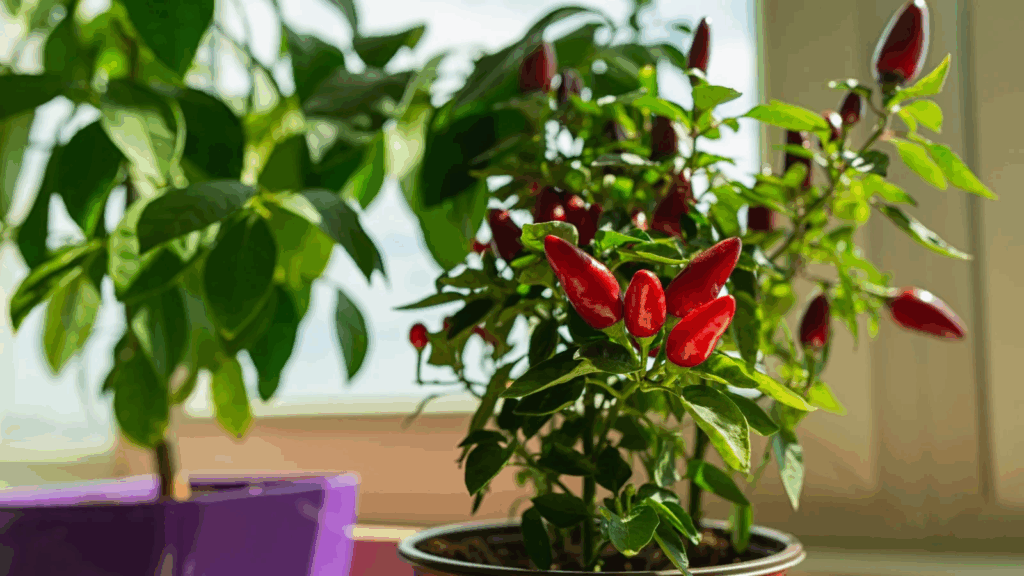
Chili plants thrive with plenty of sunlight. Place your containers in a location that receives direct sunlight for at least 6 hours daily. A balcony, windowsill facing south, or a patio are ideal spots.
If natural sunlight is limited, consider supplementing with grow lights to ensure your plants receive enough light for healthy growth and fruit production.
Good lighting not only encourages vigorous growth but also helps plants develop the spicy flavor and vibrant color we associate with mature chilies.
Step 5: Transplanting to Bigger Pots
After approximately 8 to 12 weeks, your seedlings should reach a height of 5 to 10 centimeters. At this point, they are ready for transplanting into larger pots, which gives their roots more space to grow.
Choose bigger containers—preferably with a capacity of at least 30 centimeters in diameter—and fill with high-quality, premium soil. When transplanting, space each plant about 10 centimeters apart, ensuring good airflow and room to develop.
Handle the seedlings carefully by their leaves or root ball to minimize stress. Water the transplanted plants thoroughly to help them settle into their new home.
Step 6: Harvesting the Chilies
With proper care, your chili plants can reach about 40 to 50 centimeters in height and start producing fruit in about 3 to 4 months. The plants will reward your patience by bearing vibrant, flavorful chilies.
Harvest chilies when they have reached their full color—green, red, yellow, or other shades depending on the variety—and feel firm. Use scissors or pruners to snip the peppers from the plant, leaving a small stem attached.
Regular harvesting encourages the plant to produce more fruit, providing you with an ongoing supply of fresh, spicy peppers. Remember, if you leave some fruits to fully ripen, they develop a richer flavor and deeper color.
Final Tips: Sustaining Your Chili Garden
With consistent care, you can enjoy this cycle year-round. Keep fertility high by periodically adding organic compost, and monitor pests and diseases to prevent damage.
Growing chili peppers at home is more than just a gardening activity—it’s a way to connect with nature, enjoy fresh produce, and add a spicy kick to your meals. Whether you have limited space or a sprawling garden, the steps above will help you cultivate a thriving chili patch and enjoy an almost endless supply of these fiery fruits.
**mitolyn official**
Mitolyn is a carefully developed, plant-based formula created to help support metabolic efficiency and encourage healthy, lasting weight management.
Backbiome is an advanced daily wellness supplement formulated to help support spinal comfort, reduce feelings of built-up tension, and promote freer, smoother movement throughout backbiome everyday life.