

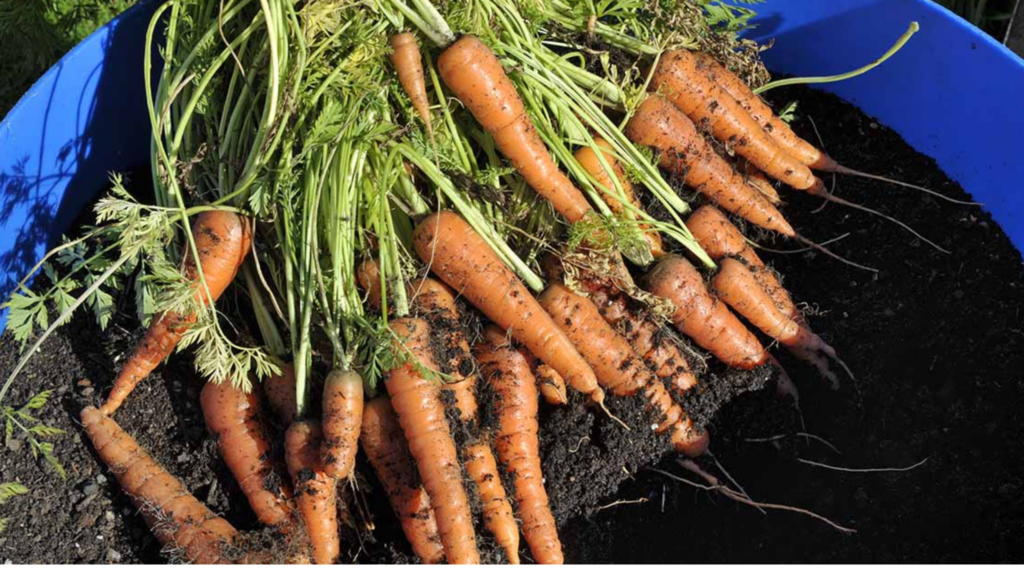
Have you ever fantasized about harvesting fresh, crunchy carrots without the need for a vast garden? If so, it’s time to rethink the idea of traditional gardening. With a bit of guidance, you can successfully grow these vibrant orange delights right on your balcony, patio, or even a sunny windowsill through the wonders of container gardening!
Selecting the Right Carrot Variety
Before diving into the planting process, it’s essential to choose the ideal carrot variety for your container gardening venture. Here are some key points to consider:
- Space Efficiency: Since you’re working with limited space, opt for shorter, round carrot varieties like ‘Thumbelina,’ ‘Little Finger,’ or ‘Parisian Perfect.’ These types will thrive in a confined bucket environment.
- Quick Harvest: If you’re eager for a speedy harvest, look for early-maturing varieties such as ‘Scarlet Nantes’ or ‘Miniature Danvers,’ which can be ready in just 60-70 days.
- Personal Taste: Do you prefer the classic orange carrots, or are you curious about the vibrant shades of purple or yellow? The choice is yours!
Tip: Consider seeds labeled as “pelleted.” These small, nutrient-coated spheres are easier to handle and sow evenly, making them perfect for beginners.
Gathering Your Supplies
With your carrot variety selected, it’s time to collect the necessary supplies to create a thriving environment for your plants:
- The 5-Gallon Bucket: This will be your primary container. Make sure it has drainage holes at the bottom to prevent water accumulation, which can harm your carrots.
- Quality Soil: Choose a well-draining potting mix, ideally one designed for vegetables or container gardening. Mixing in compost or organic matter can provide additional nutrients.
- Carrot Seeds: Your chosen seeds are, of course, essential!
- Watering Can: A gentle watering can with a hose attachment will help avoid disturbing the seeds and young plants.
- Sunlight: Ensure your bucket is placed where it can receive at least 6-8 hours of direct sunlight each day, which is crucial for healthy carrot growth.
- Optional Supplies: Row markers (like toothpicks or popsicle sticks), a small hand trowel for digging, and a net or mesh cover to protect your seeds from birds can be helpful additions.
Creating Your Carrot Garden
Now that you have all your supplies ready, let’s transform the bucket into a nurturing environment for your future carrot harvest:
- Ensure Proper Drainage: Check that the drainage holes are clear. You might also add a layer of pebbles or broken terracotta at the bottom of the bucket to enhance drainage.
- Fill the Bucket: Add your potting mix to the bucket, leaving about an inch of space at the top.
- Sow the Seeds: If using pelleted seeds, sprinkle them evenly across the soil surface, maintaining about an inch of space between each seed. For non-pelleted seeds, create shallow furrows (approximately ¼ inch deep) in the soil using your finger or a pencil, and plant the seeds in these furrows, again spacing them about an inch apart.
- Covering (Optional): If you’re concerned about birds or wind displacing your seeds, consider loosely covering the bucket with a net or mesh.
- Watering: Use your watering can to gently moisten the soil without creating puddles.
- Sunshine Placement: Position your bucket in the chosen sunny area. Be patient; carrot seeds can take 2-3 weeks to germinate.
Caring for Your Carrots in Buckets
Once your carrot seedlings have emerged and are soaking up sunlight, here’s how to nurture them as they grow:
- Watering: Keep the soil consistently moist but not soggy. Check daily and water when the top inch feels dry.
- Light Exposure: Ensure your carrots receive at least 6-8 hours of direct sunlight daily. As they grow, you may need to rotate the bucket to ensure even sun exposure and prevent leggy growth.
- Thinning Seedlings: When your seedlings reach about 2-3 inches tall, it’s time to thin them out. This is essential for allowing each carrot enough space to grow. Use scissors to snip off weaker seedlings, leaving the strongest ones spaced about 2-3 inches apart. You can even add the thinned seedlings to a salad for a taste of your future harvest!
- Fertilizing: Around 4-6 weeks after planting, your carrots will benefit from a light feeding with a balanced liquid fertilizer designed for vegetables. Dilute according to package instructions and apply every other week until harvest.
- Weed Management: Keep an eye out for weeds that may compete for nutrients and moisture. Remove them by hand as soon as you see them.
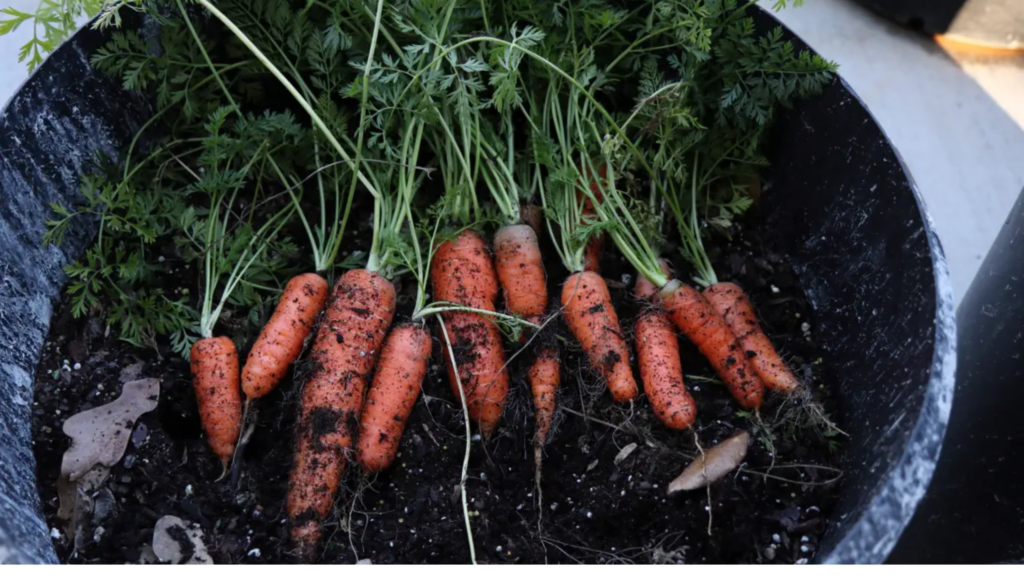
- Be Patient: Carrots take time to mature. Depending on the variety, you can expect to harvest them anywhere from 60-70 days for quick varieties to 75-80 days for some heirloom types.
Extending Your Carrot Gardening Experience
- Succession Planting: To enjoy a continuous supply of fresh carrots, practice succession planting by sowing new seeds every few weeks throughout the growing season.
- Companion Planting: Consider adding herbs like rosemary or thyme in the same container. These companions can help deter pests while enhancing the fragrance of your mini garden.
With these steps, you can successfully grow your own carrots in containers, bringing the joy of gardening right to your home, no matter how limited your space may be!
https://t.me/s/iGaming_live/4866
В мире ставок, где любой сайт норовит зацепить гарантиями простых призов, рейтинг топ онлайн казино
становится той самой ориентиром, что проводит мимо ловушки рисков. Для ветеранов да начинающих, которые устал от фальшивых посулов, это инструмент, чтобы увидеть подлинную rtp, как ощущение выигрышной ставки в ладони. Без пустой ерунды, просто надёжные площадки, в которых rtp не просто показатель, но конкретная фортуна.Составлено по поисковых трендов, словно паутина, что ловит самые горячие тенденции в сети. Здесь нет места про стандартных фишек, всякий элемент словно ход на игре, там подвох проявляется немедленно. Хайроллеры понимают: на стране тон разговора на иронией, там юмор скрывается как рекомендацию, позволяет миновать обмана.На https://www.mixcloud.com/Don8Play/ данный список ждёт словно открытая раздача, подготовленный для старту. Зайди, когда желаешь ощутить биение настоящей ставки, минуя мифов плюс провалов. Для кто ценит ощущение приза, он будто взять ставку на ладонях, а не смотреть по дисплей.