
Olive trees are a fantastic addition to any orchard or garden, but they require regular pruning to stay healthy and productive. This comprehensive guide will walk you through the process of pruning and shaping your olive tree step by step.
Things You Should Know
- Tools Needed: Use double-bladed gardening shears or a handsaw for smaller branches, and a chainsaw for larger ones.
- Shape: Trim the branches into a “martini glass” V-shape. Remove weak, dead, and vertically-growing branches to allow sunlight to reach the middle of the tree.
- Timing: Prune your tree once a year at the end of winter, before buds appear.
Part 1: Cutting the Branches
Step 1: Gather Your Tools
- Purchase or Rent: Buy double-bladed shears and a handsaw, or rent a chainsaw for larger branches. Ensure your tools are sharp and clean.
- Sharpening and Cleaning: If your tools are dull, have them sharpened at a hardware store. Clean them by dipping the blades in isopropyl alcohol for 30 seconds and wiping them dry.
Step 2: Cut Small Shoots
- Use Shears: For shoots less than ¾ inch (2 cm) in diameter, cut as close to the branch as possible. For longer shoots, cut 1-2 inches (2-5 cm) from the branch and trim the remaining length.
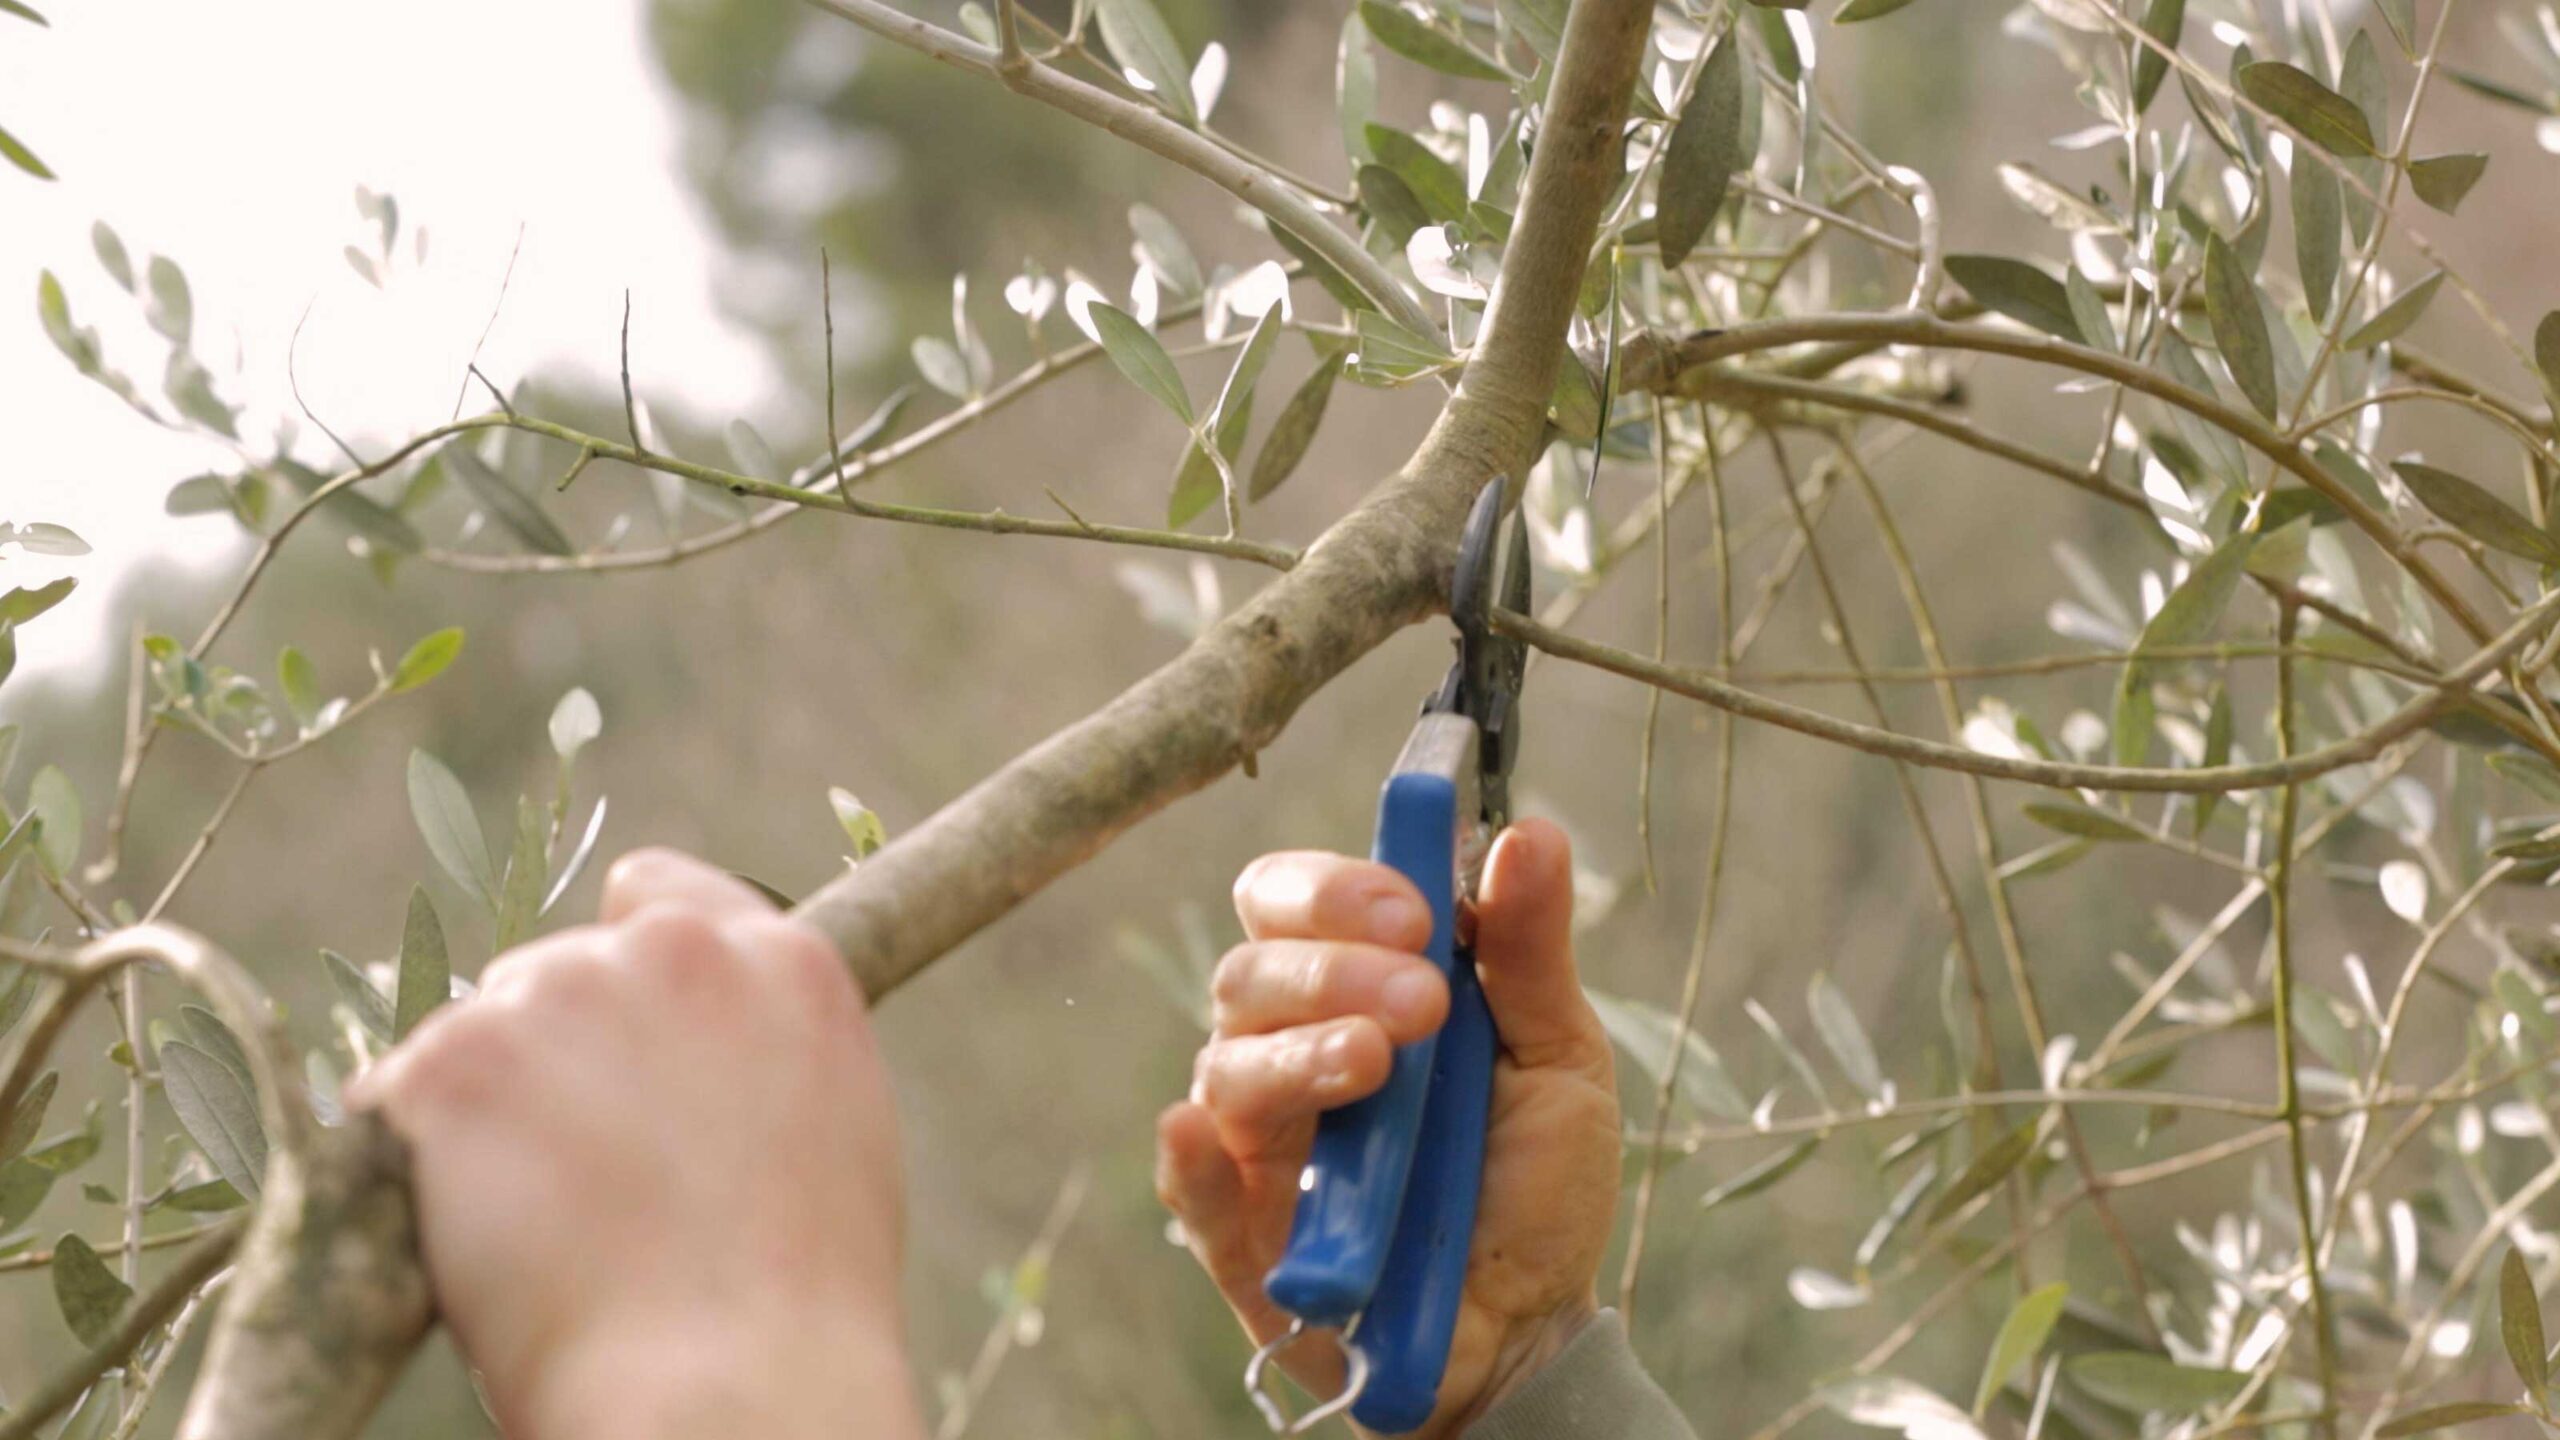
Step 3: Cut Medium Branches
- Use a Handsaw: For branches 1-3 inches (2.5-7.5 cm) in diameter, make an upward cut from the bottom, then a downward cut from the top. Pull the branch away and trim the remaining piece.
Step 4: Cut Large Branches
- Use a Chainsaw: For branches thicker than 3 inches (7.5 cm), wear safety gear and make an upward cut from the bottom, then a downward cut from the top. Pull the branch away and make a final heading cut slanting downward.
Part 2: Shaping Your Tree
Step 1: Allow Natural Growth
- First Two Years: Let your tree grow naturally for the first two years. Avoid pruning young trees to prevent stunting their growth.
Step 2: Annual Pruning
- Timing: Prune once a year at the end of winter, before flower buds appear. This stimulates growth without risking damage from frost.
Step 3: Shape the Tree
- Vase or Martini Glass Shape: Prune the tree to resemble a vase or martini glass, with 3-4 strong lateral branches growing out and upward from the trunk. Remove small, weak, or vertical branches.
Step 4: Alternative Shapes
- Other Shapes: You can also try shapes like a globe, vasebush, or bush. Each shape has its advantages and disadvantages, depending on your goals and harvesting methods.
Part 3: Annual Pruning
Step 1: Identify Productive Branches
- Harvest Time: Note which branches have the most fruit during harvest time. Keep these branches and prune weaker or vertical branches after winter.
Step 2: Remove Vertical Branches
- Thinning: Begin by removing vertical branches to allow sunlight to reach the center of the tree. This helps promote fruit growth on lateral branches.
Step 3: Cut Weak or Dead Branches
- Maintenance: Remove weak or dead lateral branches that no longer bear fruit. These branches can take energy away from the tree and are prone to disease.
Step 4: Year-Round Pruning
- Extra Branches: Remove any branches sprouting from the trunk throughout the year. These branches can grow vertically or downward and do not fit the tree’s desired shape.
By following these steps and maintaining a regular pruning schedule, you can ensure your olive tree stays healthy, productive, and beautifully shaped. Happy pruning! 🌳🍃